Введение
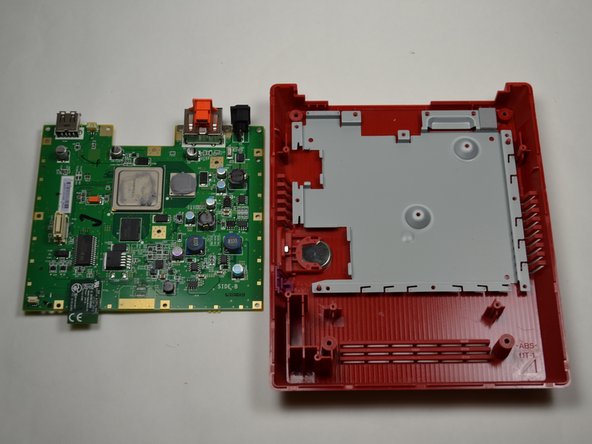
В этом руководстве подробно описана замена материнской платы в консоли Nintendo Wii Mini. Шаги, показанные на изображениях, описывают процесс разборки; замена и сборка выполняются так же просто, как выполнение этих шагов в обратном порядке.
При работе с чувствительной электроникой рекомендуется использовать антистатический браслет.
Замена материнской платы может потребоваться при возникновении следующих симптомов в вашей Wii Mini: консоль не включается или не загружается, даже если блок питания исправен.
Выберете то, что вам нужно
-
-
-
Снимите две резиновые ножки на задней панели консоли, чтобы открыть доступ к скрытым винтам.
-
Выкрутите четыре винта Phillips #0 длиной 6 мм.
 Спросите у FixBot
-
-
-
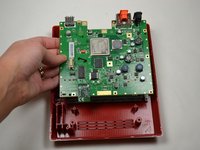
Переверните Wii mini верхней стороной вверх. Затем проведите пластиковым инструментом для открывания по среднему краю консоли, чтобы ослабить верхнюю панель.
-
Аккуратно приподнимите верхнюю панель консоли и отложите её в сторону.
-
-
-
-
Инструмент, используемый на этом этапе:Tweezers$4.99
-
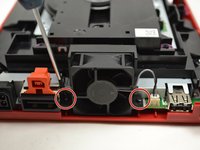
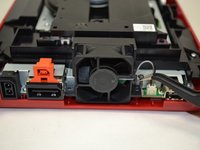
Поверните Wii mini задней панелью к себе.
-
С помощью крестовой отвертки Phillips #0 открутите два винта длиной 6 мм по обе стороны от вентилятора.
-
-
-
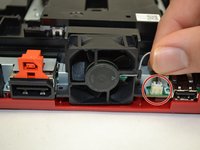
Пальцами аккуратно потяните верхнюю часть разъема с контактами строго вверх, чтобы отсоединить вентилятор от консоли.
-
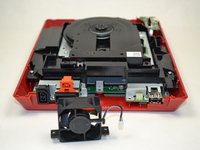
Снимите вентилятор и отложите его в сторону.
-
-
-
-
-
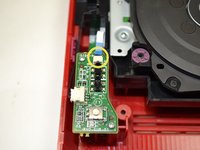
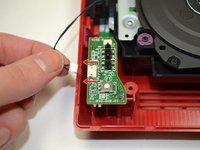
Пальцами выдвиньте синий шлейф из верхней части платы питания.
-
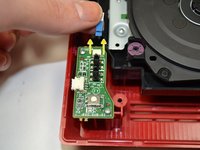
С помощью крестовой отвертки Phillips #0 открутите два винта длиной 4 мм в верхней и нижней части платы питания.
-
-
-
-
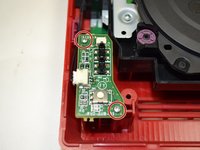
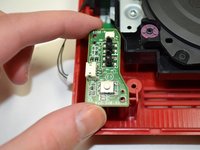
Пальцами аккуратно потяните за штекерный разъем, чтобы отсоединить плату питания от дисковода.
-
-
-
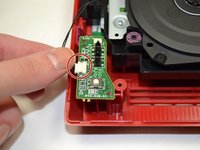
Приподнимите плату питания из консоли и отложите её в сторону.
-
-
-
-
-
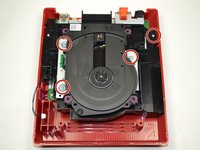
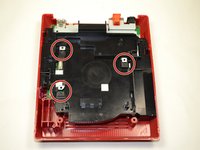
С помощью крестовой отвертки (Phillips #0) открутите четыре винта длиной 6 мм.
-
-
-
-
-
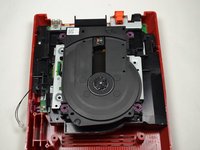
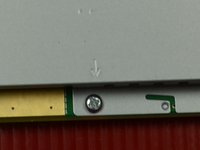
С помощью крестовой отвертки Phillips #0 открутите винт длиной 6 мм в верхней части черного лотка.
-
-
-
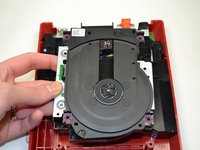
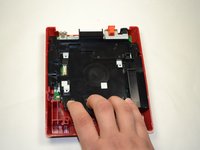
Пальцами потяните черный пластиковый лоток на себя, чтобы ослабить его крепление в консоли.
-
Убедитесь, что черные квадратные детали отделены от металлических квадратных деталей, прежде чем пытаться вынуть лоток.
-
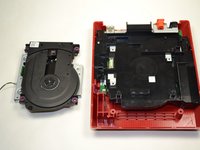
После отделения извлеките пластиковый лоток из консоли и отложите его в сторону.
-
-
-
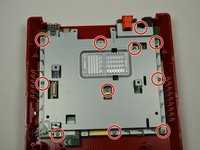
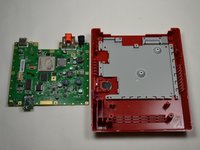
С помощью отвертки Phillips #0 выкрутите одиннадцать 5-миллиметровых винтов, которыми серебристая металлическая пластина крепится к консоли.
-
-
-
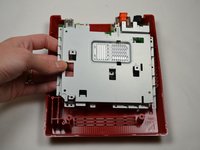
Извлеките металлическую пластину и отложите её в сторону.
-
-
-
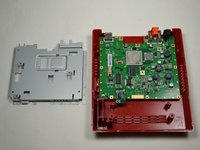
Извлеките материнскую плату и отложите ее в сторону.
-
-


Для сборки устройства выполните эти инструкции в обратном порядке.
Отменить: Я не выполнил это руководство.
11 человек успешно провели ремонт по этому руководству.
Особая благодарность этим переводчикам:
100%

Translation Bot помогает нам починить мир! Хотите внести свой вклад?
Начните переводить ›
Команда

1 Комментарий к руководству
Can you fit a Wii Motherboard inside this casing, and use the dvd drive, if so I have a few wiis with broken DVD drives I would like to repair and this would be a cheap solution.