Введение
This guide will teach you how to repair your pool screen. There are no hazardous requirements; just make sure you have the proper materials. This will help the fix go smoothly. Professionals charge a lot to repair pool screens, but it is easy to fix it yourself for half the cost.
Выберете то, что вам нужно
-
-
Locate the damaged area on your screen. Use this area to remove the rest of the screen. Using an area that is already damaged makes it easier to remove the old screen.
-
-
-
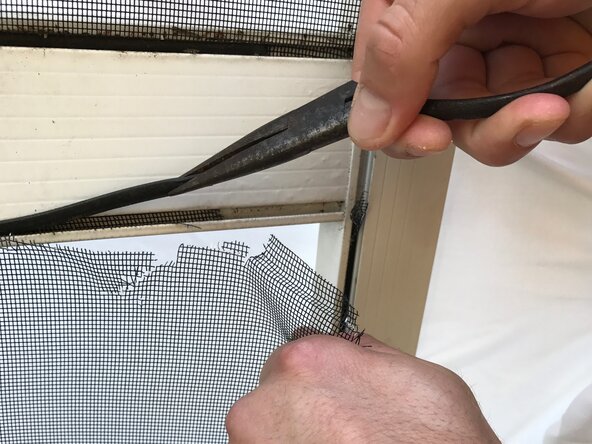
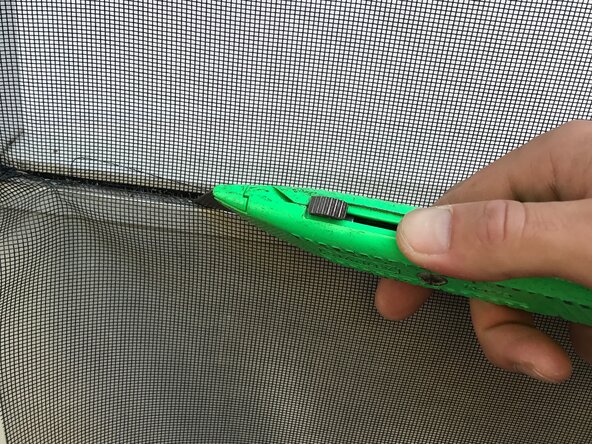
Use needle nose pliers to pull the rubber screen thread from the pool cage crease.
-
-
-
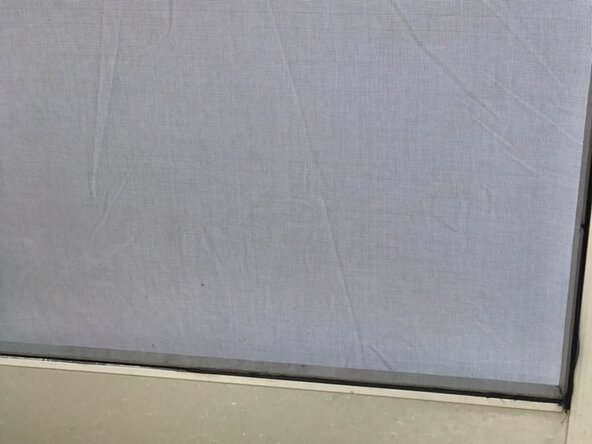
Examine your work. It should match the image as shown.
-
-
-
-
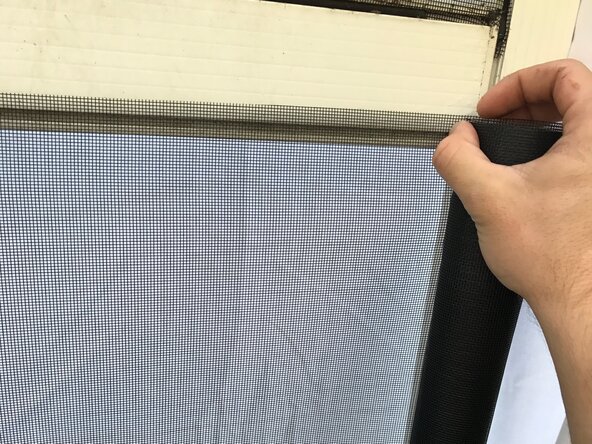
Measure the area of the pool cage that needs to be replaced with a new roll of screen. Cut out the needed amount of screen from the new roll.
-
-
-
Pull the new screen thread from corner to corner, along the crease of the pool cage. Cut any excess thread from the corners.
-
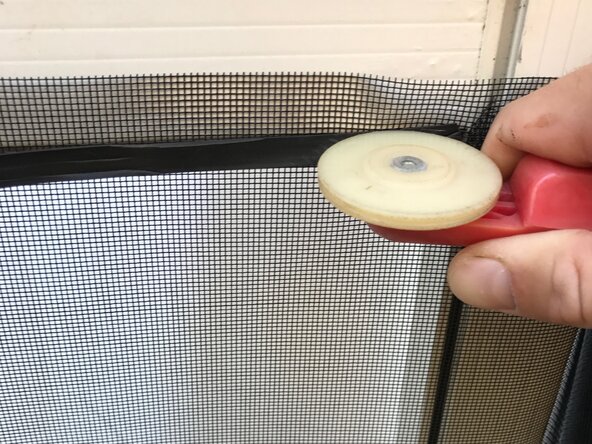
Use a screen roller to press the thread and the screen underneath against the pool cage crease to secure them. It helps to pull the thread and screen tight while rolling over it.
-
-
-
Cut the excess screen from the top, bottom, and sides of the pool cage.
-
-
-
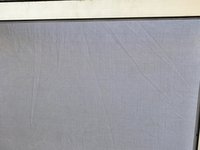
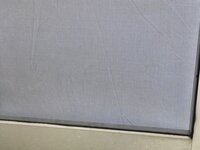
Check the pool cage for any problems with the newly attached screen. The new thread should be pressed firmly into the pool cage, and the screen should be pulled tight so there are no wrinkles.
-


With this guide, you will be able to repair your damaged pool screen. Follow the steps, and you will have a new screen in no time.

Команда

USF Sarasota-Manatee, Team 1-1, Stewart Spring 2017 Участник USF Sarasota-Manatee, Team 1-1, Stewart Spring 2017
USFSM-STEWART-S17S1G1
19 членов
Автор 24 руководств