Введение
A QNAP TVS-h874T is a Network Attached Storage device.
There are 2 simple fixes that can improve the read and write speed of a NAS, and we will cover both of these in this project.
The first improvement is to upgrade it from 16GB or 32GB of RAM to the maximum of 64GB of RAM. This improves the speed of reads and writes by giving the system more memory for caching data.
The second improvement is to had Solid State Disks also known as SSDs. The QNAP TVS-h874T has 2 internal M.2 SSD slots that can be used to add fast read and write caching. The SSDs allow the QNAP to store data that is in demand on the high speed SSD instead of reading from the much slower hard drives that are installed.
This guide will show how to upgrade the RAM and install M.2 SSDs to increase the speed.
Make sure you safely shutdown your QNAP and mark disconnect all cables before attempting this repair.
Выберете то, что вам нужно
-
-
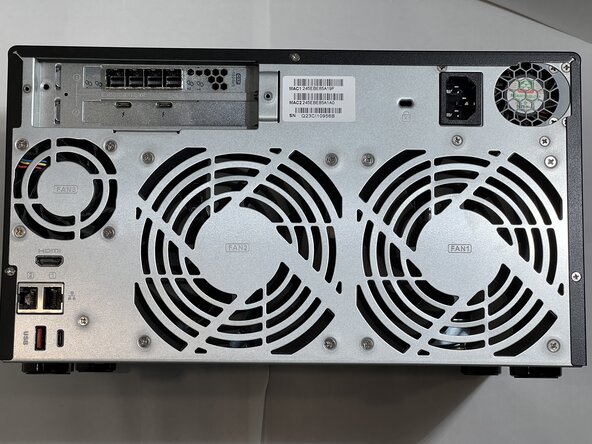
Turn the QNAP with the back facing upwards so it is easier to access the screws.
-
-
-
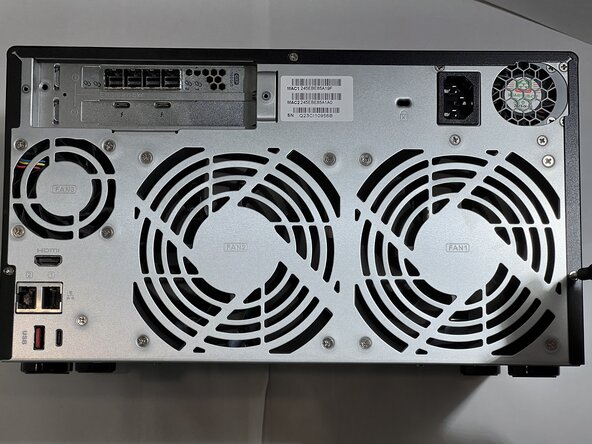
Turn the QNAP with the back facing upwards so it is easier to access the screws.
-
Use a #2 Phillips screwdriver to remove the three 3.9 mm screws that hold the black cover to the back.
-
-
-
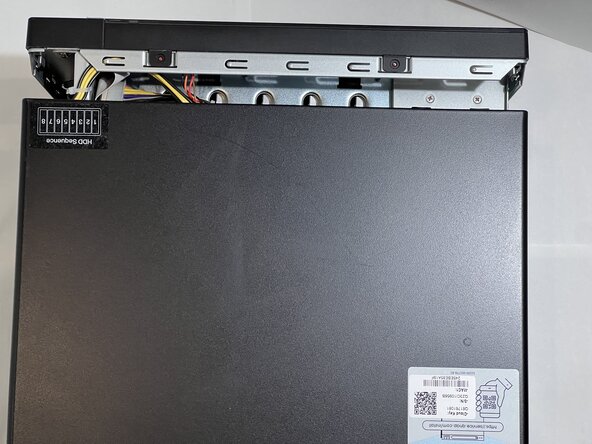
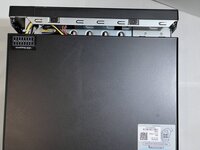
Turn the QNAP so the back is facing you.
-
Gently press on both sides of the cover at the rear and slide the cover towards the you.
-
Once the cover is free of the front bezel, it can be lifted off.
-
-
-
-
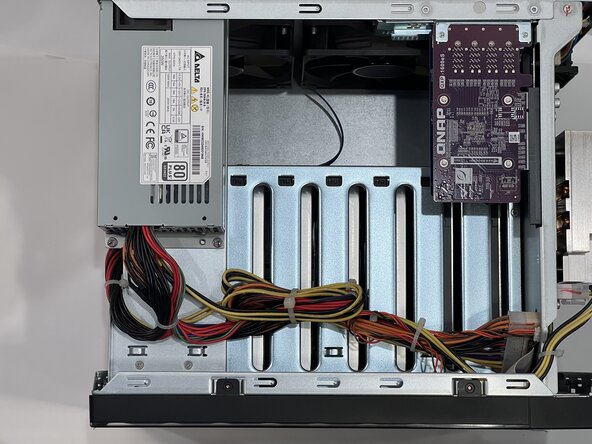
With the cover off you can see:
-
The power supply and power connectors
-
Any installed PCI cards
-
The motherboard is mounted vertically on the left side if you are facing the rear of the QNAP.
-
Turn the device onto the right side if you are facing the rear of the QNAP.
-
-
-
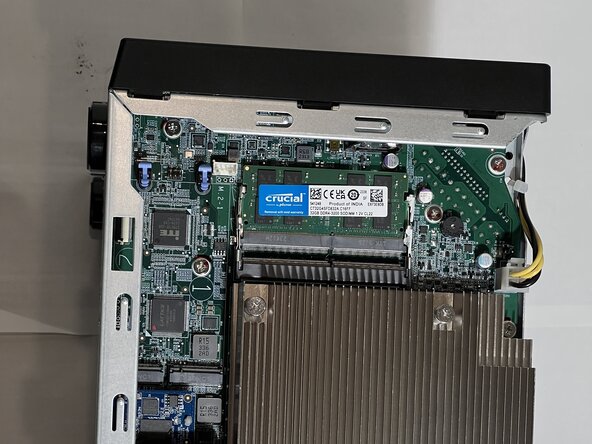
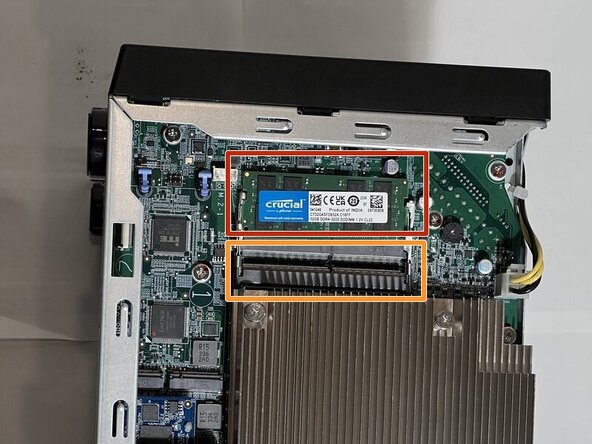
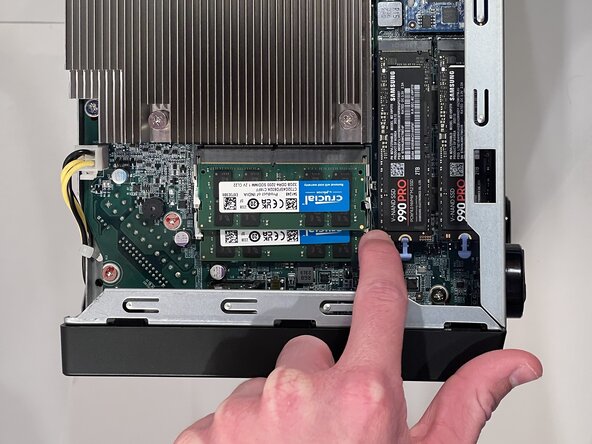
With the motherboard facing up, you will see 2 DIMMS for RAM.
-
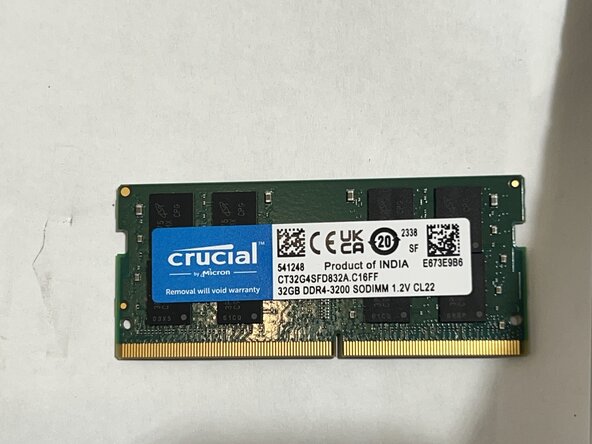
This NAS has a single 32GB DIMM installed.
-
The new DIMM will go into the empty slot.
-
If you need to remove a damaged RAM chip, use your fingers to pull the metal arms on both sides of the RAM away enough to release it.
-
-
-
To insert the RAM, align the pins with the slot.
-
Insert the DIMM at a 45° angle.
-
Gently press on both corners to lower it into the retaining clips.
-
-
-
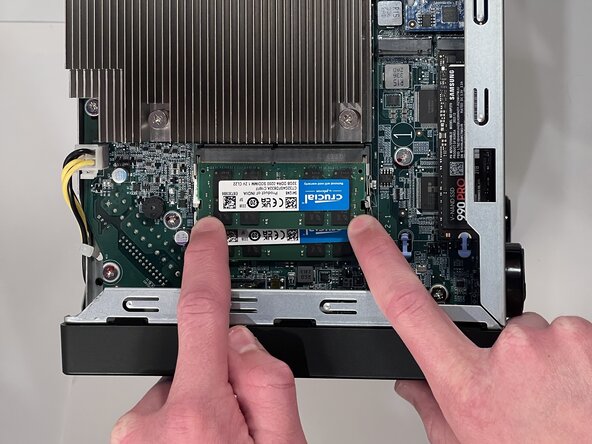
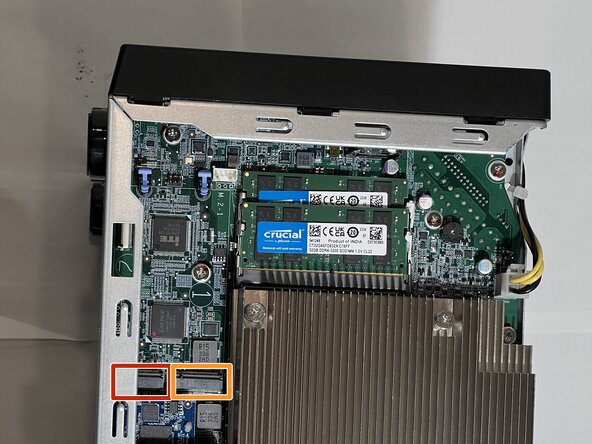
There are two M.2 slots towards the bottom of the motherboard.
-
Install the #2 drive first as it is under the side rail of the case.
-
Install the SSD Drive slot (1).
-
-
-
Insert the M.2 drive at a 45° angle
-
Gently press the M.2 drive down with your finger.
-
Hold the M.2 drive down with a finger on one corner, and engage the blue latch with the second finger.
-


To reassemble your device, follow these instructions in reverse order. Take your e-waste to an R2 or e-Stewards certified recycler.
Команда

CSU Los Angeles, Team 2-6, Ribeiro Spring 2025 Участник CSU Los Angeles, Team 2-6, Ribeiro Spring 2025
CSULA-RIBEIRO-S25S2G6
5 членов
Автор 1 руководств