Введение
This guide will show you how to replace the stickbox of a Nintendo GameCube controller. Stickboxes cannot be bought by first-party sellers and the ones third-party ones are not good quality . So we will be using ones from a Wii Nunchuks, another GameCube controller or by swapping with the C-stick. A little soldering is required to remove the box and soldering a new one.
Выберете то, что вам нужно
-
-
Using the Tri-Wing, remove the six 9.2mm Tri-wing Y0 screws at the back of the controller
-
-
-
-
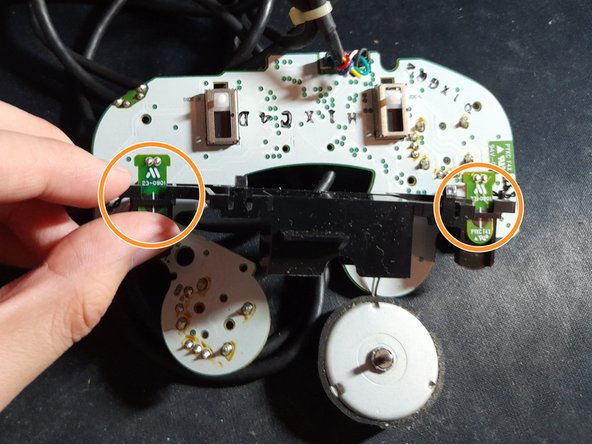
Unhook the two trigger wires on the black plastic piece.
-
Unhook the rumble motor wire.
-
Turn the motherboard around and push the two black pins down to unlock the plastic piece.
-
-
-
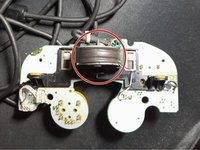
Take out the rumble motor from the black piece.
-
Slide the two triggers forward and the black piece is now removable.
-
-
Инструмент, используемый на этом этапе:Desoldering Pump$3.99
-
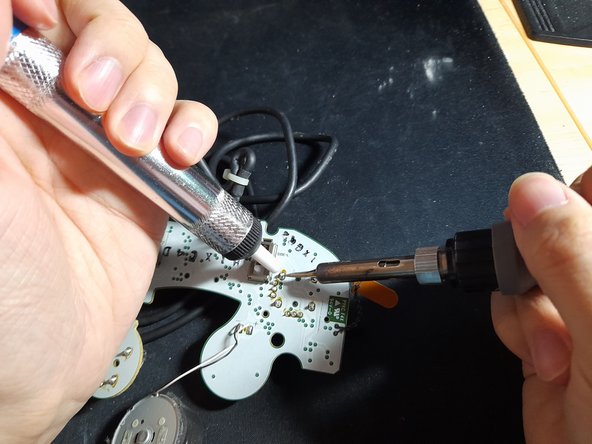
Set your soldering iron to around 420c.
-
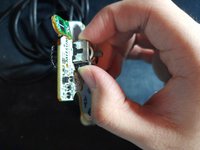
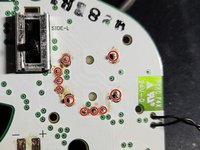
Using your soldering iron and desoldering pump, remove the 10 pins and take out the stick box.
-


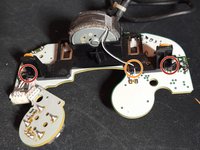


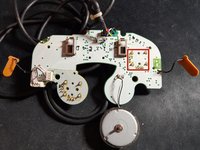


GameCube controllers are still actively used in competitive Smash Bros and as well as retro gaming. They are usually hard to purchase brand new as supplies run out fast or must be bought used from third-party resellers. The stick can be swapped with each other on a controller or with even a Wii Nunchuck.
Отменить: Я не выполнил это руководство.
3 человек успешно провели ремонт по этому руководству.

Команда

York University, Team S2-G19, O'Regan Winter 2021 Участник York University, Team S2-G19, O'Regan Winter 2021
YORK-O'REGAN-W21S2G19
1 член
Автор 2 руководств
2 Комментарии к руководству
Will the stickbox of a Classic Controller fit?