Введение
A defective drill trigger can unintentionally keep the drill on when used by operators and this safety hazard increases the chances of accidental punctures to nearby objects.
Выберете то, что вам нужно
-
-
Eject the battery from the drill.
-
Unscrew the seven M3x15.3mm screws, with the 2mm hex screwdriver bit, that secures the Housing Assembly.
-
-
-
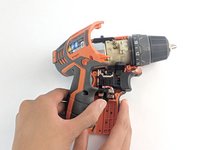
Push the metallic Housing Connecting clip out with flat side of the plastic spudger.
-
-
-
-
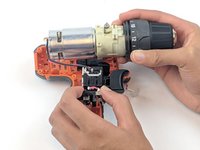
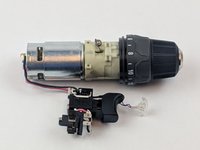
Motor Assembly/Gearbox and Trigger Switch removed from Housing Assembly.
-
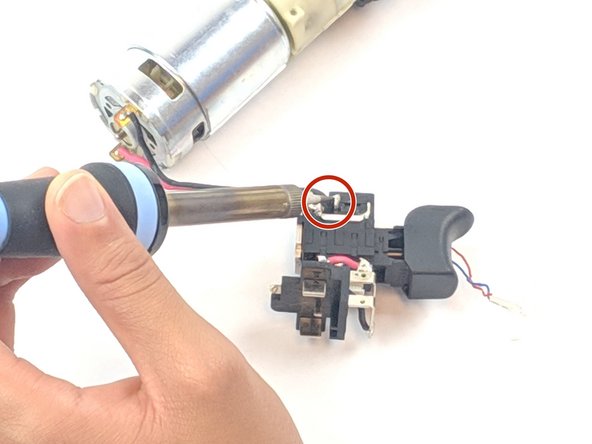
Desolder the black wire connected to the motor.
-
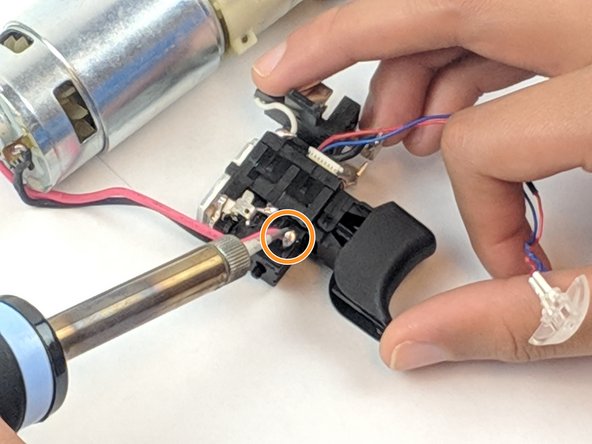
Flip Trigger Switch and desolder red wire.
-


To reassemble your device, follow these instructions in reverse order.
To reassemble your device, follow these instructions in reverse order.
Отменить: Я не выполнил это руководство.
2 человек успешно провели ремонт по этому руководству.
Команду

USF Tampa, Team S1-G2, Leahy Spring 2019 Участник USF Tampa, Team S1-G2, Leahy Spring 2019
USFT-LEAHY-S19S1G2
4 членов
Автор 10 руководств