Эта версия возможно содержит некорректные исправления. Переключить на последнюю проверенную версию.
Выберете то, что вам нужно
-
Этот шаг не переведен. Помогите перевести
-
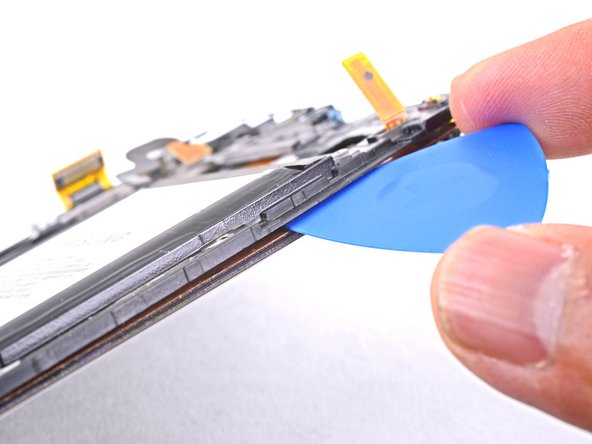
Prepare an iOpener and apply it to the left edge of the display for about two minutes.
-
-
Этот шаг не переведен. Помогите перевести
-
Insert an opening pick between the plastic frame and the display assembly on the same edge you just heated.
-
-
Этот шаг не переведен. Помогите перевести
-
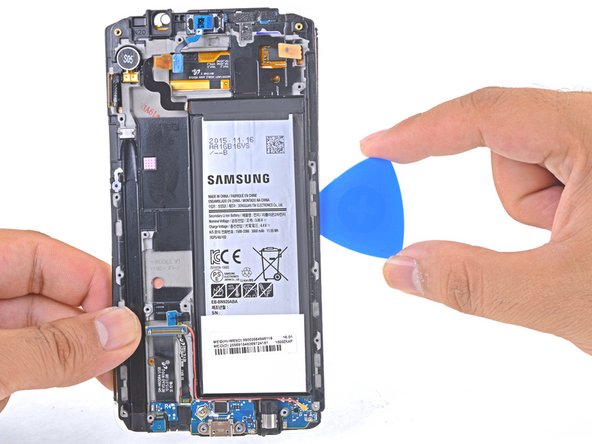
Slide the opening pick down the battery-side of the phone, separating the adhesive.
-
Stop when you get to the bottom of the battery to avoid damaging delicate capacitive buttons at the bottom of the display.
-
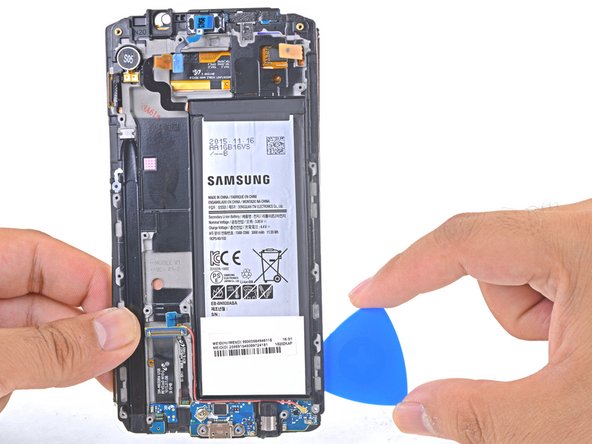
Go slowly so that the tip doesn't slip out of the seam. If sliding becomes difficult, reheat and reapply the iOpener.
-
Leave the pick in place and grab a second pick as you proceed to the next step. Leaving the pick inserted can help prevent the glue you just separated from re-adhering.
-
-
Этот шаг не переведен. Помогите перевести
-
Heat an iOpener and apply it to the non-battery-edge of the phone.
-
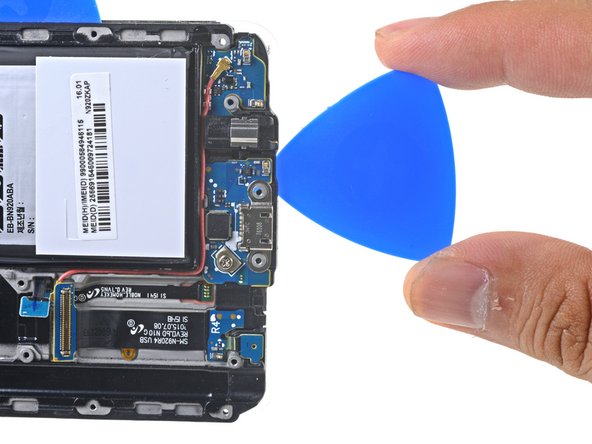
Insert a pick no more than 0.25 inches (~6 mm) into the bottom edge of the phone.
-
Carefully slide the pick along the edge, starting at the headphone jack, until you reach just past the charging port.
-
-
-
Этот шаг не переведен. Помогите перевести
-
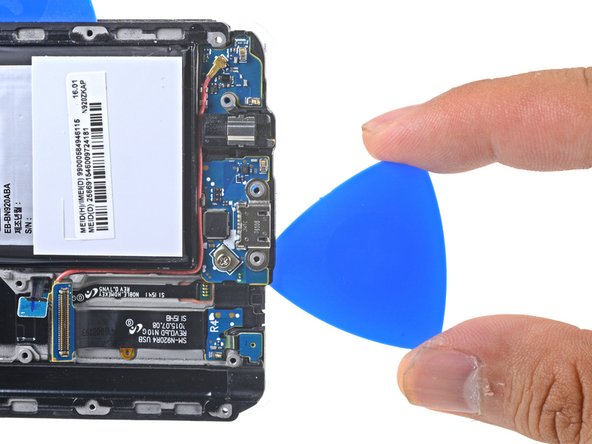
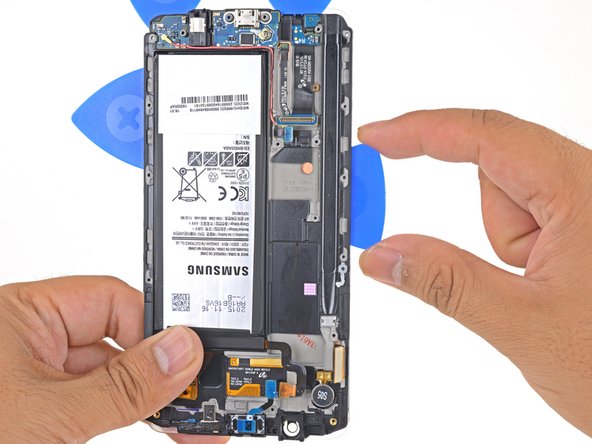
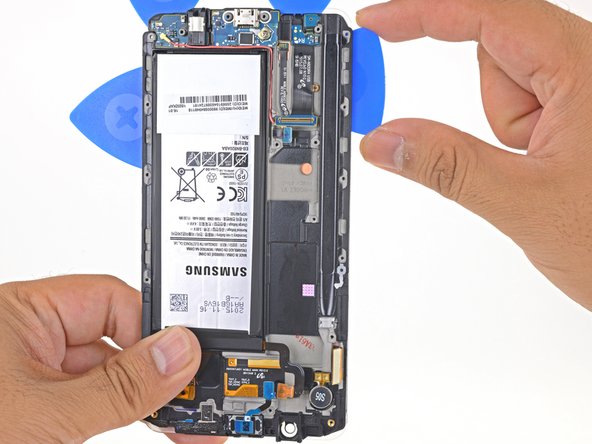
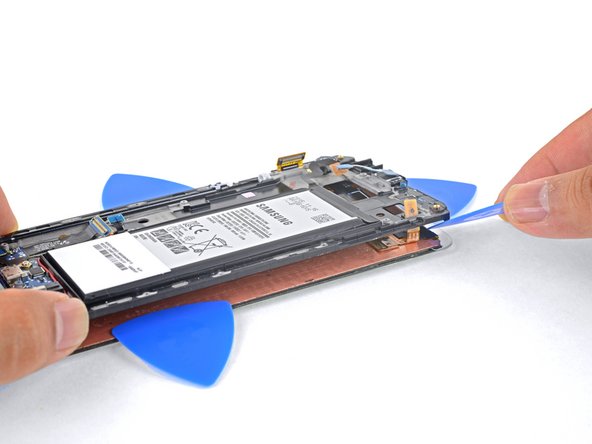
Slide an opening pick from the battery edge battery edge of the phone along the edge of the phone to safely cut over the capacitive button.
-
Leave the pick in place as you proceed to the next button.
-
-
Этот шаг не переведен. Помогите перевести
-
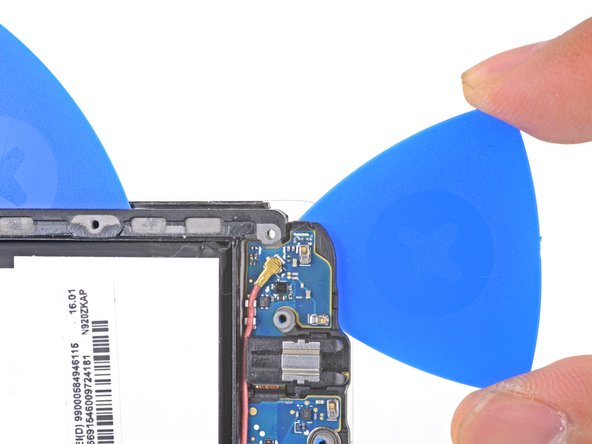
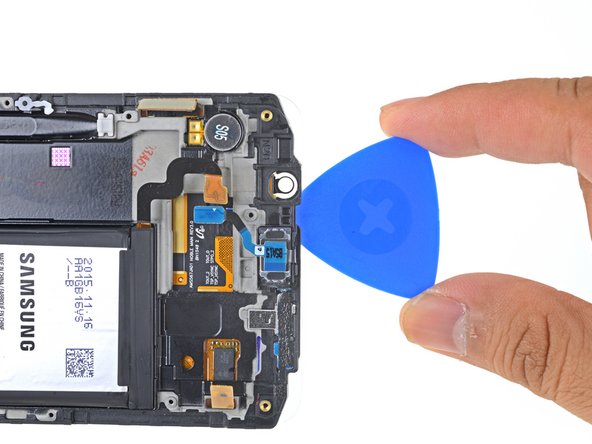
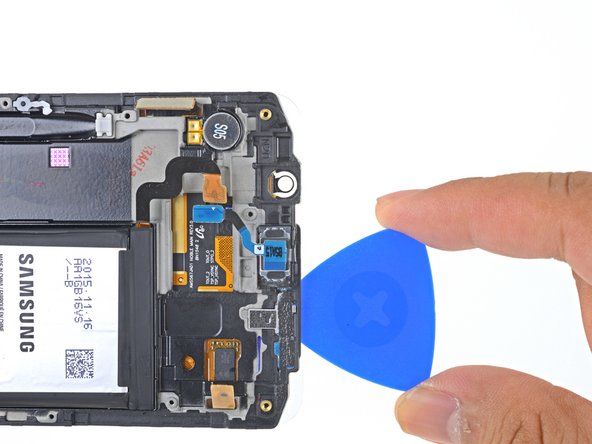
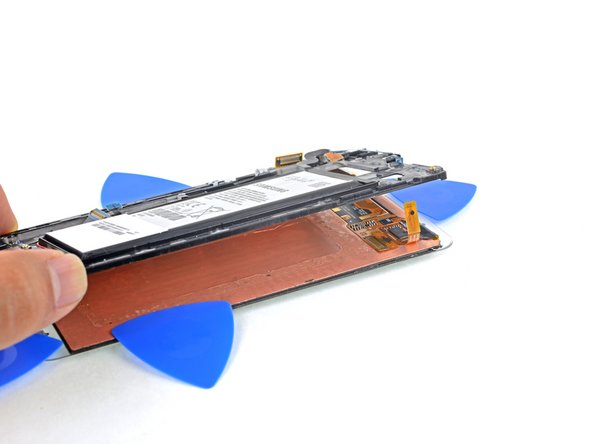
Insert an opening pick under the bottom edge of the display directly below the daughterboard ribbon cable to cut over the other capacitive button.
-
Leave the pick in place.
-
-
Этот шаг не переведен. Помогите перевести
-
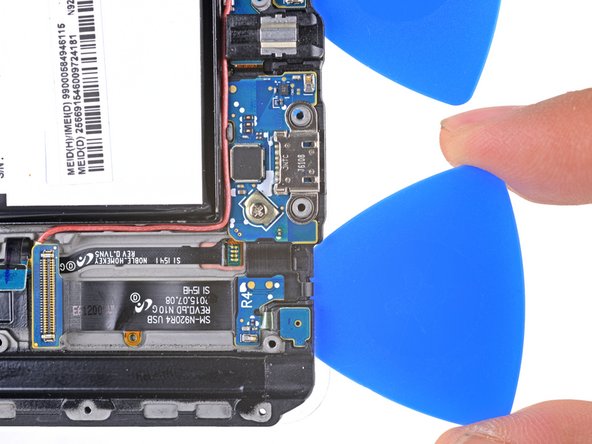
Heat an iOpener and apply it to the non-battery-edge of the phone.
-
Slide an opening pick down the non-battery-edge of the phone, separating the adhesive.
-
-
Этот шаг не переведен. Помогите перевести
-
The non-battery-edge contains a wider swath of adhesive than the other sides. Insert the opening pick as deep as you can to cut through all of it.
-
Leave the pick in place to prevent the adhesive from resealing, and grab another pick as you proceed to the next step.
-
-
Этот шаг не переведен. Помогите перевести
-
Heat an iOpener and apply it to the non-battery-edge of the phone.
-
Cut along the top edge of the phone, making sure not to insert the pick more than 0.25 inches (~6 mm) to avoid damaging the front-facing sensors.
-
-
Этот шаг не переведен. Помогите перевести
-
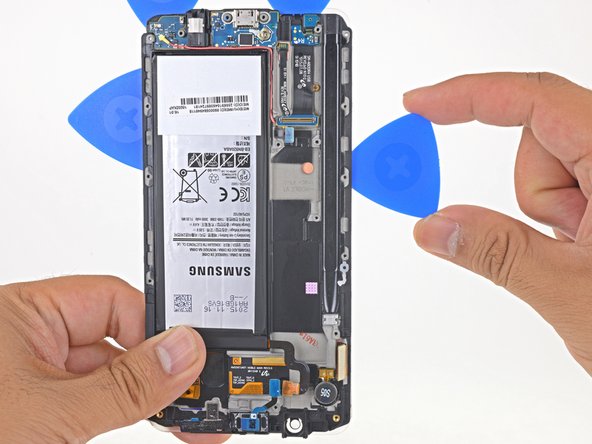
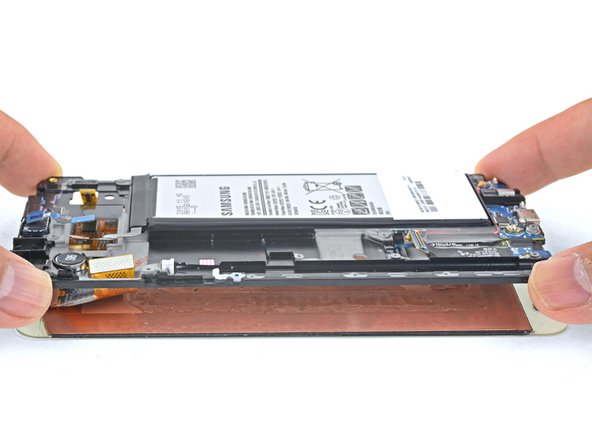
Use the opening picks to cut any remaining adhesive holding the display to the frame.
-
Swing the frame away from the display assembly, threading the touchscreen connector through the frame.
-
-
Этот шаг не переведен. Помогите перевести
-
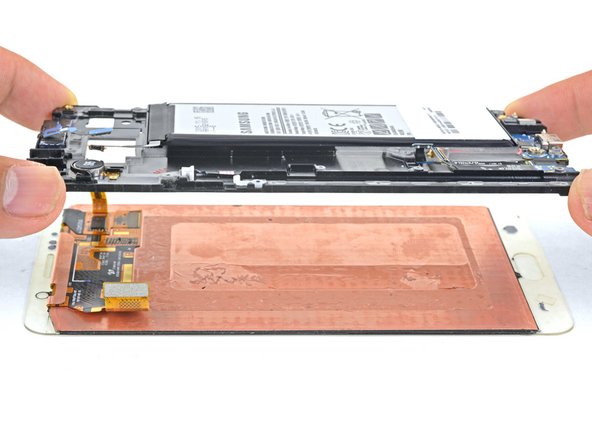
Lift the frame away from the display assembly, threading the display connector through the frame.
-
Remove the frame.
-
-
Этот шаг не переведен. Помогите перевести
-
After removing all traces of glue and glass from the frame, clean the adhesion areas with 90% (or higher) isopropyl alcohol and a lint-free cloth or coffee filter. Swipe in one direction only, not back and forth.
-