Перейти к основному содержанию

Samsung Gusto 2 Keypad Replacement

Выберете то, что вам нужно

  1. Samsung Gusto 2 Keypad Replacement, Battery: шаг 1, изображение 1 из 1
    • Place the phone screen down like this.

  2. Samsung Gusto 2 Keypad Replacement: шаг 2, изображение 1 из 2 Samsung Gusto 2 Keypad Replacement: шаг 2, изображение 2 из 2
    • Find the little slit on the side of the phone and stick your fingernail in between the slit and push your thumb upwards towards your hand.

    • Look at the next picture for the slit.

  3. Samsung Gusto 2 Keypad Replacement: шаг 3, изображение 1 из 3 Samsung Gusto 2 Keypad Replacement: шаг 3, изображение 2 из 3 Samsung Gusto 2 Keypad Replacement: шаг 3, изображение 3 из 3
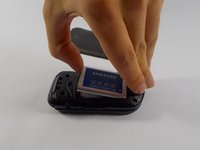
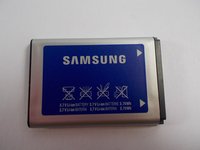
    • Pop out the battery by placing your finger in between the open slit.

  4. Samsung Gusto 2 Keypad Replacement, Keypad: шаг 4, изображение 1 из 2 Samsung Gusto 2 Keypad Replacement, Keypad: шаг 4, изображение 2 из 2
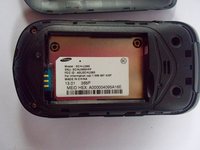
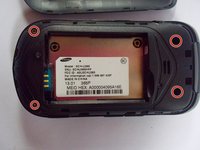
    • Identify the screws as follows and take your screwdriver and unscrew these screws.

    • The screws highlighted in the picture do not need to come out, in fact it is really hard to remove them. Simply unscrewing them will loosen the back of the phone.

  5. Samsung Gusto 2 Keypad Replacement: шаг 5, изображение 1 из 1
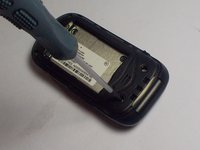
    • Once you have unscrewed the four screws, take your spudger/plastic opening tool and wedge it in the back of the phone as shown in the picture.

    • Find a very thin crevice which seems to run around the phone itself and assertively wedge the spudger into the crevice.

    • Once you have successfully inserted the spudger follow through by sliding the spudger assertively around the phone frame.

    • Apply moderate force while trying to wedge the tool in.

  6. Samsung Gusto 2 Keypad Replacement: шаг 6, изображение 1 из 3 Samsung Gusto 2 Keypad Replacement: шаг 6, изображение 2 из 3 Samsung Gusto 2 Keypad Replacement: шаг 6, изображение 3 из 3
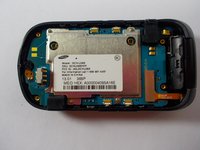
    • The back should now be exposed like the first picture after the case was removed.

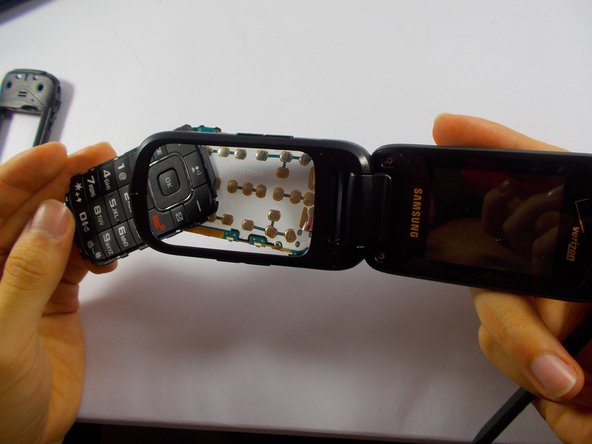
    • Flip open the phone, main screen facing up.

    • Push the keypad and slide it out.

Заключение

To reassemble your device, follow these instructions in reverse order.

Еще один человек закончил это руководство.

Michael Huang

Участник с: 03/30/15

403 Репутация

Автор 3 руководств

Команда

UMass Dartmouth, Team 2-5, Shastany Spring 2015 Участник UMass Dartmouth, Team 2-5, Shastany Spring 2015

UMASSD-SHASTANY-S15S2G5

3 членов

Автор 10 руководств

0 Комментариев

Добавить комментарий

Просмотр статистики:

За последние 24часов: 0

За последние 7 дней: 0

За последние 30 дней: 2

За всё время: 446