Эта версия возможно содержит некорректные исправления. Переключить на последнюю проверенную версию.
Выберете то, что вам нужно
-
Этот шаг не переведен. Помогите перевести
-
With the back of the DVD player facing you, remove the three 1 cm black screws on the right, left, and top sides using a Phillips #1 screwdriver.
-
-
Этот шаг не переведен. Помогите перевести
-
Pull the top cover towards you until you can lift it up and off.
-
-
Этот шаг не переведен. Помогите перевести
-
With the front of the DVD player facing you, turn the power on and eject the disc tray.
-
Press down on the disc tray with your thumbs while also pressing up with your pointer finger on the left and right edges of the silver cover. The cover should easily pop up and off the disc tray.
-
-
Этот шаг не переведен. Помогите перевести
-
To remove the front panel, lift up the clips on the bottom, left and right sides of the DVD player.
-
-
-
Этот шаг не переведен. Помогите перевести
-
Press the eject button again to make the disc tray slide back into place.
-
-
Этот шаг не переведен. Помогите перевести
-
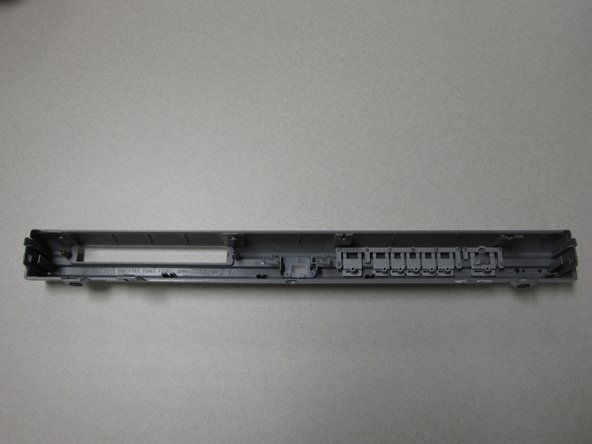
Holding the front panel so the Samsung logo is visible, rotate the panel to view the opposite side.
-
-
Этот шаг не переведен. Помогите перевести
-
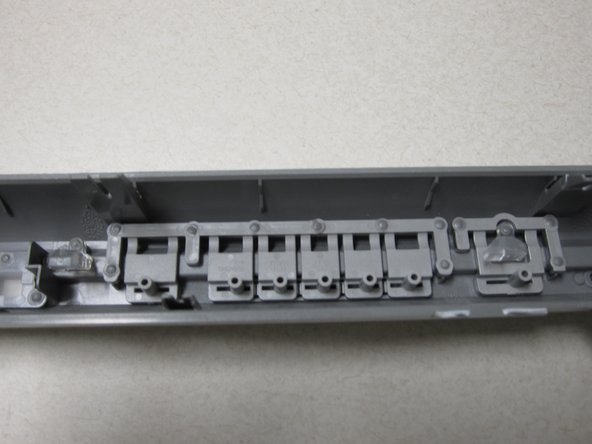
Locate the button panel on the inside towards what is now the right of the front panel.
-
-
Этот шаг не переведен. Помогите перевести
-
To unjam a button, use a finger or flathead screwdriver, and firmly press against the jammed portion of the button panel.
-
Press until the button slides back into it's designated button slot.
-
-
Этот шаг не переведен. Помогите перевести
-
If the button panel is broken, use a flathead screwdriver to pry the button panel from the back of the front panel.
-
With strong plastic adhesive, glue the new button panel into place with each button in it's designated button slot.
-
-
Этот шаг не переведен. Помогите перевести
-
If the button panel is not the cause of the problem, the button sensors on the motherboard need to be replaced.
-
You can refer to this guide for directions on how to solder new sensors on your motherboard if you don't want to replace the entire motherboard.
-


Отменить: Я не выполнил это руководство.
Еще один человек закончил это руководство.

Команда

Cal Poly, Team 14-7, Forte Winter 2011 Участник Cal Poly, Team 14-7, Forte Winter 2011
CPSU-FORTE-W11S14G7
5 членов
Автор 7 руководств