Перейти к основному содержанию
Присоединяйся к сообществу ремонтников - Создай аккаунт

Sega Game Gear Screen Replacement

Выберете то, что вам нужно

  1. Sega Game Gear Screen Replacement, Battery: шаг 1, изображение 1 из 1
    • Place your device upside down and locate the two battery compartments.

  2. Sega Game Gear Screen Replacement: шаг 2, изображение 1 из 1
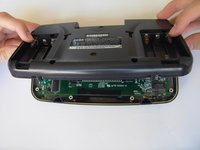
    • Press on the tabs at the bottom of the battery covers then lift up to remove.

    • Remove batteries if they are present.

  3. Sega Game Gear Screen Replacement, Case: шаг 3, изображение 1 из 1
    • Remove the following screws:

    • Six Phillips screws

    • One 4.5 mm Gamebit screw

  4. Sega Game Gear Screen Replacement: шаг 4, изображение 1 из 1
    Инструмент, используемый на этом этапе:
    Tweezers
    $4.99
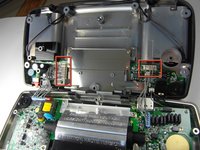
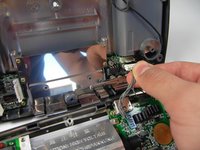
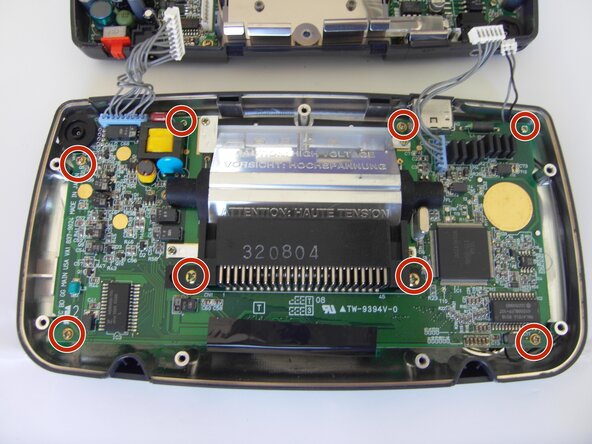
    • Use tweezers to take all other screws out.

  5. Sega Game Gear Screen Replacement: шаг 5, изображение 1 из 2 Sega Game Gear Screen Replacement: шаг 5, изображение 2 из 2
    • Gently open the case by unfolding it over the top of the Sega Game Gear.

    • Do not pull the back of the case away, as cables are connected between both sides.

  6. Sega Game Gear Screen Replacement: шаг 6, изображение 1 из 3 Sega Game Gear Screen Replacement: шаг 6, изображение 2 из 3 Sega Game Gear Screen Replacement: шаг 6, изображение 3 из 3
    • Carefully unplug the 2 white-tipped connectors on the top cover.

  7. Sega Game Gear Screen Replacement, Screen: шаг 7, изображение 1 из 1
    • Unscrew all the marked screws.

  8. Sega Game Gear Screen Replacement: шаг 8, изображение 1 из 1
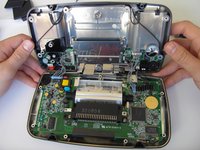
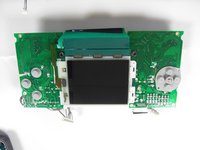
    • Slide the logic board out from under the circular black fastener at the top-left corner of the case.

  9. Sega Game Gear Screen Replacement: шаг 9, изображение 1 из 1
    • Place the board onto a flat surface.

    • Small plastic buttons may fall off during this process, save them in a container or a place where they could be found later on.

  10. Sega Game Gear Screen Replacement: шаг 10, изображение 1 из 1
    • Unscrew the marked screws.

    • Flip the board, having its back facing up.

    • Hold onto the screen in the back, as it will flip open if not held onto.

  11. Sega Game Gear Screen Replacement: шаг 11, изображение 1 из 2 Sega Game Gear Screen Replacement: шаг 11, изображение 2 из 2
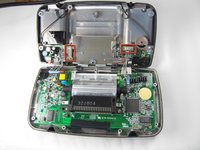
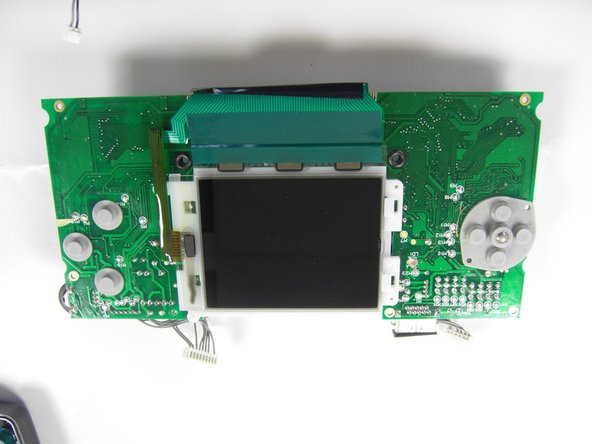
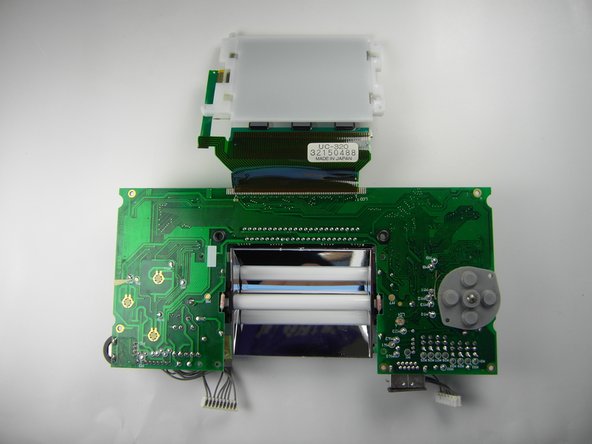
    • Make sure the screen is towards the bottom, as indicated in the second picture.

  12. Sega Game Gear Screen Replacement: шаг 12, изображение 1 из 2 Sega Game Gear Screen Replacement: шаг 12, изображение 2 из 2
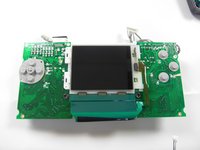
    • Gently open the screen up.

    • The screen will not come out all the way since it is glued onto the top side.

Заключение

To reassemble your device, follow these instructions in reverse order.

15 человек успешно провели ремонт по этому руководству.

Lauren Thurston

Участник с: 04/15/10

506 Репутация

Автор 3 руководств

Команда

Cal Poly, Team 28-33, Regan Spring 2010 Участник Cal Poly, Team 28-33, Regan Spring 2010

CPSU-REGAN-S10S28G33

5 членов

Автор 20 руководств

12 Комментарии к руководству

any one know where to get a new display that wont bleed me dry?

theikester - Ответить Поделиться

Due to the nature a Game Gear screen attaches, a ribbon directly soldered to the mainboard, replacing it requires a soldering iron and some fairly advanced technique.

This guide, titled “Sega Game Gear Screen Replacement”, only takes us to the point you remove the ribbon. There is much work left.

Anthony Bessel - Ответить Поделиться

so, uh, is there a more comprehensive version somewhere?

rollin - Поделиться

Thank you. I was wondering why they left this out.

Jamie O'Connell - Поделиться

Does the screen get fixed at the end?

Caedmon O’Brien - Ответить Поделиться

Добавить комментарий

Статистика просмотров:

За последние 24 часов: 15

За последние 7 дней: 109

За последние 30 дней: 434

За всё время: 72,707