Введение
This repair guide allows for you to access the filters on the Shark Rocket HV301. Cleaning the filters, or replacing them with new ones, will improve suction and overall performance. There are no tools needed, as this guide is very simple and easy to do.
Выберете то, что вам нужно
-
-
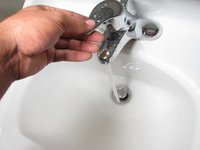
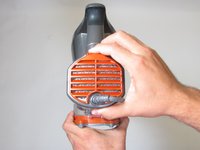
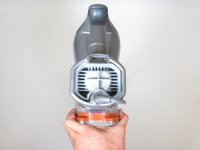
Locate the orange filter lid on the front of the vacuum.
-
Remove the orange filter lid by pulling on the tab that has "Clean Filter Monthly" written on it.
 Спросите у FixBot
-
-
-
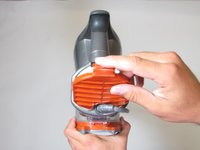
Remove the the outer and inner filters inside the vacuum by pulling them out.
-
-
-
-
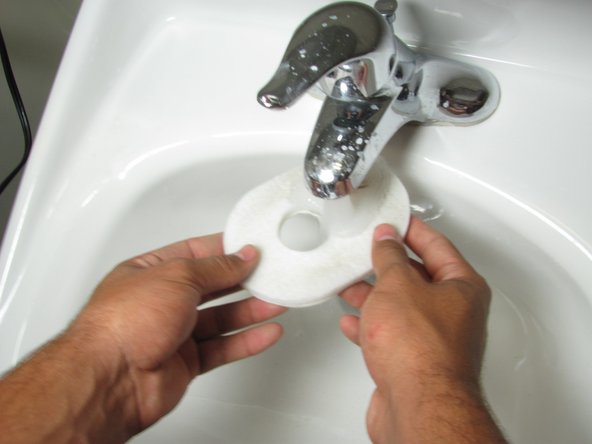
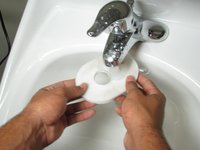
Wash the filters by running tap water through them until clear unless you are buying new filters.
-
Lay thee filters out until they are completely dry.
-
-
-
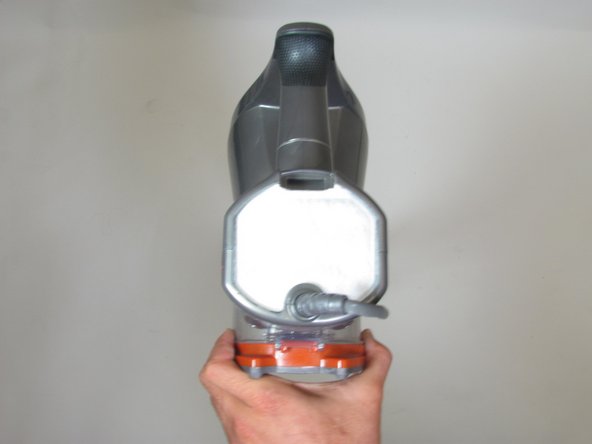
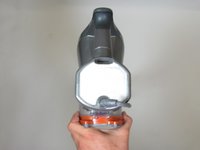
Locate the motor filter lid on the top of the vacuum with the vacuum facing you.
-
Remove the motor filter lid by pushing the release clip on the top and pulling towards you.
-
-
-
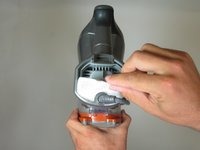
Pinch the tab on the motor filter to remove it from the vacuum.
-


To reassemble your device, follow these instructions in reverse order.
Отменить: Я не выполнил это руководство.
8 человек успешно провели ремонт по этому руководству.

Команда

Cal Poly, Team 10-5, Livingston Fall 2016 Участник Cal Poly, Team 10-5, Livingston Fall 2016
CPSU-LIVINGSTON-F16S10G5
4 членов
Автор 15 руководств
12 Комментарии к руководству
great! I had an extra filter in a package of filters I bought and couldn't for the life of me figure there that one on top of the motor went. I haven't changed it since I bought the cleaner 2 years ago!
My motor filter is now almost completely black. Is that normal?
Nope. If it’s cloth, wash it with soap and water, toss it in the drier, and put it back in. If it’s washable but not cloth, wash it, let it dry - good to go
Am I missing something? Isn’t the conclusion a little premature? The filter in the back, are we able to clean it or not? A couple of YouTube videos on the subject say not to clean this filter. When my vacuum is under load and they close off the suction I immediately have a loss of suction power and loud suction noise out the back. Basically it is losing almost all the suction power out the back when the vacuum is under load. This happens regardless if I have the filter in or out so I can’t imagine cleaning it will make much difference. I have cleaned all my other filters. Other than that the vacuum sounds like it’s working well. I can’t find any other information on the topic. This is not happen to anyone else? Thank you for any help and also if you could clarify if we can clean the filter in the back or not as well that would be great. My apologies if this was already mentioned somewhere in the video earlier on. May want to include it at the end when discussing that particular filter anyways?
Can I rinse the motor filter?