Перейти к основному содержанию
Присоединяйся к сообществу ремонтников - Создай аккаунт

Shark Rocket Professional Secondary Filters Replacement

  1. Shark Rocket Professional Secondary Filters Replacement, Dust Cup: шаг 1, изображение 1 из 2 Shark Rocket Professional Secondary Filters Replacement, Dust Cup: шаг 1, изображение 2 из 2
    • First, locate the button that says "Dust Cup". It is right next to the power button at the base of the handle.

    • Press the button down completely; you should feel a click.

    Спросите у FixBot
  2. Shark Rocket Professional Secondary Filters Replacement: шаг 2, изображение 1 из 1
    • Grab the handle of the dust cup, then pull up and away from the vacuum.

    • You must press the button and pull the dust cap simultaneously at first to release the latch.

    Спросите у FixBot
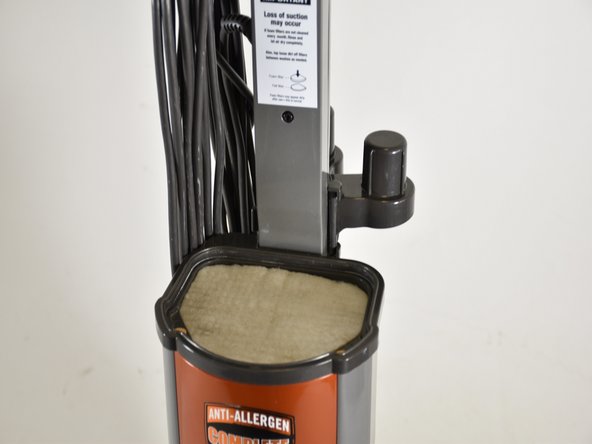
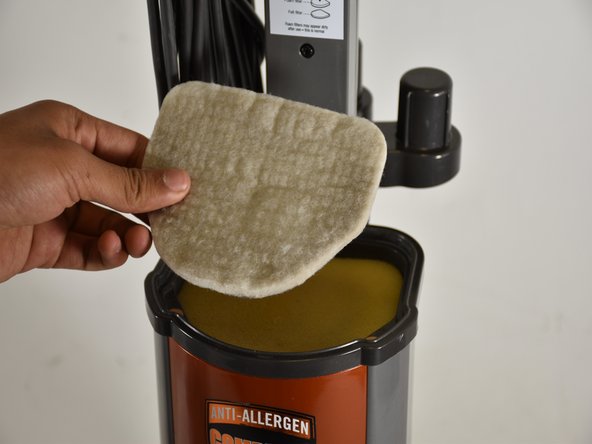
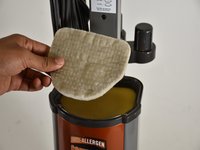
  3. Shark Rocket Professional Secondary Filters Replacement, Secondary Filters: шаг 3, изображение 1 из 3 Shark Rocket Professional Secondary Filters Replacement, Secondary Filters: шаг 3, изображение 2 из 3 Shark Rocket Professional Secondary Filters Replacement, Secondary Filters: шаг 3, изображение 3 из 3
    • As you look beneath the base of the dust cup, you will see a white foam filter. Remove this filter with your fingers.

    Спросите у FixBot
  4. Shark Rocket Professional Secondary Filters Replacement: шаг 4, изображение 1 из 1
    • Removing the first filter will reveal a second, thicker foam filter. Remove this as well.

    • Shark recommends that you rinse and air dry these filters monthly.

    • Remember to replace the filters in the correct order.

    Спросите у FixBot
  5. Shark Rocket Professional Secondary Filters Replacement: шаг 5, изображение 1 из 1
    • A dust filter is located within the dust cup. To access it, open the dust cup by pressing the orange tab on the front and pulling up on the handle.

    Спросите у FixBot
  6. Shark Rocket Professional Secondary Filters Replacement: шаг 6, изображение 1 из 1
    • Find the cylindrical screen in the center of the dust cap, grab the top, and pull it straight out.

    • If this filter is dirty, shake it or rinse it off to clean it.

    Спросите у FixBot
Заключение

To reassemble your device, follow these instructions in reverse order.

Еще один человек закончил это руководство.

Theo Watkins

Участник с: 01/23/18

356 Репутация

Автор 2 руководств

Команда

Cal Poly, Team S18-G6, Livingston Winter 2018 Участник Cal Poly, Team S18-G6, Livingston Winter 2018

CPSU-LIVINGSTON-W18S18G6

4 членов

Автор 10 руководств

0 Комментарии к руководству

Добавить комментарий

Статистика просмотров:

За последние 24 часов: 0

За последние 7 дней: 11

За последние 30 дней: 72

За всё время: 6,751