Перейти к основному содержанию
Присоединяйся к сообществу ремонтников - Создай аккаунт

Sony Ericsson TM506 Motherboard Replacement

Выберете то, что вам нужно

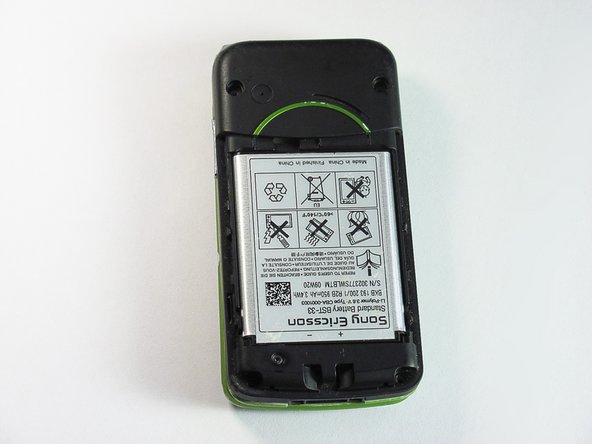
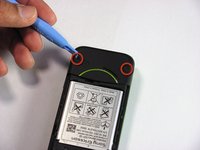
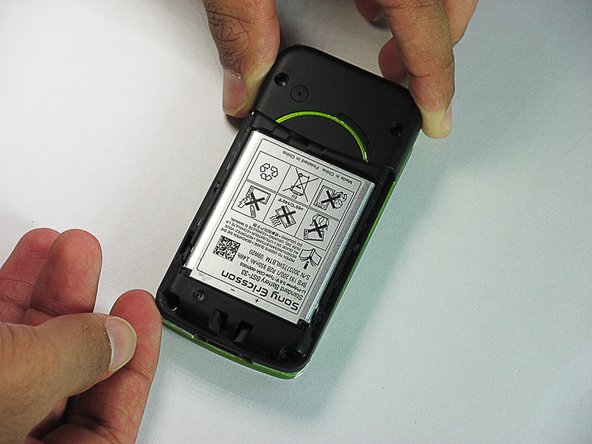
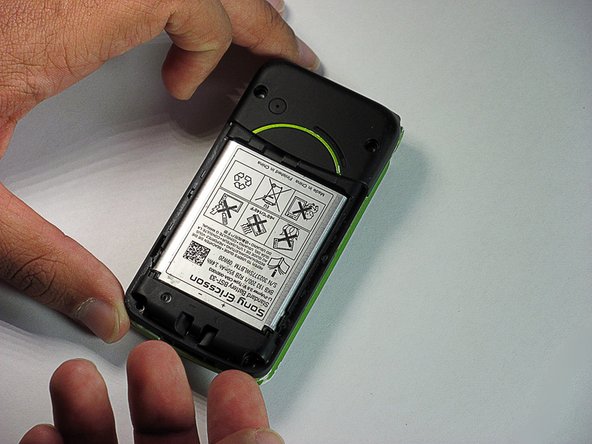
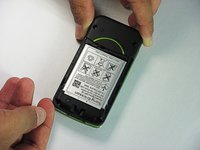
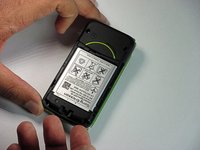
  1. Sony Ericsson TM506 Motherboard Replacement, Battery Cover: шаг 1, изображение 1 из 3 Sony Ericsson TM506 Motherboard Replacement, Battery Cover: шаг 1, изображение 2 из 3 Sony Ericsson TM506 Motherboard Replacement, Battery Cover: шаг 1, изображение 3 из 3
    • Firmly hold the phone between your fingers with your thumb on the battery cover.

    • Push down with your thumb until the battery cover comes off.

    Спросите у FixBot
  2. Sony Ericsson TM506 Motherboard Replacement, Back Case: шаг 2, изображение 1 из 3 Sony Ericsson TM506 Motherboard Replacement, Back Case: шаг 2, изображение 2 из 3 Sony Ericsson TM506 Motherboard Replacement, Back Case: шаг 2, изображение 3 из 3
    • Unscrew the bottom two 5.4mm screws with a Torx T6 screwdriver.

    Спросите у FixBot
  3. Sony Ericsson TM506 Motherboard Replacement: шаг 3, изображение 1 из 2 Sony Ericsson TM506 Motherboard Replacement: шаг 3, изображение 2 из 2
    • Remove the two rubber casings for the top two screws with a plastic opening tool.

    Спросите у FixBot
  4. Sony Ericsson TM506 Motherboard Replacement: шаг 4, изображение 1 из 1
    • Unscrew these two 5.4mm screws with a Torx T6 screwdriver.

    Спросите у FixBot
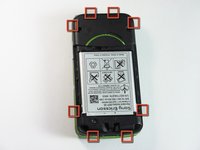
  5. Sony Ericsson TM506 Motherboard Replacement: шаг 5, изображение 1 из 3 Sony Ericsson TM506 Motherboard Replacement: шаг 5, изображение 2 из 3 Sony Ericsson TM506 Motherboard Replacement: шаг 5, изображение 3 из 3
    • There are eight snap hooks located around the outer case. Carefully snap these to remove the outer case.

    Спросите у FixBot
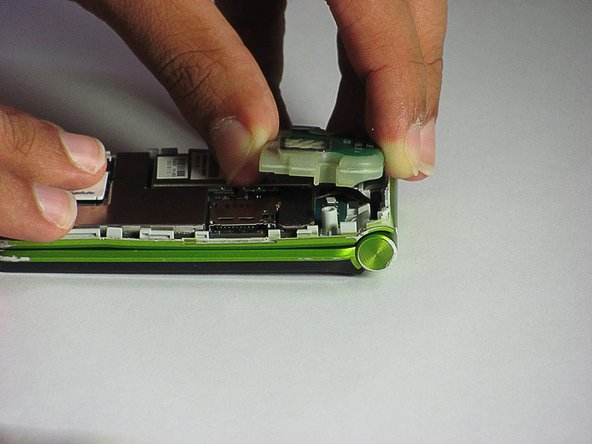
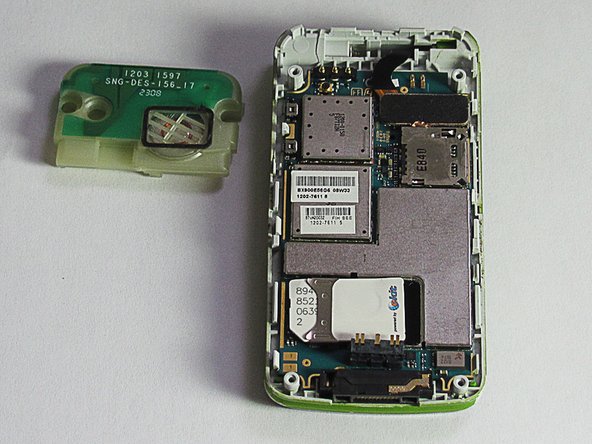
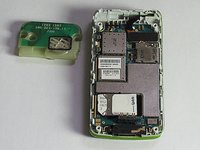
  6. Sony Ericsson TM506 Motherboard Replacement, Sound Box: шаг 6, изображение 1 из 3 Sony Ericsson TM506 Motherboard Replacement, Sound Box: шаг 6, изображение 2 из 3 Sony Ericsson TM506 Motherboard Replacement, Sound Box: шаг 6, изображение 3 из 3
    • The sound box is attached to the case by two snap hooks.

    • Lift the sound box up to remove it from the case.

    Спросите у FixBot
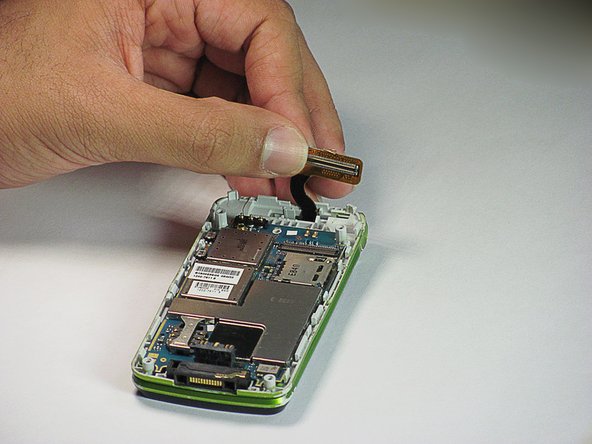
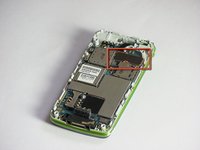
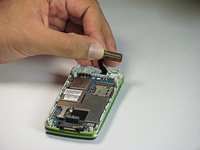
  7. Sony Ericsson TM506 Motherboard Replacement, Motherboard: шаг 7, изображение 1 из 2 Sony Ericsson TM506 Motherboard Replacement, Motherboard: шаг 7, изображение 2 из 2
    • Locate the 80-pin connector.

    • Carefully, lift up on the connector to separate it from the board.

    Спросите у FixBot
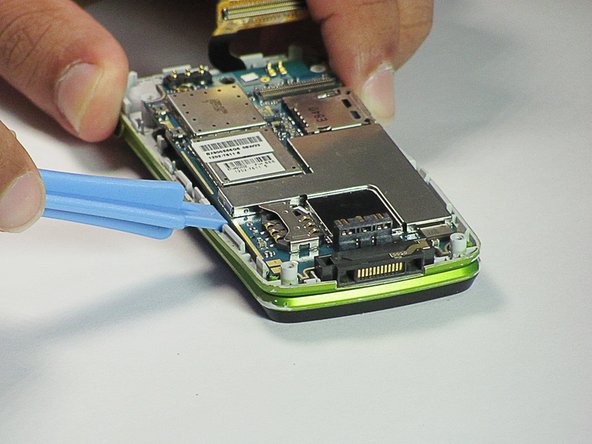
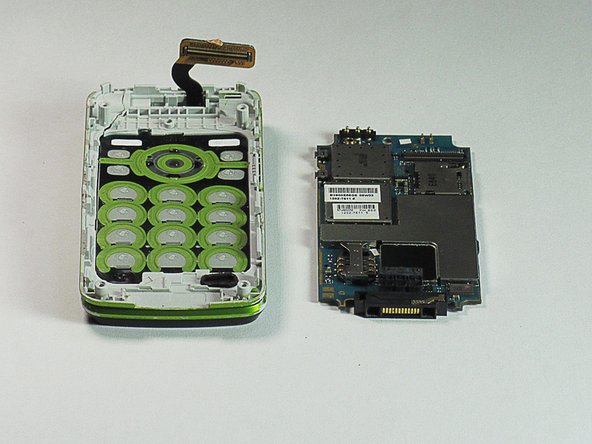
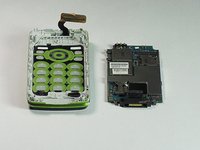
  8. Sony Ericsson TM506 Motherboard Replacement: шаг 8, изображение 1 из 3 Sony Ericsson TM506 Motherboard Replacement: шаг 8, изображение 2 из 3 Sony Ericsson TM506 Motherboard Replacement: шаг 8, изображение 3 из 3
    • There are two snap hooks that attach the motherboard to the case.

    • Using a plastic opening tool, carefully lift up on the motherboard to detach it.

    • The motherboard is extremely fragile. Try to be forceful yet delicate in the removal because it will not come off easily.

    Спросите у FixBot
Заключение

To reassemble your device, follow these instructions in reverse order.

Daniel

Участник с: 06/20/12

83 Репутация

Автор 7 руководств

Команда

Cal Poly, Team 1-1, Regan SU 2012 Участник Cal Poly, Team 1-1, Regan SU 2012

CPSU-REGAN-SU12S1G1

2 членов

Автор 16 руководств

0 Комментарии к руководству

Добавить комментарий

Статистика просмотров:

За последние 24 часов: 3

За последние 7 дней: 12

За последние 30 дней: 61

За всё время: 1,440