Перейти к основному содержанию
Присоединяйся к сообществу ремонтников - Создай аккаунт

Sony Vaio VPCCW17FX Fan Replacement

Выберете то, что вам нужно

  1. Sony Vaio VPCCW17FX Fan Replacement, Back case: шаг 1, изображение 1 из 1
    • Turn the laptop over and orient it as shown.

    Спросите у FixBot
  2. Sony Vaio VPCCW17FX Fan Replacement: шаг 2, изображение 1 из 3 Sony Vaio VPCCW17FX Fan Replacement: шаг 2, изображение 2 из 3 Sony Vaio VPCCW17FX Fan Replacement: шаг 2, изображение 3 из 3
    • Remove the battery by pinching the two lock tabs towards the center.

    • Next, lift up on the battery to remove it.

    Спросите у FixBot
  3. Sony Vaio VPCCW17FX Fan Replacement: шаг 3, изображение 1 из 1
    • Using a Phillips #00 screwdriver, remove the twenty-two 5.6 mm screws from the back of the laptop.

    • Be sure to remove all screws, including those that are typically covered by the battery.

    Спросите у FixBot
  4. Sony Vaio VPCCW17FX Fan Replacement: шаг 4, изображение 1 из 3 Sony Vaio VPCCW17FX Fan Replacement: шаг 4, изображение 2 из 3 Sony Vaio VPCCW17FX Fan Replacement: шаг 4, изображение 3 из 3
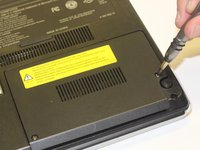
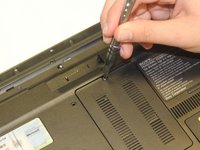
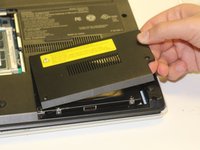
    • Now, remove the small covers from the back of the case.

    • Using a Phillips #00 screwdriver, unscrew the three 5.6 mm screws from the covers (one screw on the RAM cover [middle] and two screws on the Hard Drive cover [bottom right]).

    • Then, lift up on and remove these covers as shown in the third image.

    Спросите у FixBot
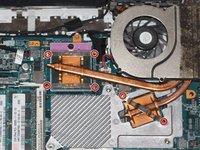
  5. Sony Vaio VPCCW17FX Fan Replacement: шаг 5, изображение 1 из 3 Sony Vaio VPCCW17FX Fan Replacement: шаг 5, изображение 2 из 3 Sony Vaio VPCCW17FX Fan Replacement: шаг 5, изображение 3 из 3
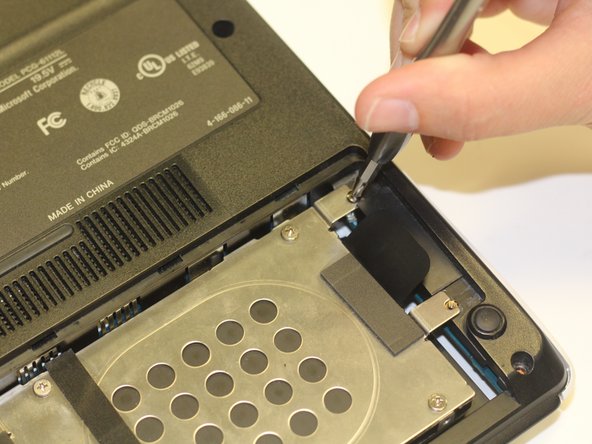
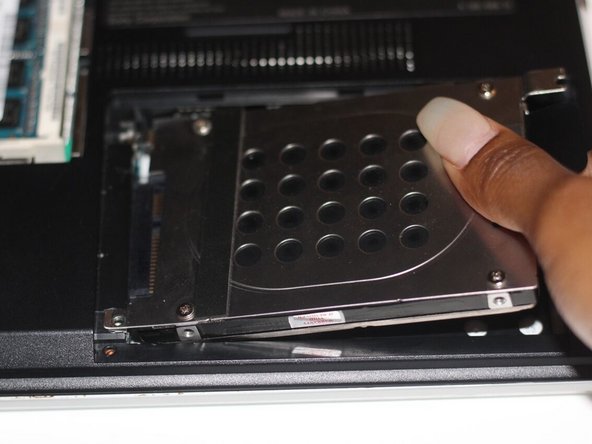
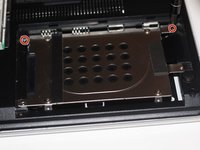
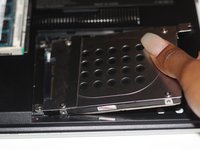
    • Remove the hard drive.

    • Using a Phillips #00 screwdriver, unscrew the two remaining 4.9 mm screws holding the hard drive into place.

    • Next, lift up and pull outwards to release the hard drive from its socket.

    Спросите у FixBot
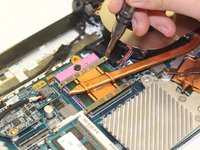
  6. Sony Vaio VPCCW17FX Fan Replacement: шаг 6, изображение 1 из 1
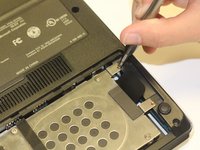
    • Using your fingers, grasp the black tab and lightly pull up on the ribbon cable to detach it from the motherboard.

    Спросите у FixBot
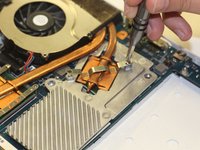
  7. Sony Vaio VPCCW17FX Fan Replacement: шаг 7, изображение 1 из 1
    • After proper removal of all necessary screws, gently lift up on the back case to remove it.

    Спросите у FixBot
  8. Sony Vaio VPCCW17FX Fan Replacement, Fan: шаг 8, изображение 1 из 3 Sony Vaio VPCCW17FX Fan Replacement, Fan: шаг 8, изображение 2 из 3 Sony Vaio VPCCW17FX Fan Replacement, Fan: шаг 8, изображение 3 из 3
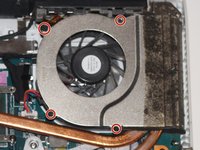
    • Locate the fan (top-right corner of the computer).

    • Using a Phillips #00 screwdriver, unscrew the six 2.7 mm screws that secure the fan to the motherboard.

    Спросите у FixBot
  9. Sony Vaio VPCCW17FX Fan Replacement: шаг 9, изображение 1 из 2 Sony Vaio VPCCW17FX Fan Replacement: шаг 9, изображение 2 из 2
    • This step can be skipped if you are just removing the fan to access another part of the device (such as the motherboard).

    • Using a Japanese Industrial Standard #00 screwdriver, unscrew four 3.7 mm screws located on the casing of the fan.

    Спросите у FixBot
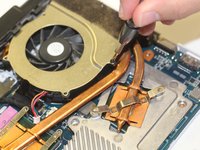
  10. Sony Vaio VPCCW17FX Fan Replacement: шаг 10, изображение 1 из 2 Sony Vaio VPCCW17FX Fan Replacement: шаг 10, изображение 2 из 2
    • Using your fingers, grasp the white tab and firmly, yet gently, pull up on the wire to disconnect it from the motherboard.

    Спросите у FixBot
Заключение

To reassemble your device, follow these instructions in reverse order.

Ellie DePorter

Участник с: 01/29/18

310 Репутация

Автор 2 руководств

Команда

University of Alabama, Team S3-G9, Bedsole Spring 2018 Участник University of Alabama, Team S3-G9, Bedsole Spring 2018

UA-BEDSOLE-S18S3G9

3 членов

Автор 12 руководств

0 Комментарии к руководству

Добавить комментарий

Статистика просмотров:

За последние 24 часов: 6

За последние 7 дней: 11

За последние 30 дней: 73

За всё время: 1,404