Перейти к основному содержанию
Присоединяйся к сообществу ремонтников - Создай аккаунт

Sony Xperia Z5 LCD Screen Replacement

Выберете то, что вам нужно

Видеообзор

  1. Sony Xperia Z5 LCD Screen Replacement, LCD Screen: шаг 1, изображение 1 из 2 Sony Xperia Z5 LCD Screen Replacement, LCD Screen: шаг 1, изображение 2 из 2
    • Remove SIM card tray.

    Спросите у FixBot
  2. Sony Xperia Z5 LCD Screen Replacement: шаг 2, изображение 1 из 2 Sony Xperia Z5 LCD Screen Replacement: шаг 2, изображение 2 из 2
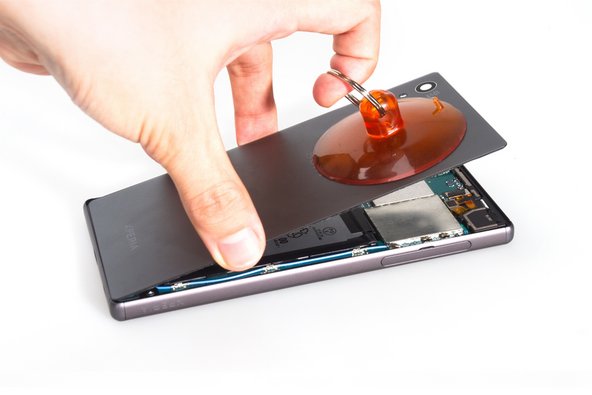
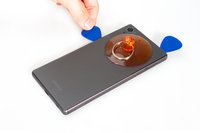
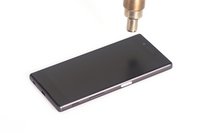
    • Heat the back cover to soften the adhesive sticker.

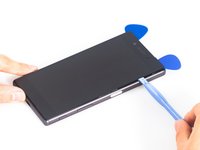
    • Place the suction cup and insert metal opening tool to open a gap from top side.

    Спросите у FixBot
  3. Sony Xperia Z5 LCD Screen Replacement: шаг 3, изображение 1 из 3 Sony Xperia Z5 LCD Screen Replacement: шаг 3, изображение 2 из 3 Sony Xperia Z5 LCD Screen Replacement: шаг 3, изображение 3 из 3
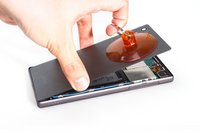
    • Insert the guitar pick and slide it to cut the adhesive sticker underneath.

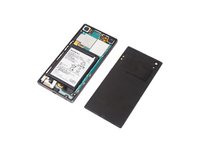
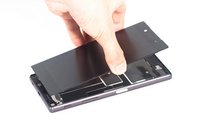
    • Remove back cover.

    Спросите у FixBot
  4. Sony Xperia Z5 LCD Screen Replacement: шаг 4, изображение 1 из 3 Sony Xperia Z5 LCD Screen Replacement: шаг 4, изображение 2 из 3 Sony Xperia Z5 LCD Screen Replacement: шаг 4, изображение 3 из 3
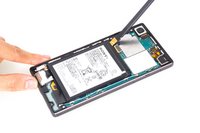
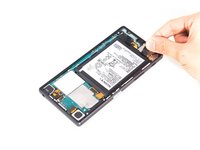
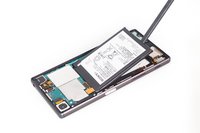
    • Release battery connector.

    • Pull off the adhesive tape underneath the battery.

    • Pry up battery.

    Спросите у FixBot
  5. Sony Xperia Z5 LCD Screen Replacement: шаг 5, изображение 1 из 3 Sony Xperia Z5 LCD Screen Replacement: шаг 5, изображение 2 из 3 Sony Xperia Z5 LCD Screen Replacement: шаг 5, изображение 3 из 3
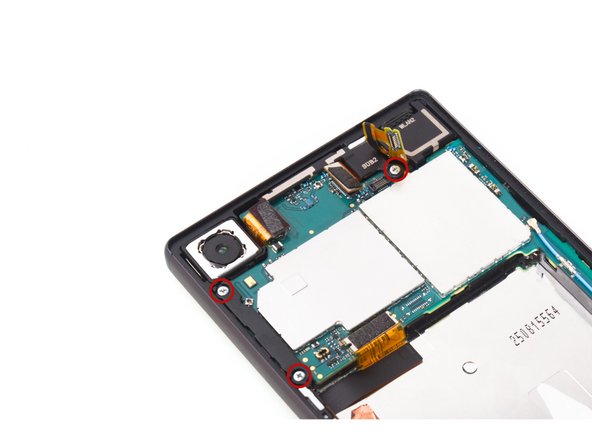
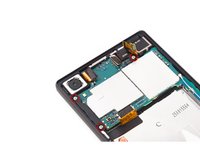
    • Release rear camera connector, front camera connector, audio jack connector and main flex connector on the motherboard.

    • Twist off screws there.

    • Remove that rubber securing bracket.

    Спросите у FixBot
  6. Sony Xperia Z5 LCD Screen Replacement: шаг 6, изображение 1 из 3 Sony Xperia Z5 LCD Screen Replacement: шаг 6, изображение 2 из 3 Sony Xperia Z5 LCD Screen Replacement: шаг 6, изображение 3 из 3
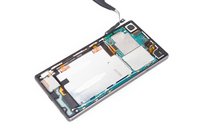
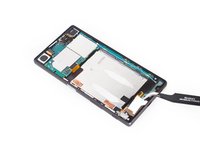
    • Remove metal cover and twist off two screws.

    • Loosen the bottom side of main flex assembly.

    Спросите у FixBot
  7. Sony Xperia Z5 LCD Screen Replacement: шаг 7, изображение 1 из 3 Sony Xperia Z5 LCD Screen Replacement: шаг 7, изображение 2 из 3 Sony Xperia Z5 LCD Screen Replacement: шаг 7, изображение 3 из 3
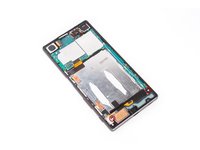
    • Loosen side button contactors ( Attention: the fingerprint sensor is here, be careful to loosen it), then remove the whole main flex assembly.

    Спросите у FixBot
  8. Sony Xperia Z5 LCD Screen Replacement: шаг 8, изображение 1 из 3 Sony Xperia Z5 LCD Screen Replacement: шаг 8, изображение 2 из 3 Sony Xperia Z5 LCD Screen Replacement: шаг 8, изображение 3 из 3
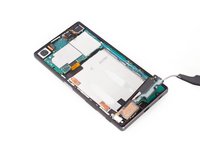
    • Remove rear camera.

    • Remove that securing bracket, then remove front camera.

    Спросите у FixBot
  9. Sony Xperia Z5 LCD Screen Replacement: шаг 9, изображение 1 из 3 Sony Xperia Z5 LCD Screen Replacement: шаг 9, изображение 2 из 3 Sony Xperia Z5 LCD Screen Replacement: шаг 9, изображение 3 из 3
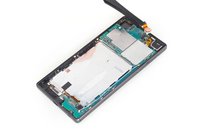
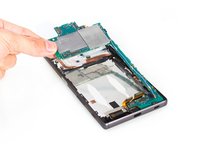
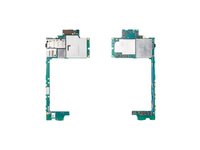
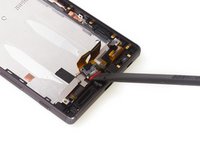
    • Release LCD screen flex connector, charging port connector, microphone connector here.

    • Remove motherboard.

    Спросите у FixBot
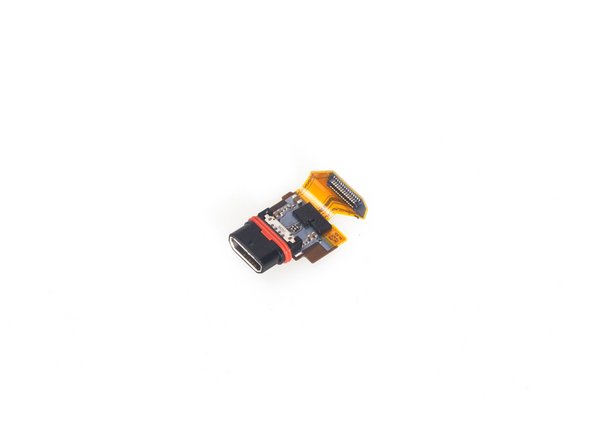
  10. Sony Xperia Z5 LCD Screen Replacement: шаг 10, изображение 1 из 2 Sony Xperia Z5 LCD Screen Replacement: шаг 10, изображение 2 из 2
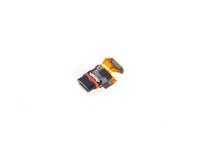
    • Remove charging port flex.

    Спросите у FixBot
  11. Sony Xperia Z5 LCD Screen Replacement: шаг 11, изображение 1 из 2 Sony Xperia Z5 LCD Screen Replacement: шаг 11, изображение 2 из 2
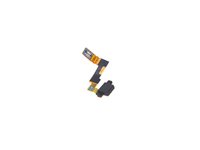
    • Remove microphone.

    Спросите у FixBot
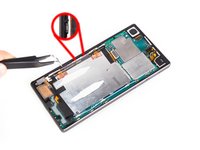
  12. Sony Xperia Z5 LCD Screen Replacement: шаг 12, изображение 1 из 2 Sony Xperia Z5 LCD Screen Replacement: шаг 12, изображение 2 из 2
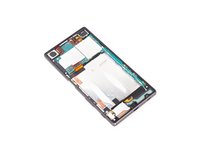
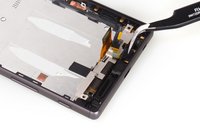
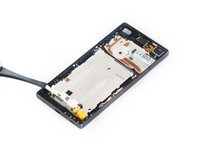
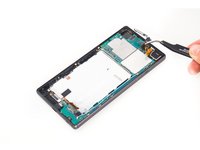
    • Remove the metal bracket covering on the LCD screen flex.

    Спросите у FixBot
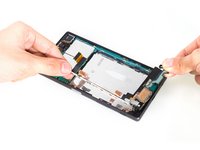
  13. Sony Xperia Z5 LCD Screen Replacement: шаг 13, изображение 1 из 3 Sony Xperia Z5 LCD Screen Replacement: шаг 13, изображение 2 из 3 Sony Xperia Z5 LCD Screen Replacement: шаг 13, изображение 3 из 3
    • The sticker underneath is strong, so use heat gun to soften it for a few minutes.

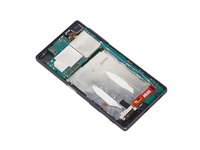
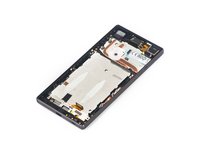
    • Remove LCD screen carefully.

    • Take extra care when prying along the bottom edge of the display to avoid damaging the display cable.

    Спросите у FixBot
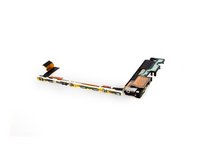
  14. Sony Xperia Z5 LCD Screen Replacement: шаг 14, изображение 1 из 1
    • Done.

    Спросите у FixBot
Заключение

To reassemble your device, follow these instructions in reverse order.

47 человек успешно провели ремонт по этому руководству.

Lenka

Участник с: 11/06/15

2 408 Репутация

Автор 6 руководств

45 Комментарии к руководству

Awesome guide. Helped me alot. However i got blank screen after installing the new screen. Dont panic. You must replace the tape that covers the lcd filters. If you dont the metal plate will bridge the connections and the LCD will not display. I thought i broke the LCD however just replaced the tape off the original LCD and BOOM!
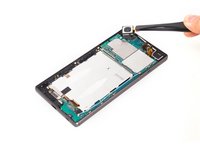
Kiwi phone repairs - Ответить Поделиться

What are the filters? I have a repair shop and all screens are like these. Can't find them anywhere.

Johnny - Ответить Поделиться

Hi, you need to reuse the black tape sticked on the original flex cable to cover the filters on the replacement part.

Adrien Ould Madi - Ответить Поделиться

I would like also to know which tape you replaced.

Patrick - Ответить Поделиться

What r the lcd filters as I have replaced a screen on Sony z5 on 2 phones now and the backlight isn't working on both phones but u can see that the screens r working any help would be great thanks

Barry - Ответить Поделиться

Добавить комментарий

Статистика просмотров:

За последние 24 часов: 6

За последние 7 дней: 36

За последние 30 дней: 166

За всё время: 102,561