Введение
This is a guide for replacing strings on a Telecaster-style guitar, whether you’re replacing broken strings or re-stringing your guitar. While Fender makes the original, most popular Telecasters, there are several different brands which produce them, and this guide will demonstrate how to navigate this unique guitar body and its components.
Use caution when handling guitar strings, as the ends are razor-sharp.
Выберете то, что вам нужно
-
-
Start with the low E string (the furthest on the right). Unwind the string by turning the tuning peg counter-clockwise.
-
Keep the string secure by placing one finger on the string's nut slot.
-
After unwinding the string, the segment coiled around the post will come loose. Pull the string out of the post.
-
-
-
Uncoil the end of the string as much as possible.
-
Pull the end of the string through the bridge and out through the back of the guitar.
-
-
-
-
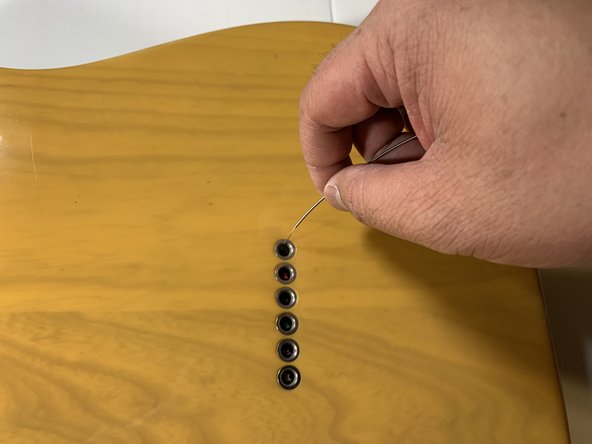
Insert the pointed end of the new string through the corresponding hole on the back of the guitar.
-
Turn the guitar over and pull the string all the way through.
-
-
-
Stretch out the replacement string and cut it about 3-4 peg lengths away from the peg of the string you're replacing. In this case, you are replacing the 5th string and will cut the string near the 2nd string peg.
-
-
-
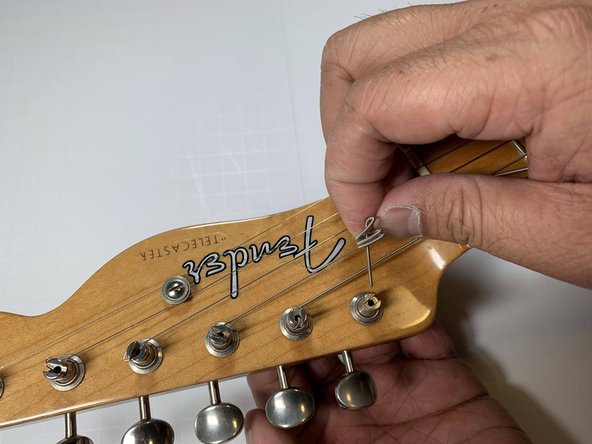
Insert the end of the cut string into the middle hole of the corresponding peg.
-
Keep pushing the end of the string to the bottom and bend the string until the outside segment touches the bottom of the guitar head.
-
-
-
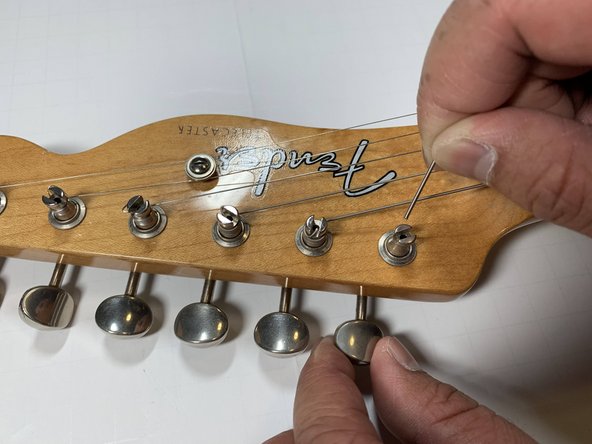
Pushing the end of the string to the bottom and the outside segment to the guitar head, turn the tuning peg clockwise.
-
When the string is tight enough, you may release it. Make sure the string fits securely within the nut slot.
-
Using a tuner of your choice, tighten the guitar string until it matches the correct pitch.
-


Отменить: Я не выполнил это руководство.
3 человек успешно провели ремонт по этому руководству.

Команда

CSU Los Angeles, Team S1-G17, Harris Spring 2021 Участник CSU Los Angeles, Team S1-G17, Harris Spring 2021
CSULA-HARRIS-S21S1G17
1 член
Автор 1 руководств