Перейти к основному содержанию

Top button Compartment

Выберете то, что вам нужно

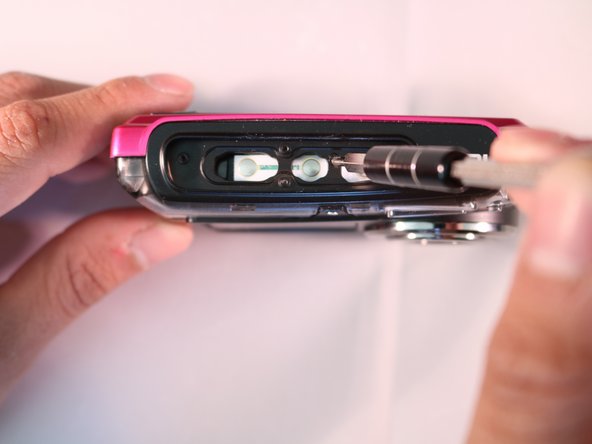
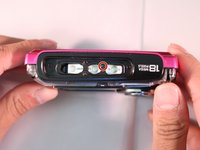
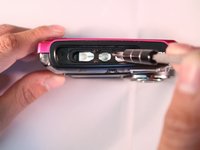
  1. Top button Compartment, Top button Compartment: шаг 1, изображение 1 из 3 Top button Compartment, Top button Compartment: шаг 1, изображение 2 из 3 Top button Compartment, Top button Compartment: шаг 1, изображение 3 из 3
    • Insert the flat end of wide metal spudger into the seam of the plastic buffer surrounding the buttons and pry it open.

  2. Top button Compartment: шаг 2, изображение 1 из 3 Top button Compartment: шаг 2, изображение 2 из 3 Top button Compartment: шаг 2, изображение 3 из 3
    • Use A #00 Phillips head screwdriver and turn counterclockwise to remove the four indicated screws.

    • Set the screws aside.

  3. Top button Compartment: шаг 3, изображение 1 из 2 Top button Compartment: шаг 3, изображение 2 из 2
    • Apply pressure and turn counterclockwise to remove the indicated 2.5 mm screw.

Заключение

To reassemble your device, follow these instructions in reverse order.

Joseph DoctorPinkney

Участник с: 03/07/16

216 Репутация

Автор 2 руководств

Команда

Marist, Team 1-3, Laflen Spring 2016 Участник Marist, Team 1-3, Laflen Spring 2016

MARS-LAFLEN-S16S1G3

2 членов

Автор 5 руководств

0 Комментариев

Добавить комментарий

Просмотр статистики:

За последние 24часов: 0

За последние 7 дней: 4

За последние 30 дней: 5

За всё время: 318