Перейти к основному содержанию
Присоединяйся к сообществу ремонтников - Создай аккаунт

UTStarcom XV6700 Motherboard Replacement

Выберете то, что вам нужно

  1. UTStarcom XV6700 Motherboard Replacement, Battery: шаг 1, изображение 1 из 1
    • Press the on/off button on the top to power the phone off.

    Спросите у FixBot
  2. UTStarcom XV6700 Motherboard Replacement: шаг 2, изображение 1 из 1
    • Remove the battery cover by pressing and sliding the cover down and off of the phone.

    Спросите у FixBot
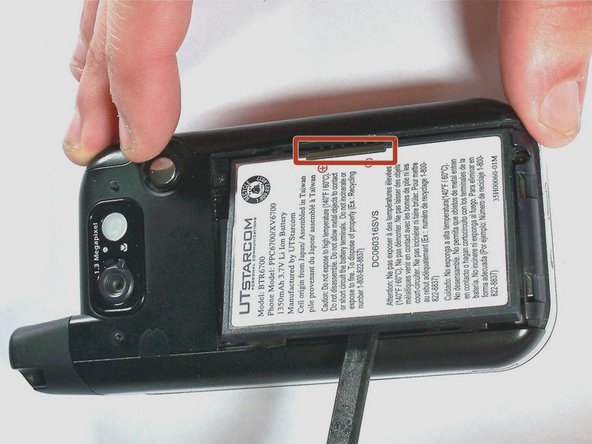
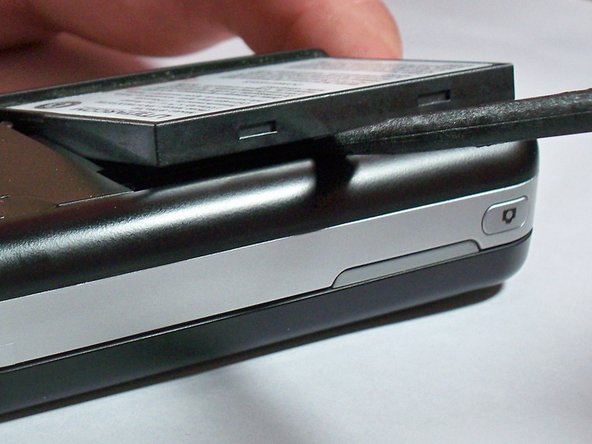
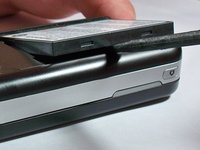
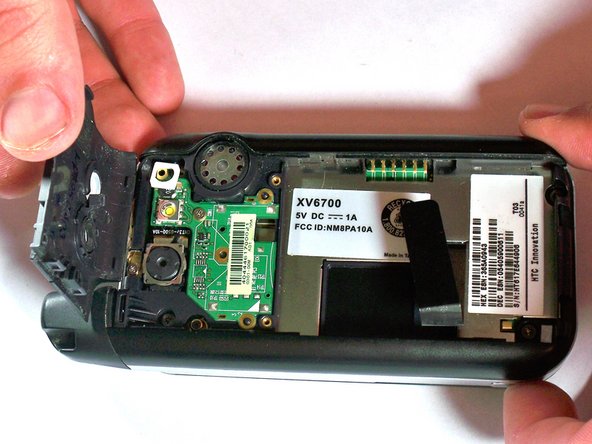
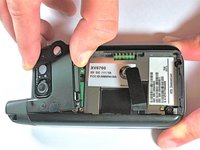
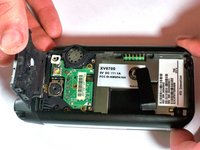
  3. UTStarcom XV6700 Motherboard Replacement: шаг 3, изображение 1 из 3 UTStarcom XV6700 Motherboard Replacement: шаг 3, изображение 2 из 3 UTStarcom XV6700 Motherboard Replacement: шаг 3, изображение 3 из 3
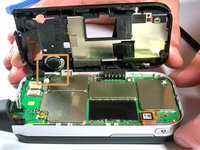
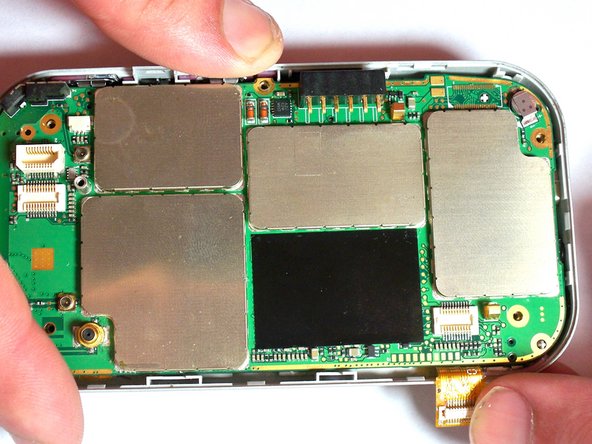
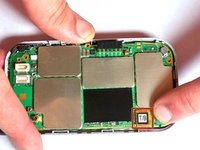
    • Pull the battery removal tab and lift the battery out of the phone.

    • If the battery removal tab is missing, place a spudger on the opposite side of the highlighted connector and pry the battery up.

    Спросите у FixBot
  4. UTStarcom XV6700 Motherboard Replacement, Camera: шаг 4, изображение 1 из 1
    Инструмент, используемый на этом этапе:
    Tweezers
    $4.99
    • Remove the two 4.0-mm #000 Phillips screws at the top of the battery compartment. Tweezers may be useful to remove the screws.

    Спросите у FixBot
  5. UTStarcom XV6700 Motherboard Replacement: шаг 5, изображение 1 из 2 UTStarcom XV6700 Motherboard Replacement: шаг 5, изображение 2 из 2
    • Use firm pressure to carefully pry off the cover with your fingers.

    Спросите у FixBot
  6. UTStarcom XV6700 Motherboard Replacement: шаг 6, изображение 1 из 1
    • Remove the 4.0-mm #00 Phillips screw securing the camera flash circuit board. The board is still connected by a connector on the bottom of the board.

    Спросите у FixBot
  7. UTStarcom XV6700 Motherboard Replacement: шаг 7, изображение 1 из 1
    • Gently pry off the camera flash circuit board with the spudger.

    Спросите у FixBot
  8. UTStarcom XV6700 Motherboard Replacement: шаг 8, изображение 1 из 1
    • Gently pry off the camera with the spudger.

    Спросите у FixBot
  9. UTStarcom XV6700 Motherboard Replacement, Motherboard: шаг 9, изображение 1 из 1
    • Remove the four 5.0-mm Torx T6 screws from the corners of the black cover.

    Спросите у FixBot
  10. UTStarcom XV6700 Motherboard Replacement: шаг 10, изображение 1 из 1
    • Remove the 4.0-mm #00 Phillips screw that holds the antenna in place. The antenna does not need to be removed.

    Спросите у FixBot
  11. UTStarcom XV6700 Motherboard Replacement: шаг 11, изображение 1 из 3 UTStarcom XV6700 Motherboard Replacement: шаг 11, изображение 2 из 3 UTStarcom XV6700 Motherboard Replacement: шаг 11, изображение 3 из 3
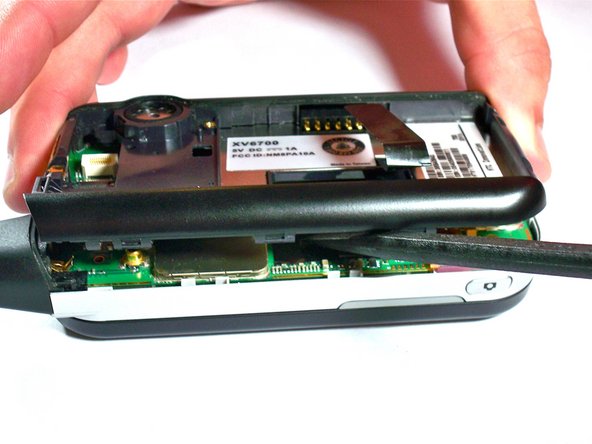
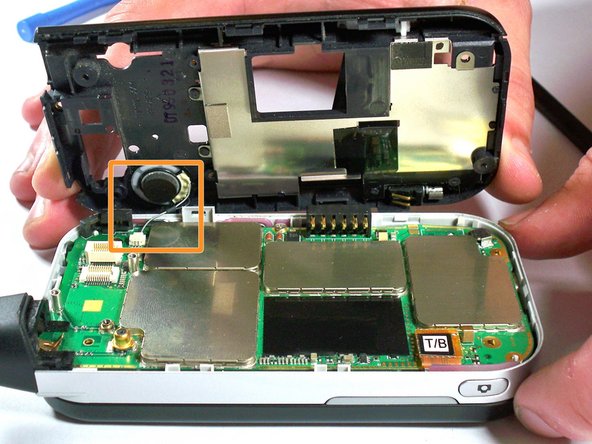
    • Use the spudger or plastic opening tools to apply firm but gentle pressure equally around the outside of the case.

    • Carefully pry the black portion of the case away from the silver portion.

    • Do not try to remove the case completely. The speaker wire is still connected to the motherboard.

    Спросите у FixBot
  12. UTStarcom XV6700 Motherboard Replacement: шаг 12, изображение 1 из 1
    Инструмент, используемый на этом этапе:
    Tweezers
    $4.99
    • Using tweezers, pull with gentle pressure in the direction of the wire to unplug from the motherboard connector.

    Спросите у FixBot
  13. UTStarcom XV6700 Motherboard Replacement: шаг 13, изображение 1 из 1
    • Remove the 4.0-mm #00 Phillips screw holding the motherboard in place. The screw is in the middle of the motherboard, near the outside edge.

    Спросите у FixBot
  14. UTStarcom XV6700 Motherboard Replacement: шаг 14, изображение 1 из 2 UTStarcom XV6700 Motherboard Replacement: шаг 14, изображение 2 из 2
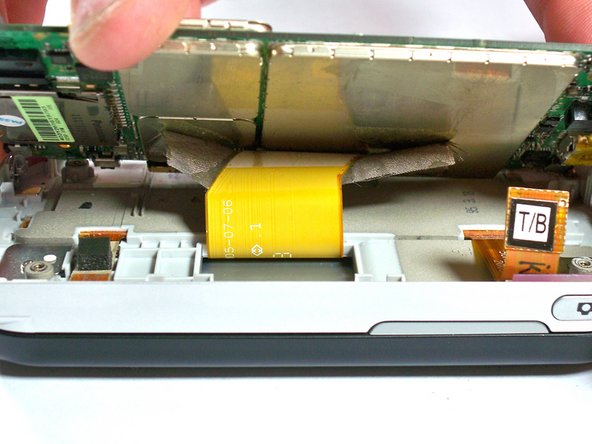
    • With your fingers, disconnect the keyboard cable from the motherboard. The cable is orange with the letters T/B printed on the connector.

    Спросите у FixBot
  15. UTStarcom XV6700 Motherboard Replacement: шаг 15, изображение 1 из 2 UTStarcom XV6700 Motherboard Replacement: шаг 15, изображение 2 из 2
    • Carefully lift up on the motherboard with the spudger until you can see the display cable connected to the underside of the motherboard. The display cable connector will be taped over.

    Спросите у FixBot
  16. UTStarcom XV6700 Motherboard Replacement: шаг 16, изображение 1 из 1
    • Use the spudger to peel away the tape from the connector.

    Спросите у FixBot
  17. UTStarcom XV6700 Motherboard Replacement: шаг 17, изображение 1 из 1
    • Using the spudger, pry away the display cable connector from the motherboard. The motherboard is now completely disconnected.

    Спросите у FixBot
Заключение

To reassemble your device, follow these instructions in reverse order.

Jesse Walker

Участник с: 06/04/13

201 Репутация

Автор 2 руководств

Команда

University of Kentucky Louisville, Team 1-4, Chamberlain Spring 2013 Участник University of Kentucky Louisville, Team 1-4, Chamberlain Spring 2013

LOUISVILLE-CHAMBERLAIN-S13S1G4

3 членов

Автор 8 руководств

0 Комментарии к руководству

Добавить комментарий

Статистика просмотров:

За последние 24 часов: 3

За последние 7 дней: 9

За последние 30 дней: 53

За всё время: 654