Перейти к основному содержанию

Visual Land Prestige Elite 9Q Speaker Replacement

Выберете то, что вам нужно

  1. Visual Land Prestige Elite 9Q Speaker Replacement, Speaker: шаг 1, изображение 1 из 1
    • Using the large plastic opening tool, start along a side of the device and apply light pressure in the seam between the top and bottom outer covers.

    • Maneuver the smaller plastic opening tool at the spot of the large opening tool and slowly slide along the edge.

    • You should feel each plastic connections begin to loosen.

  2. Visual Land Prestige Elite 9Q Speaker Replacement: шаг 2, изображение 1 из 1
    • Move tool around each connection, and continue around the device until all connections have been loosened.

    • The user risks damaging the connections if tool is slid to fast.

  3. Visual Land Prestige Elite 9Q Speaker Replacement: шаг 3, изображение 1 из 2 Visual Land Prestige Elite 9Q Speaker Replacement: шаг 3, изображение 2 из 2
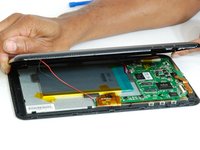
    • Once all connections have been loosened and using a soft surface, place the device onto its screen.

    • Open the casing and lay as shown in the picture keeping the speaker wires loose.

  4. Visual Land Prestige Elite 9Q Speaker Replacement: шаг 4, изображение 1 из 2 Visual Land Prestige Elite 9Q Speaker Replacement: шаг 4, изображение 2 из 2
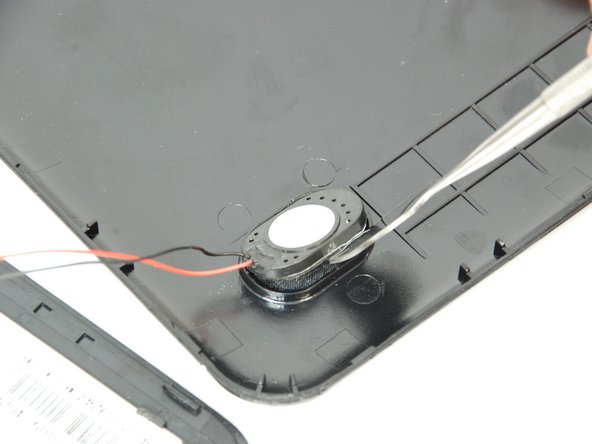
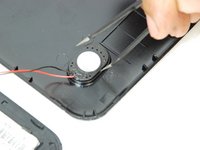
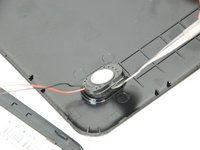
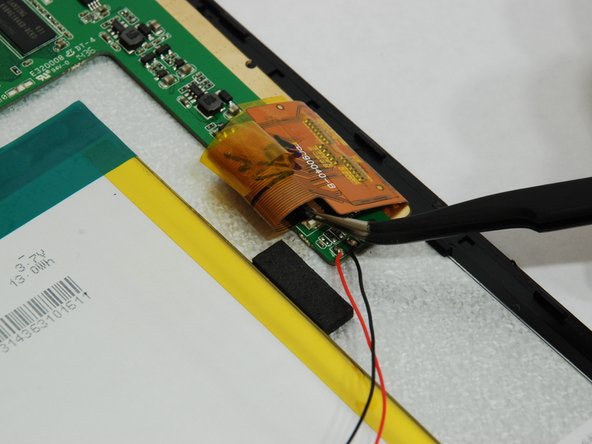
    • Using ESD safe tweezers and a spudger, gently remove the glued speaker away from the casing.

    • The speaker is still connected to the motherboard with wire.

  5. Visual Land Prestige Elite 9Q Speaker Replacement: шаг 5, изображение 1 из 1
    • Next locate where the speaker's wires attach to the motherboard.

    • Make note of the red and black wires positions, for mixing them can cause permanent damage to your device.

  6. Visual Land Prestige Elite 9Q Speaker Replacement: шаг 6, изображение 1 из 2 Visual Land Prestige Elite 9Q Speaker Replacement: шаг 6, изображение 2 из 2
    • Before replacing the speaker, it's helpful to disconnect the LCD ribbon allowing sufficient space.

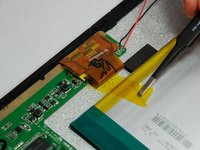
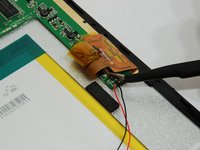
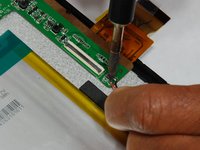
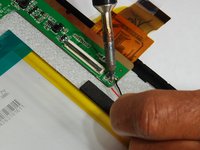
    • Remove the tape, and using hook tweezers, disconnect the LCD ZIF (zero insertion force) connection.

    • The ZIF connection takes manuvering, but the ribbon should be free and pushed out of the way.

  7. Visual Land Prestige Elite 9Q Speaker Replacement: шаг 7, изображение 1 из 2 Visual Land Prestige Elite 9Q Speaker Replacement: шаг 7, изображение 2 из 2
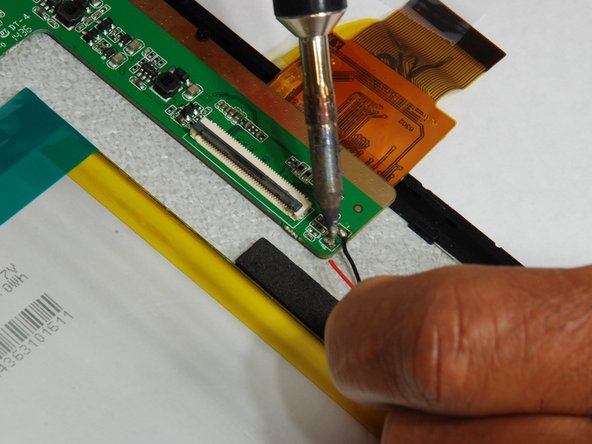
    • Before disconnecting the speaker, refer to Soldering Tips for proper soldering instructions.

    • Check the connection between the speaker and the motherboard. If it isn’t connected well, re-soldering the joint may fix the speaker.

    • Use a soldering iron the remove the speaker wires.

    • Ensure that each wire and solder connection do not touch. This will damage the device.

    • Note which nodes the wires are connected to, for replacement will occur in this order.

Заключение

To reassemble your device, follow these instructions in reverse order.

Joseph Justice

Участник с: 07/19/16

175 Репутация

1 руководство автора

Команда

University of Memphis, Team 1-1, Kim SU 2016 Участник University of Memphis, Team 1-1, Kim SU 2016

UM-KIM-SU16S1G1

4 членов

Автор 8 руководств

0 Комментариев

Добавить комментарий

Просмотр статистики:

За последние 24часов: 0

За последние 7 дней: 0

За последние 30 дней: 0

За всё время: 193