Введение
In order to replace the speaker grab yourself a PH00 screwdriver, a metal spudger, and a soldering kit.
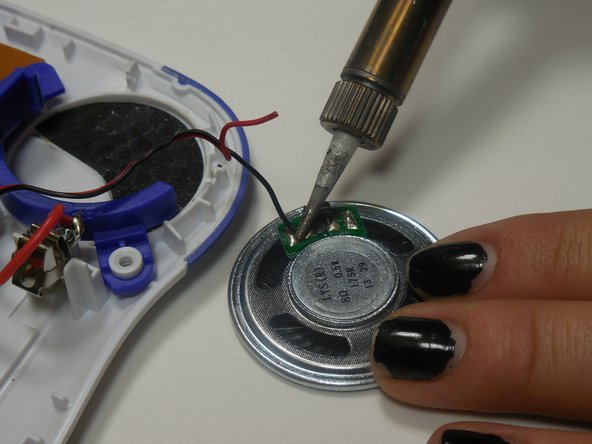
- Before you begin disassembling the Vtech InnoTab 3, turn on your soldering iron. If working with others let them know that the soldering iron is on and to use caution.
Выберете то, что вам нужно
-
-
Slide the battery compartment door lock down.
-
While still holding the battery compartment lock down, slide the two battery doors outwards on either side of the device.
-
Carefully remove the batteries from the battery compartment.
-
-
-
Remove the six 7.6mm screws found in the battery compartment using a PH00 screwdriver.
-
-
-
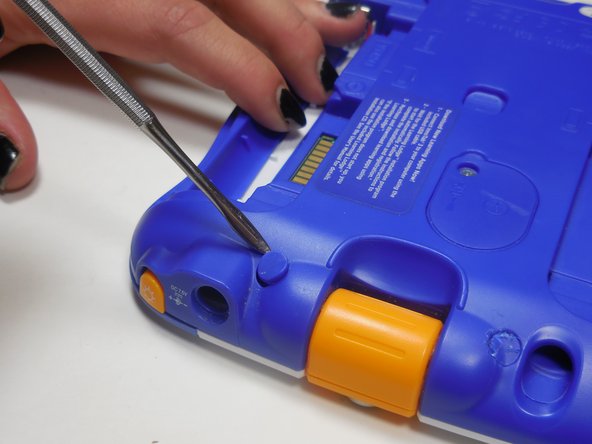
Using a nylon or metal spudger, remove the three caps that hide the screws.
-
Remove the 5mm screw near the bottom and the two 7.6mm at the top using a PH00 screwdriver.
-
-
-
-
Carefully separate the back panel from the front panel revealing the motherboard connected to the front panel.
-
-
-
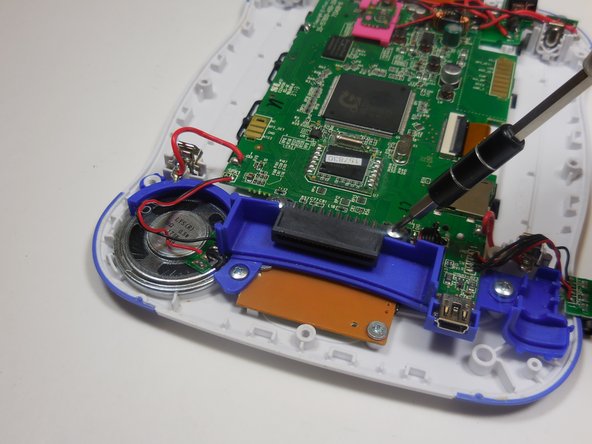
After you disassemble the device, put the back panel to the side and move your attention to the front piece.
-
Remove the four screws using a PH00 screwdriver.
-
-
-
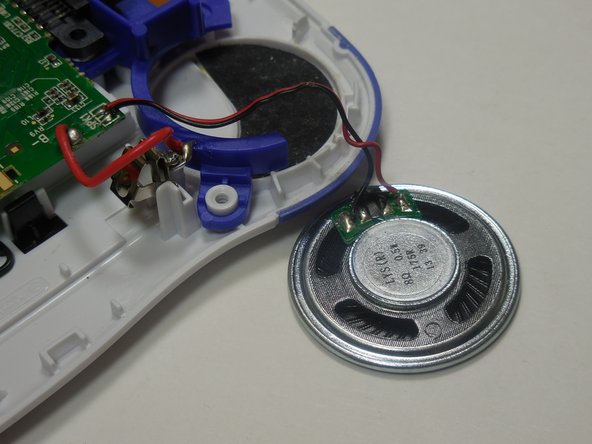
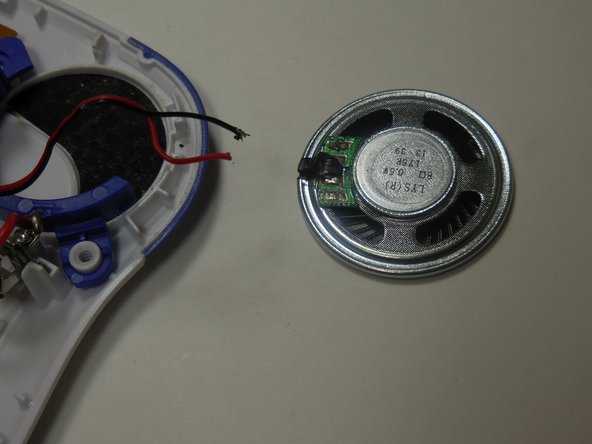
Using a nylon or metal spudger, lift the blue plastic piece upwards.
-
Keeping the plastic piece lifted, carefully pinch the edge of the speaker and remove it.
-


To reassemble your device, follow these instructions in reverse order.
To reassemble your device, follow these instructions in reverse order.
Команда

Colorado Springs, Team 5-4, Panko Spring 2015 Участник Colorado Springs, Team 5-4, Panko Spring 2015
UCCS-PANKO-S15S5G4
3 членов
Автор 10 руководств