Перейти к основному содержанию

Wacker Compactor Plate VP1550AW 2014 V-Belt Replacement

Выберете то, что вам нужно

  1. Wacker Compactor Plate VP1550AW 2014 V-Belt Replacement, Safety precautions: шаг 1, изображение 1 из 2 Wacker Compactor Plate VP1550AW 2014 V-Belt Replacement, Safety precautions: шаг 1, изображение 2 из 2
    • Before you begin, be sure that the engine is powered off and is cool to the touch.

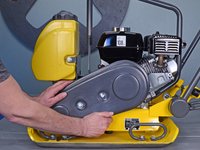
    • Grab the plastic housing at the end of the spark plug wire.

    • Pull firmly to disconnect the wire from the spark plug.

  2. Wacker Compactor Plate VP1550AW 2014 V-Belt Replacement, Loosen the belt guard: шаг 2, изображение 1 из 1
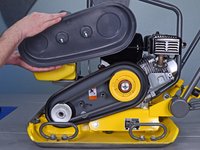
    • Use a 1/2" socket and wrench to loosen the two bolts securing the belt guard.

    • The bolts are captive and should not be removed.

  3. Wacker Compactor Plate VP1550AW 2014 V-Belt Replacement, Remove the belt guard: шаг 3, изображение 1 из 2 Wacker Compactor Plate VP1550AW 2014 V-Belt Replacement, Remove the belt guard: шаг 3, изображение 2 из 2
    • Remove the belt guard.

  4. Wacker Compactor Plate VP1550AW 2014 V-Belt Replacement, Remove the drive belt: шаг 4, изображение 1 из 3 Wacker Compactor Plate VP1550AW 2014 V-Belt Replacement, Remove the drive belt: шаг 4, изображение 2 из 3 Wacker Compactor Plate VP1550AW 2014 V-Belt Replacement, Remove the drive belt: шаг 4, изображение 3 из 3
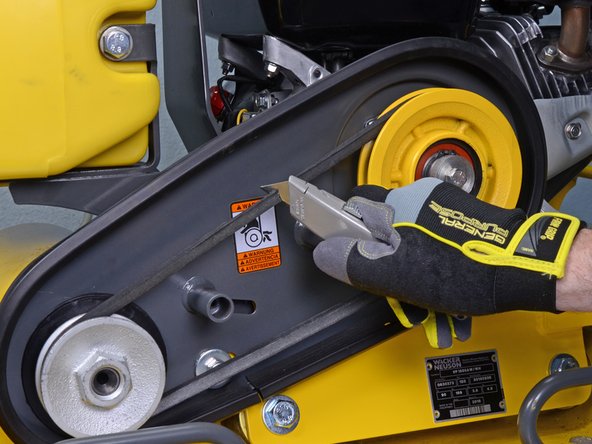
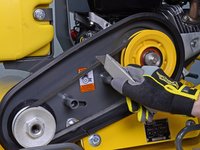
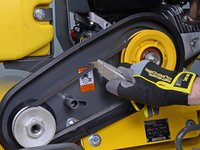
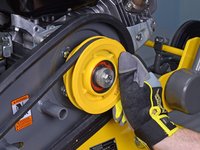
    • Use scissors or a blade to cut the drive belt.

    • Remove the drive belt.

  5. Wacker Compactor Plate VP1550AW 2014 V-Belt Replacement, Install a replacement belt: шаг 5, изображение 1 из 1
    • Loop the replacement belt onto the small pulley.

  6. Wacker Compactor Plate VP1550AW 2014 V-Belt Replacement: шаг 6, изображение 1 из 3 Wacker Compactor Plate VP1550AW 2014 V-Belt Replacement: шаг 6, изображение 2 из 3 Wacker Compactor Plate VP1550AW 2014 V-Belt Replacement: шаг 6, изображение 3 из 3
    • Replacing the belt poses a substantial pinching hazard. Wear safety gloves and be mindful where you position your fingers.

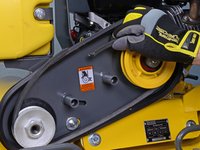
    • Guide the belt over the top of the clutch pulley.

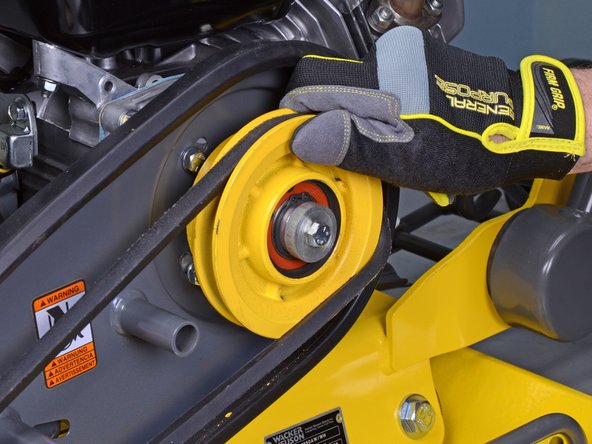
    • Loop the belt underneath the pulley axle.

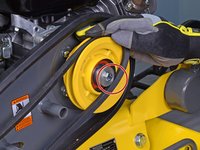
    • Rotate the pulley slowly and guide the built into the groove.

    • Getting the replacement belt back onto the drive pulley requires considerable strength.

Заключение

To reassemble your device, follow these instructions in reverse order.

Arthur Shi

Участник с: 01/03/18

253 452 Репутация

Автор 526 руководств

Команда

iFixit Участник iFixit

Staff

135 членов

Автор 17 198 руководств

0 Комментариев

Добавить комментарий

Просмотр статистики:

За последние 24часов: 0

За последние 7 дней: 4

За последние 30 дней: 34

За всё время: 3,007