Введение
The purpose of a window screen is to prevent bugs, leaves, birds, etc., from getting into the house. However, when a screen has tears and holes in it, the screen is no longer helpful in keeping those things out. This guide provides instructions for replacing the screen mesh on the window screen frame so it will be as good as new and be a helpful protection to the inside of the house again.
Before beginning this repair, make sure that the screen mesh is big enough to go over the whole frame. Also, this repair is best to do on a flat surface, like a table.
Выберете то, что вам нужно
-
-
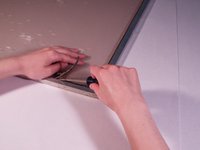
Find the place in the channel of the screen frame where the ends of the spline meet.
-
Use a screwdriver to pry out an end of the spline.
-
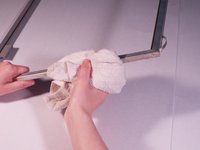
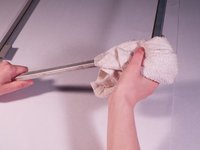
After removing a couple inches of the spline, hold the spline with a hand and pull all of the spline out of the channel.
-
-
-
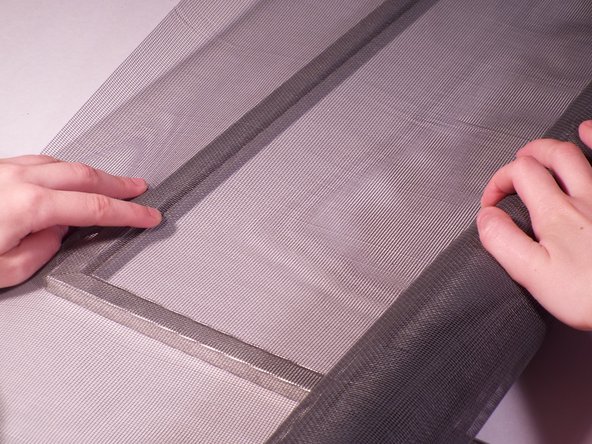
Starting at an edge of the screen mesh, pull it upward to remove the mesh from the frame.
-
-
-
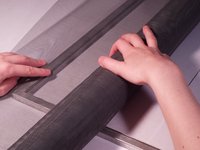
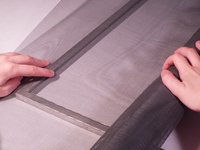
Hold down the edge of the screen mesh roll with one hand on a side of the frame.
-
Roll out the mesh over the top of the frame.
-
-
-
-
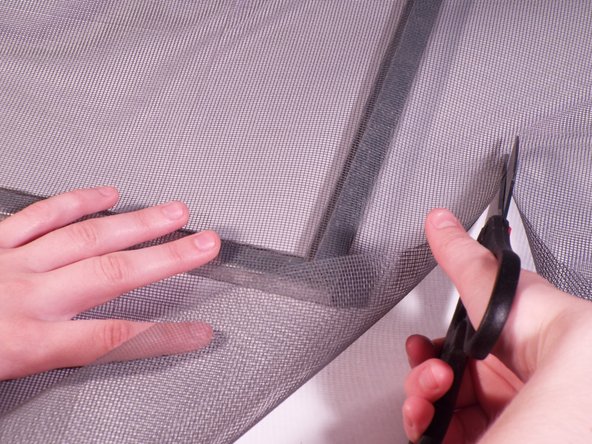
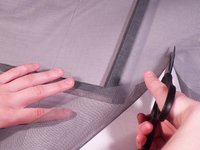
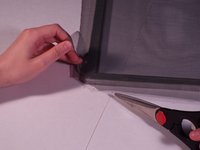
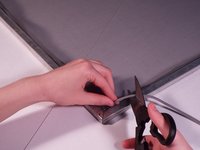
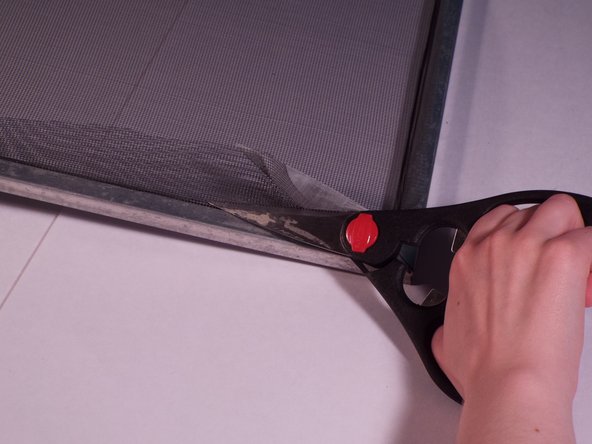
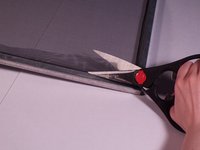
Use a pair of scissors or a utility knife to cut off from the roll of mesh, leaving around an extra inch outward from the frame.
-
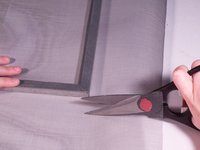
Trim the other sides of the mesh, also leaving around an inch over the edges of the frame.
-
-
-
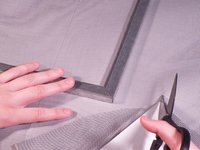
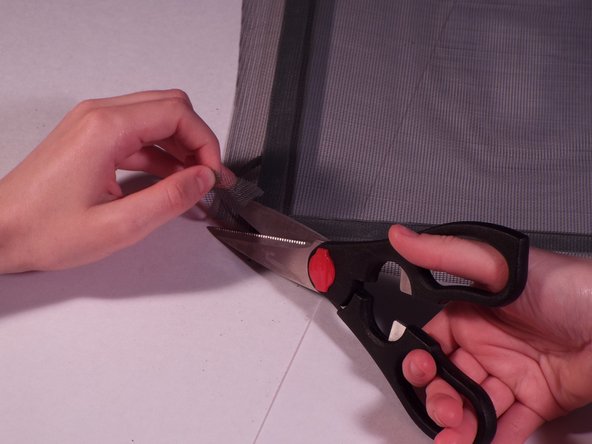
Cut off the corners of the mesh diagonally and leave a bit of extra mesh over the frame.
-
-
-
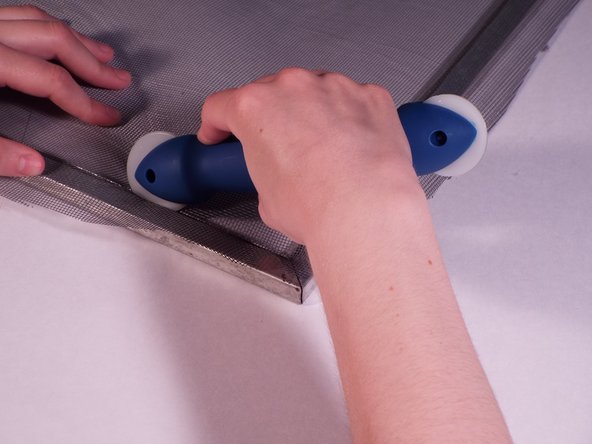
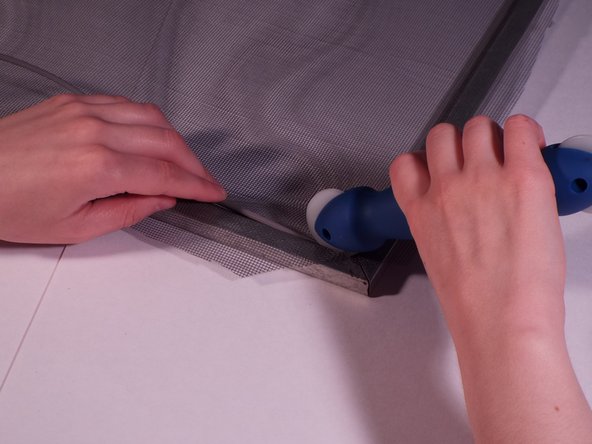
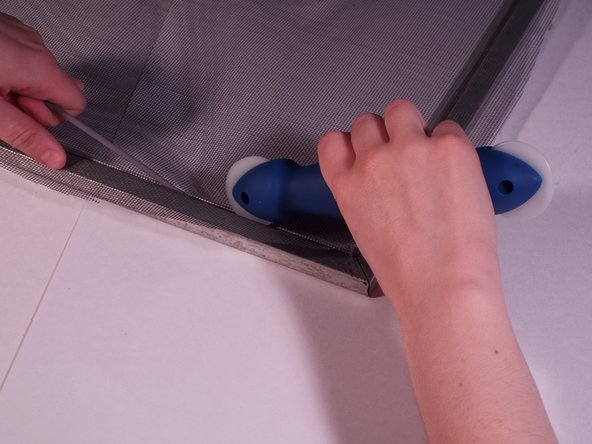
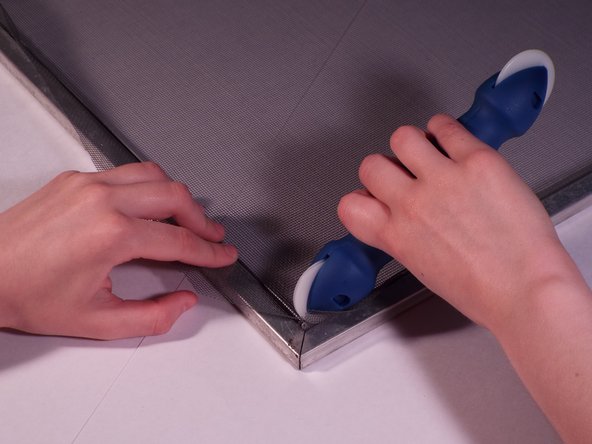
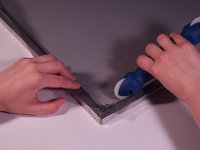
Hold the mesh down firmly with one hand.
-
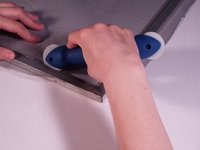
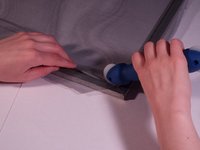
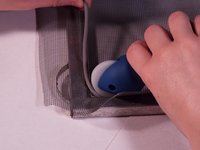
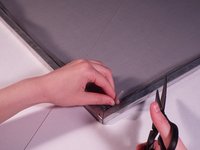
Use the convex side of the screen rolling tool to press the mesh down into the channels.
-
Using the screen rolling tool, press the mesh into the frame channel on all sides of the frame.
-
-
-
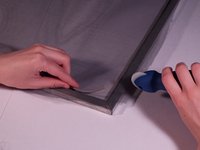
Align the tip of a roll of spline to a corner of the frame.
-
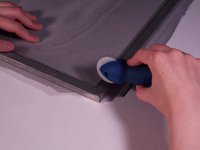
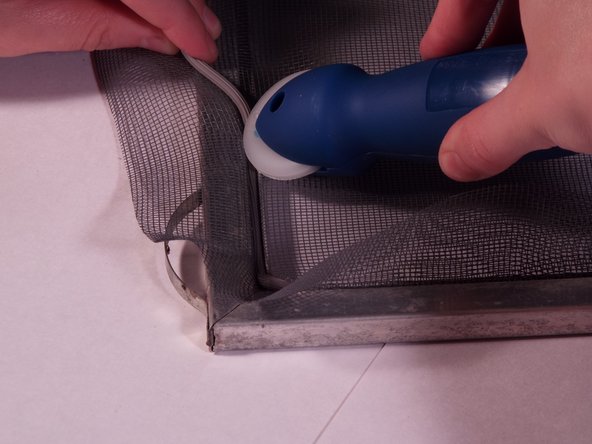
Use the concave side of the screen rolling tool to press the end of the spline roll down into the channel.
-
Press and roll the concave side of the screen rolling tool down the channel.
-
-
-
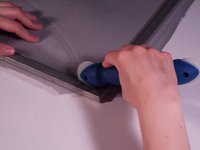
Press the spline to the edge of the corner.
-
Pull the spline to line up with the perpendicular channel
-
Press down and roll the spline into the new channel.
-
-
-
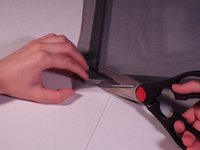
After pushing spline into the frame channel on all sides, cut the end of the spline.
-


If the screen mesh isn't tight enough or there are other issues, return to the beginning of the steps and restart. You don't have to do all of the steps if you are doing a minor revision, however, like only taking the spline out in order to tighten the screen mesh and placing the spline back afterwards.
Отменить: Я не выполнил это руководство.
2 человек успешно провели ремонт по этому руководству.

Команда

Eastern Washington University, Team S2-G4, Crane Summer 2017 Участник Eastern Washington University, Team S2-G4, Crane Summer 2017
EWU-CRANE-SU17S2G4
2 членов
Автор 2 руководств
2 Комментарии к руководству
I think I tried too hard to get the mesh really taught. I was replacing the regular type screen with a thicker, stronger cat-resistent mesh. The two screens are so tight the mesh pulls the frame so that it doesn't lay flat but twists, making installation far more challenging than it needs to be.
One piece of advice is to bring a piece of the old spline with you to the hardware store when you buy the new spline so you can get the correct size. I didn’t realize how many sizes there are!