Введение
If your Wooting 60 HE keyboard doesn't print the letter or prints several times, use this guide to replace the faulty switch.
The keyboard switch senses the pressure applied to the key pressed, exporting to the computer by electric signal.
Before using this guide, make sure that the USB port of your computer or the keyboard is not broken by using other keyboards or other technical materials. Typically, the switch might cause errors due to dust or external particles, so make sure you clean up your keyboard before changing the switch.
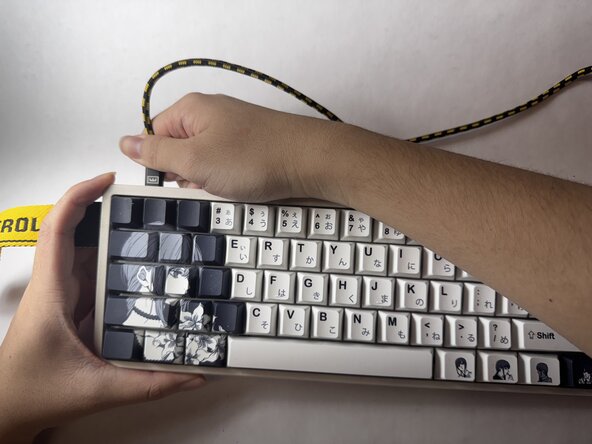
Before beginning, make sure to power off your keyboard completely and disconnect from any external power source.
Выберете то, что вам нужно
-
-
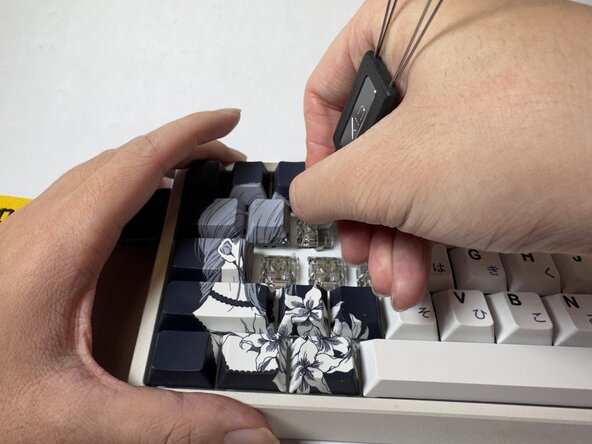
Clamp the key cap of the faulty switch using a key cap puller, then pull upward until it pops out.
-
-
-
-
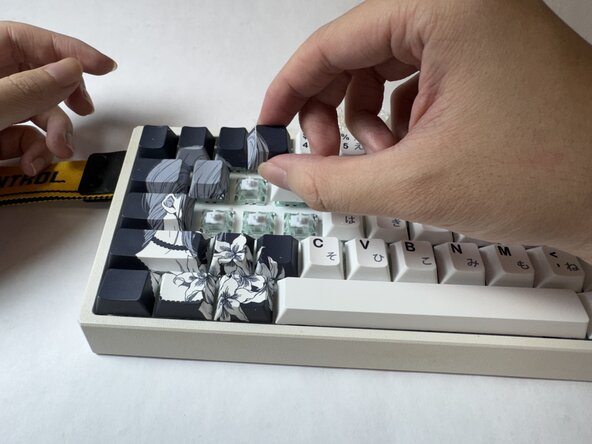
Clamp the key switch of the faulty switch using a key switch puller, then pull upward until it pops out.
-
-
-
Take the replacement switch and align it with the switch socket.
-
Align the switch’s transparent window with the square sensor on the keyboard’s PCB to ensure the correct orientation.
-
Hold the keyboard steady with one hand, then press the switch straight down into place with the other hand until it is fully steady.
-
-
-
Find the keycap that was removed earlier. Align the keycap with the stem of the newly installed switch, making sure it is oriented correctly.
-
Gently push down the keycap straight down onto the switch until it sits firmly in place.
-
-
-
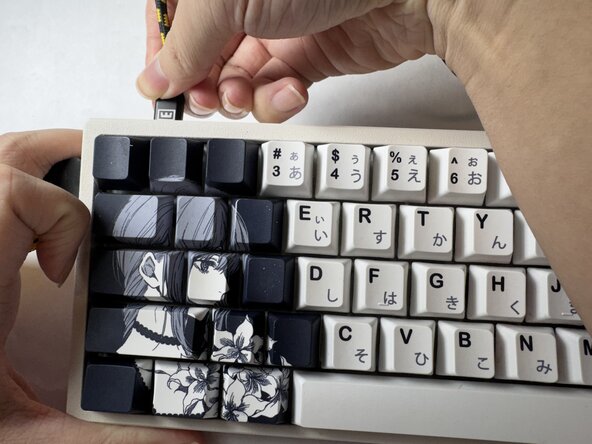
Reconnect the power cable to the keyboard. Once connected, the keyboard is ready to use.
-









Команда

UC Davis, Team 2-3, Morris Winter 2026 Участник UC Davis, Team 2-3, Morris Winter 2026
UCD-MORRIS-W26S2G3
3 членов
Автор 1 руководств
