Перейти к основному содержанию
Присоединяйся к сообществу ремонтников - Создай аккаунт

Xbox 360 Wireless Controller Front Case Replacement

Выберете то, что вам нужно

  1. Xbox 360 Wireless Controller Front Case Replacement, Battery: шаг 1, изображение 1 из 2 Xbox 360 Wireless Controller Front Case Replacement, Battery: шаг 1, изображение 2 из 2
    • Depress the battery release button on the top of the controller.

    • Remove the battery holder from the controller.

    • The standard option for Xbox 360 Wireless Controllers Battery Packs is AA batteries. A rechargeable battery is also available, but both battery options are removed from the controller in the same way.

    Спросите у FixBot
  2. Xbox 360 Wireless Controller Front Case Replacement, Rear Case: шаг 2, изображение 1 из 1
    Инструмент, используемый на этом этапе:
    Tweezers
    $4.99
    • Use a pair of tweezers to peel the barcode sticker from the battery compartment.

    Спросите у FixBot
  3. Xbox 360 Wireless Controller Front Case Replacement: шаг 3, изображение 1 из 1
    • Remove the seven 9.3 mm T8 Security Torx screws securing the rear case to the front case.

    Спросите у FixBot
  4. Xbox 360 Wireless Controller Front Case Replacement: шаг 4, изображение 1 из 2 Xbox 360 Wireless Controller Front Case Replacement: шаг 4, изображение 2 из 2
    Инструмент, используемый на этом этапе:
    Spudger
    $2.99
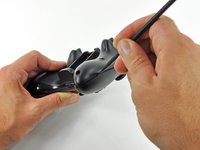
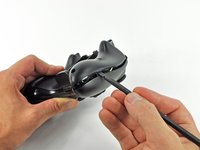
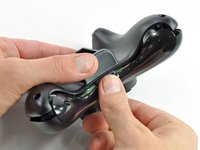
    • Insert a Spudger between the front and rear cases along the left edge of the controller.

    • Rotate the spudger toward the front of the controller, prying the two cases apart.

    Спросите у FixBot
  5. Xbox 360 Wireless Controller Front Case Replacement: шаг 5, изображение 1 из 2 Xbox 360 Wireless Controller Front Case Replacement: шаг 5, изображение 2 из 2
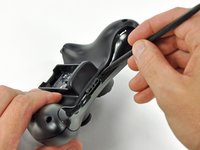
    • Insert a spudger between the front and rear cases, near the headphone jack.

    • Rotate the spudger toward the front of the controller to pry the two cases apart.

    Спросите у FixBot
  6. Xbox 360 Wireless Controller Front Case Replacement: шаг 6, изображение 1 из 2 Xbox 360 Wireless Controller Front Case Replacement: шаг 6, изображение 2 из 2
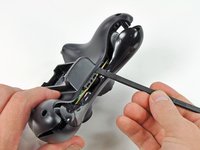
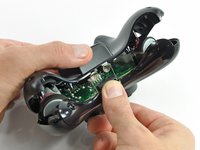
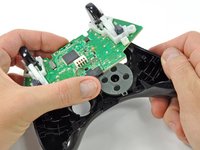
    • Grasp the controller by the battery compartment and the headphone jack.

    • Lift the battery compartment away from the headphone jack, separating the rear case from the front case and logic board.

    • The battery contact springs are held in place by slots in the battery housing in the rear case. Be sure to realign them properly during reassembly.

    Спросите у FixBot
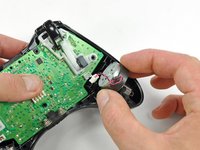
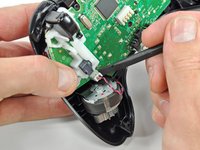
  7. Xbox 360 Wireless Controller Front Case Replacement, Vibration Motors: шаг 7, изображение 1 из 2 Xbox 360 Wireless Controller Front Case Replacement, Vibration Motors: шаг 7, изображение 2 из 2
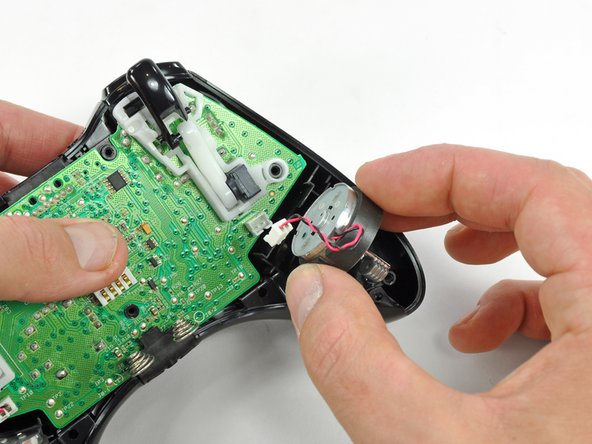
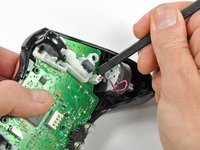
    • Use the flat end of a spudger to remove the vibration motor cable, moving it upward from its socket on the logic board.

    • Lift the vibration motor out of the front case.

    Спросите у FixBot
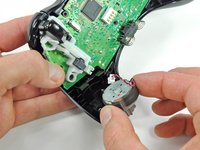
  8. Xbox 360 Wireless Controller Front Case Replacement: шаг 8, изображение 1 из 2 Xbox 360 Wireless Controller Front Case Replacement: шаг 8, изображение 2 из 2
    • Remove the vibration motor from the other side of the controller using the same method previously described.

    • The left motor has significantly more counterweight than the right motor.

    Спросите у FixBot
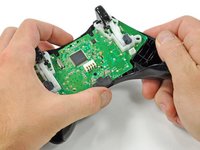
  9. Xbox 360 Wireless Controller Front Case Replacement, Logic Board: шаг 9, изображение 1 из 2 Xbox 360 Wireless Controller Front Case Replacement, Logic Board: шаг 9, изображение 2 из 2
    • Lifting from the headphone jack and power plug, remove the logic board from the front case.

    Спросите у FixBot
  10. Xbox 360 Wireless Controller Front Case Replacement, Bottom Panel: шаг 10, изображение 1 из 2 Xbox 360 Wireless Controller Front Case Replacement, Bottom Panel: шаг 10, изображение 2 из 2
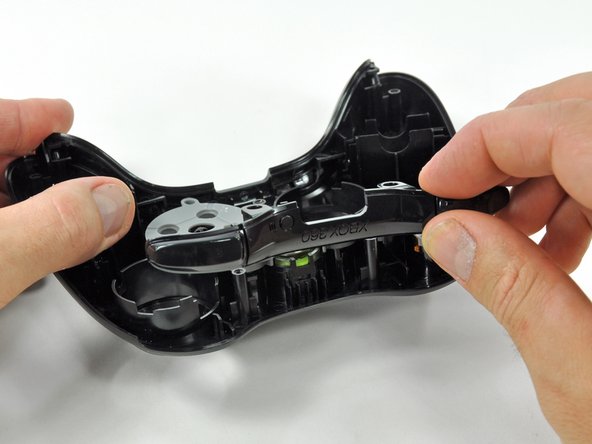
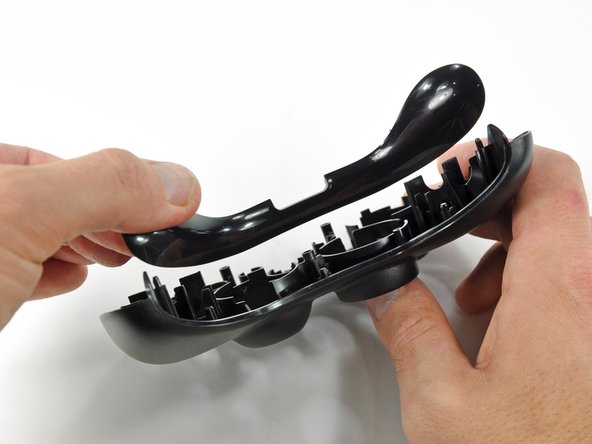
    • Lift the bumper panel off of the front case.

    Спросите у FixBot
  11. Xbox 360 Wireless Controller Front Case Replacement: шаг 11, изображение 1 из 1
    • Remove the rubber pad from the back of the D-pad.

    Спросите у FixBot
  12. Xbox 360 Wireless Controller Front Case Replacement: шаг 12, изображение 1 из 1
    • Remove the two 7.0 mm silver Phillips screws from the back of the D-pad.

    Спросите у FixBot
  13. Xbox 360 Wireless Controller Front Case Replacement: шаг 13, изображение 1 из 2 Xbox 360 Wireless Controller Front Case Replacement: шаг 13, изображение 2 из 2
    Инструмент, используемый на этом этапе:
    Tweezers
    $4.99
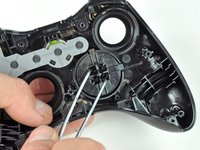
    • The D-pad is secured to its backing by two diagonal clips, shown in red.

    • Use a pair of tweezers and squeeze the clips together to release the D-pad from its backing.

    Спросите у FixBot
  14. Xbox 360 Wireless Controller Front Case Replacement: шаг 14, изображение 1 из 2 Xbox 360 Wireless Controller Front Case Replacement: шаг 14, изображение 2 из 2
    • Lift the D-pad backing out of its compartment on the front case.

    • The D-pad remains below the front case.

    • The D-pad will fall once its backing is removed. Be sure to support it as you remove the backing.

    • The backing is slotted to its compartment to ensure that it will always be aligned properly.

    Спросите у FixBot
  15. Xbox 360 Wireless Controller Front Case Replacement: шаг 15, изображение 1 из 1
    • Remove the rubber pad from the back of the input buttons.

    Спросите у FixBot
  16. Xbox 360 Wireless Controller Front Case Replacement: шаг 16, изображение 1 из 2 Xbox 360 Wireless Controller Front Case Replacement: шаг 16, изображение 2 из 2
    • Using a pair or tweezers, remove the following buttons from the front panel:

    • A Button

    • B Button

    • X Button

    • Y Button

    • Start Button

    • Select Button

    • Guide Button

    Спросите у FixBot
  17. Xbox 360 Wireless Controller Front Case Replacement: шаг 17, изображение 1 из 1
    • Using a pair of tweezers, remove the LED ring from the front panel.

    Спросите у FixBot
  18. Xbox 360 Wireless Controller Front Case Replacement: шаг 18, изображение 1 из 3 Xbox 360 Wireless Controller Front Case Replacement: шаг 18, изображение 2 из 3 Xbox 360 Wireless Controller Front Case Replacement: шаг 18, изображение 3 из 3
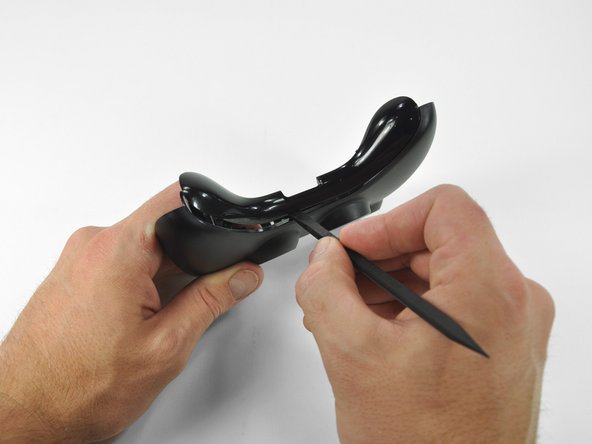
    • Insert a spudger between the lower panel and front case.

    • Slide the spudger along the gap between the two case components.

    • Lift the lower panel off of the front case.

    Спросите у FixBot
Заключение

To reassemble your device, follow these instructions in reverse order.

19 человек успешно провели ремонт по этому руководству.

Brett Hartt

Участник с: 04/12/10

132 073 Репутация

Автор 144 руководств

Команда

iFixit Участник iFixit

Staff

123 членов

Автор 25 718 руководств

0 Комментарии к руководству

Добавить комментарий

Статистика просмотров:

За последние 24 часов: 3

За последние 7 дней: 19

За последние 30 дней: 116

За всё время: 13,992