Введение
This guide will show you how to remove and replace the screen on your ZTE Maven 2. The screen is used to interact with the phone system interface and perform the majority of phone functions. You may need to replace your screen if the current screen is damaged or unresponsive even after attempting other troubleshooting techniques, such as performing a software update, performing a soft reset, or performing a hard reset (for more information, visit our troubleshooting page).
To remove and replace, follow the listed steps. Note that the component left after removing everything else is the screen, and this is what needs to be replaced.
Выберете то, что вам нужно
-
-
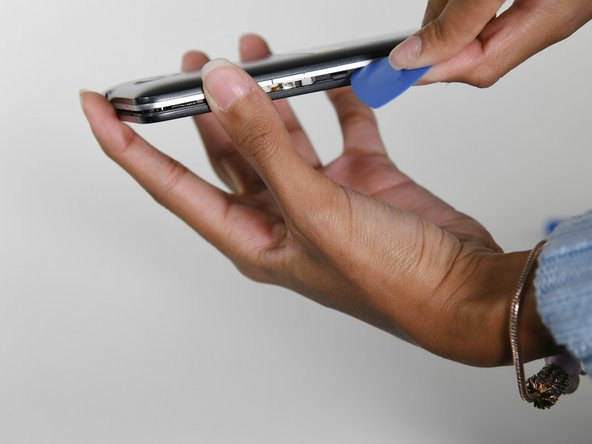
Pry off the back cover by inserting an opening tool into the small space on the bottom left between the phone's cover and body.
-
Work your way around the phone with an opening pick to loosen the rest of the back cover.
-
Remove the cover.
-
-
-
Push in and then up on the bottom of the battery to free it from its compartment.
-
Pull the battery out.
-
-
Инструмент, используемый на этом этапе:Tweezers$4.99
-
Using your fingers or blunt tweezers, carefully pull the memory card out of the slot.
-
-
-
-
Wedge the opening tool between the front and side panel to create a gap.
-
Slide the opening pick around the device to detach the midframe.
-
-
Инструмент, используемый на этом этапе:Tweezers$4.99
-
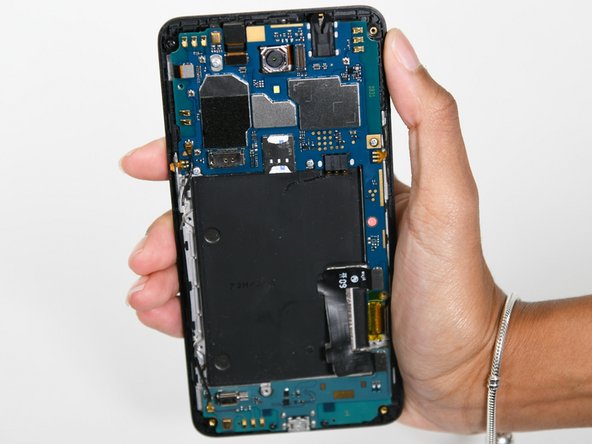
Peel the sticker off the battery compartment, as some of the motherboard components are hidden under it.
-
Remove the six 3 mm screws with a Phillips #00 screwdriver.
-
Using a pair of blunt tweezers, carefully remove the black wire that's attached to the gold plates on the left side of the device.
-
-
-
Using the opening tool, carefully detach the ribbon cables connected to the motherboard.
-
-
-
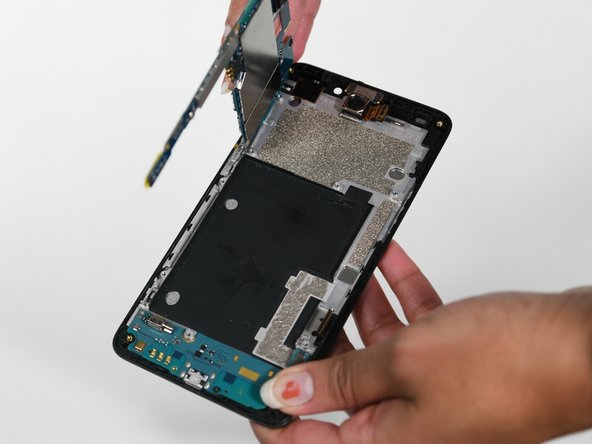
Work the opening pick around the edges of the motherboard to loosen it up.
-
The motherboard is glued down with adhesive. Pushing firmly with the pick will help to loosen the components and remove them.
-
Pull the motherboard out of the device.
-
-
Инструмент, используемый на этом этапе:Tweezers$4.99
-
Detach the ribbon cable connecting the camera to the device.
-
Use blunt tweezers to pull the camera off.
-


To reassemble your device, follow these instructions in reverse order.
To reassemble your device, follow these instructions in reverse order.

Команду

University of Colorado Denver, Team 1-3, Campeau Fall 2022 Участник University of Colorado Denver, Team 1-3, Campeau Fall 2022
UCDENVER-CAMPEAU-F22S1G3
5 членов
Автор 5 руководств