Введение
This guide has step-by-step instructions on how to replace your ZTE Max XL motherboard. You might need to replace your motherboard if you notice some hardware functions of the device start to misbehave. These hardware functions include charging port, headphone jack, Wi-Fi, Bluetooth, or GPS.
Выберете то, что вам нужно
-
-
Use the SIM Card Eject Tool to remove the SIM card tray. To do this, insert the key into the hole on the side of the phone near the SIM card tray.
-
-
-
Apply the iOpener to the back of the phone. For instructions on how to use the iOpener, use this guide.
-
-
-
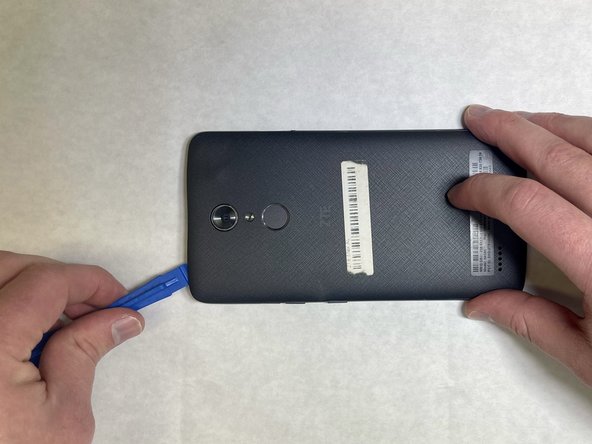
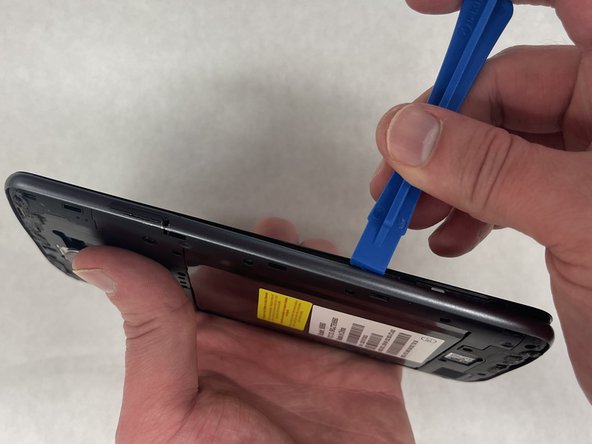
Starting at one corner, wedge a plastic opening pick or tool underneath the plastic backing to start undoing the tabs that connect the backing to the phone.
-
-
-
Remove the two 3.4 mm JIS #00 screws that hold the cable in place—one may be under a lock sticker.
-
-
-
-
Use a nylon spudger to lift the press-fit connector and free the ribbon cable from the main part of the phone.
-
-
-
Use an opening tool between the screen and side trim battery cover to remove the screen.
-
-
-
Use a nylon spudger to carefully lift the 6 press-fit connections free from the motherboard.
-
-
-
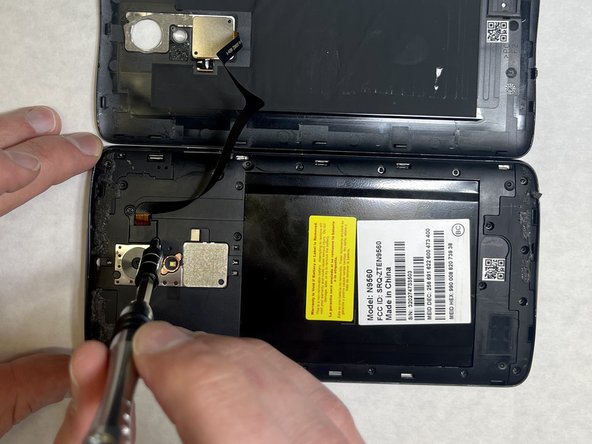
Use the Spudger to carefully flip the metal clip holding the camera in place, located on the backside of the Motherboard.
-
-
-
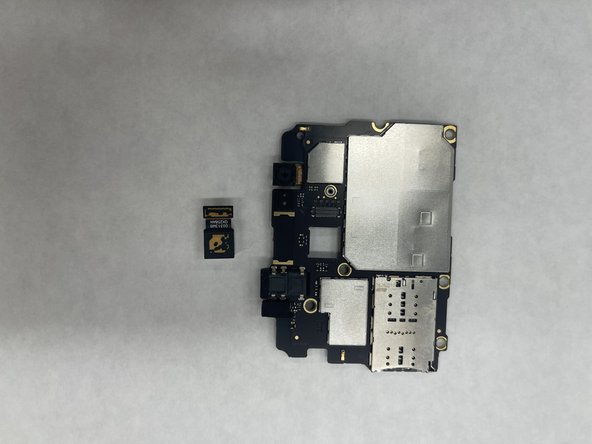
With the motherboard removed, you can now insert the new motherboard or replace other parts within your phone.
-


To reassemble your device, follow these instructions in reverse order.
To reassemble your device, follow these instructions in reverse order.
Отменить: Я не выполнил это руководство.
Еще один человек закончил это руководство.
Команда

IUPUI, Team 1-2, Harley Spring 2022 Участник IUPUI, Team 1-2, Harley Spring 2022
IUPUI-HARLEY-S22S1G2
4 членов
Автор 3 руководств