Введение
If the screen on your ZTE Whirl 2 (model Z667G) is cracked or broken, use this guide to replace the screen. The touchscreen gives you access to use the features on your phone. Before using this guide, look at the device’s Troubleshooting Page to see if you can solve your device’s problem without having to take it apart.
Before using this guide, make sure your device is unplugged and turned off.
Выберете то, что вам нужно
-
-
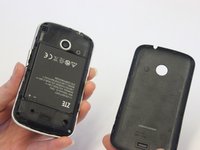
Power off your phone before removing the battery.
-
Pry the cover off the back of the phone using your fingers.
-
-
Инструмент, используемый на этом этапе:Tweezers$4.99
-
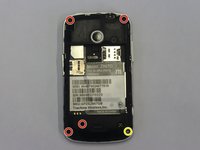
Remove four 4 mm screws using a Phillips #00 screwdriver.
-
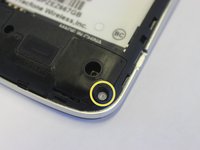
Use a tweezers to remove the lock sticker from the bottom right screw. Remove the 4 mm screw using a Phillips #00 screwdriver.
-
-
-
-
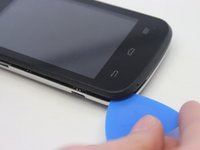
Insert an opening pick between the midframe and the digitizer.
-
Move the pick around the midframe to detach the midframe from the digitizer.
-
-
Инструмент, используемый на этом этапе:Tweezers$4.99
-
Use tweezers to pull the lock button and volume stickers out from the side panels.
-
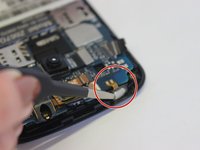
Use the iFixit Opening Tool to unlock the ribbon connector above the camera. Pull the ribbon from the connector.
-
-
-
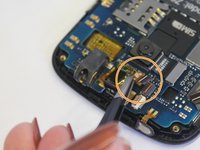
Use a spudger tool to unlock the screen ribbon cable.
-
Pull the ribbon cable from the connecter with a pair of tweezers.
-
-
-
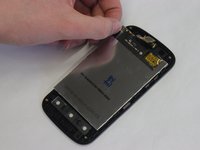
Remove the motherboard to access the screen. Lift the screen away from the front cover and replace.
-


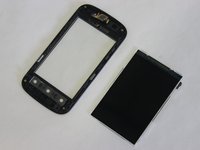
To reassemble your device, follow these instructions in reverse order.
To reassemble your device, follow these instructions in reverse order.

Команду

UW Stout, Team S1-G1, Schneider-Bateman Spring 2020 Участник UW Stout, Team S1-G1, Schneider-Bateman Spring 2020
UWSTOUT-SCHNEIDER-BATEMAN-S20S1G1
3 членов
Автор 10 руководств