Перейти к основному содержанию

Zenbre SoundBank Z3 Speaker Replacement

Выберете то, что вам нужно

  1. Zenbre SoundBank Z3 Speaker Replacement, Bottom Cover: шаг 1, изображение 1 из 2 Zenbre SoundBank Z3 Speaker Replacement, Bottom Cover: шаг 1, изображение 2 из 2
    • Power off the SoundBank Z3.

    • Turn over the device.

    • Peel the silicone feet up to remove.

    • No extra adhesive is needed to reapply the feet as long as the sticky side is not touched.

  2. Zenbre SoundBank Z3 Speaker Replacement: шаг 2, изображение 1 из 1
    • Remove all eight of the 11 mm Phillips screws from the bottom of the device.

  3. Zenbre SoundBank Z3 Speaker Replacement: шаг 3, изображение 1 из 2 Zenbre SoundBank Z3 Speaker Replacement: шаг 3, изображение 2 из 2
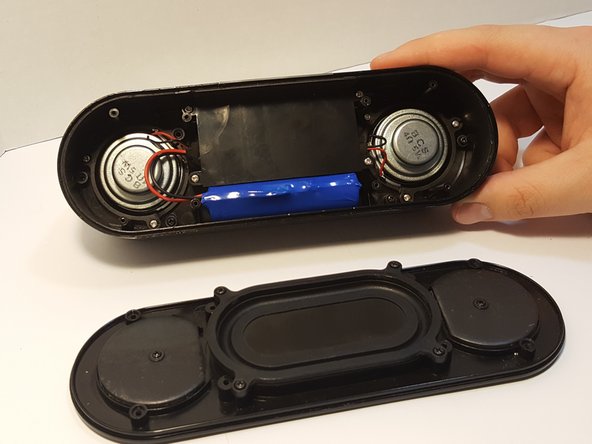
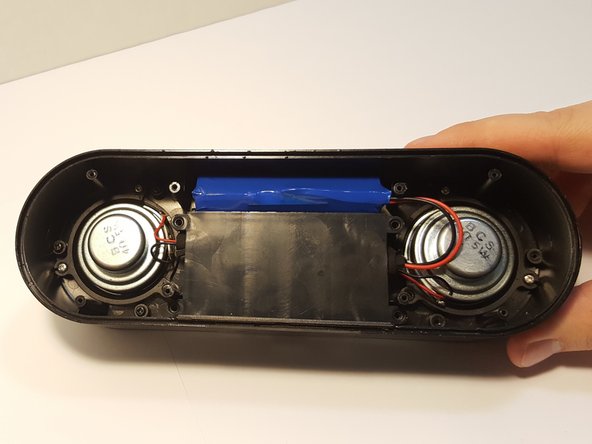
    • Remove the bottom panel speaker using an iFixit opening tool.

  4. Zenbre SoundBank Z3 Speaker Replacement, Motherboard Cover: шаг 4, изображение 1 из 3 Zenbre SoundBank Z3 Speaker Replacement, Motherboard Cover: шаг 4, изображение 2 из 3 Zenbre SoundBank Z3 Speaker Replacement, Motherboard Cover: шаг 4, изображение 3 из 3
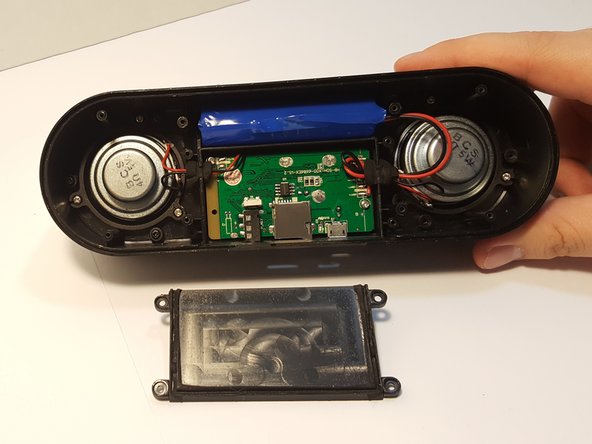
    • Remove the four 4.5 mm silver Phillips screws that secure the plastic panel covering the motherboard.

    • Remove the plastic panel.

  5. Zenbre SoundBank Z3 Speaker Replacement, Speakers: шаг 5, изображение 1 из 2 Zenbre SoundBank Z3 Speaker Replacement, Speakers: шаг 5, изображение 2 из 2
    • Remove the three screws that are holding the speaker down.

    • Be careful not to rip out the speaker while taking out the screws.

  6. Zenbre SoundBank Z3 Speaker Replacement: шаг 6, изображение 1 из 2 Zenbre SoundBank Z3 Speaker Replacement: шаг 6, изображение 2 из 2
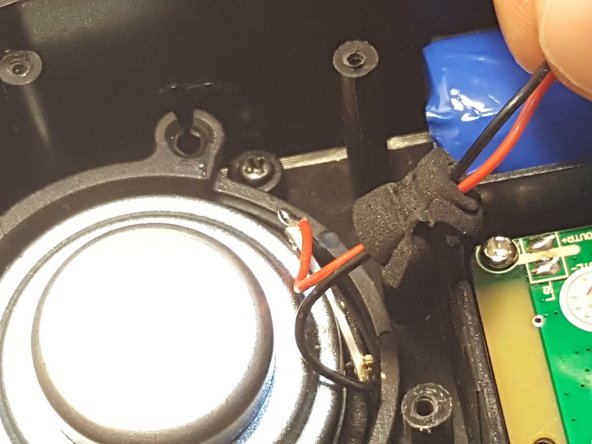
    • Desolder the speaker joints from the motherboard. Follow this How To Solder guide for help with desoldering.

  7. Zenbre SoundBank Z3 Speaker Replacement: шаг 7, изображение 1 из 2 Zenbre SoundBank Z3 Speaker Replacement: шаг 7, изображение 2 из 2
    • Remove the speaker from the motherboard.

    • Remove the speaker ring.

    • Be careful not to remove other components in the speaker.

    • Repeat Steps 5-7 with the other speaker.

Заключение

To reassemble your device, follow these instructions in reverse order.

Еще один человек закончил это руководство.

Cherian Thomas

Участник с: 03/25/16

334 Репутация

Автор 5 руководств

Команда

UMass Dartmouth, Team 3-2, Bhusal Spring 2016 Участник UMass Dartmouth, Team 3-2, Bhusal Spring 2016

UMASSD-BHUSAL-S16S3G2

5 членов

Автор 8 руководств

0 Комментариев

Добавить комментарий

Просмотр статистики:

За последние 24часов: 1

За последние 7 дней: 2

За последние 30 дней: 3

За всё время: 461