Перейти к основному содержанию

iPhone 8 Lightningコネクタアセンブリの交換

Примечание: Вы редактируете необходимое руководство. Любые внесенные вами изменения повлияют на руководство, которое включает эту стадию.

Английский
Японский
Шаг 18
iPhone 8 Lightning Connector Assembly Replacement: шаг 0, изображение 1 из 3 iPhone 8 Lightning Connector Assembly Replacement: шаг 0, изображение 2 из 3 iPhone 8 Lightning Connector Assembly Replacement: шаг 0, изображение 3 из 3
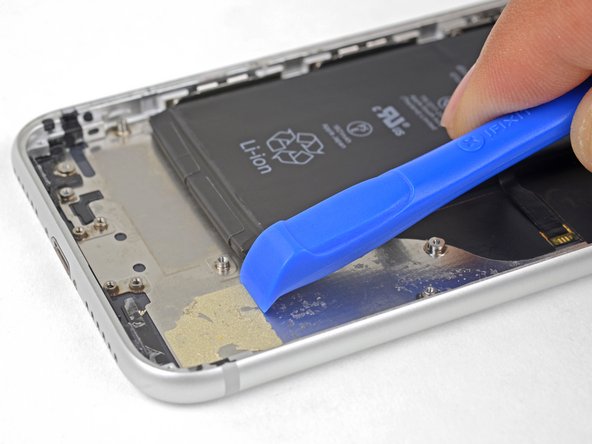
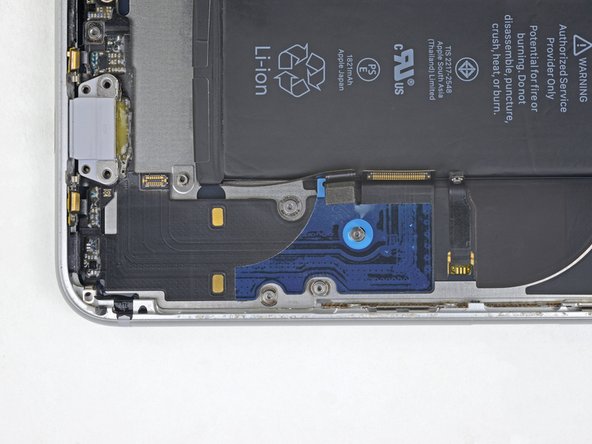
  • Remove the Lightning connector assembly.

  • Before installing or replacing the Lightning connector assembly:

  • Use a plastic tool to scour any bits of adhesive residue from the rear case. You can use some high concentration isopropyl alcohol to help clean the surface.

  • Before removing the adhesive backing, make sure the Lightning connector assembly is correctly positioned by aligning the hole in the flex cable with the screw post. If the cable is misaligned, you won't be able to reconnect it to the logic board.

Lightningコネクタアセンブリを取り出します。

Lightningコネクタアセンブリを装着もしくは交換する前に次の点に留意してください。

プラスチックツールを使ってリアケースに残っている接着剤を全て綺麗に取り除いてください。高濃度イソプロピルアルコールを使って表面を綺麗に拭き取ります。

残りの接着剤を取り除く前に、 フレックスケーブル上の穴とネジポストがきちんと合わさって、Lightningコネクタアセンブリが正しく配置されているか確認してください。 ケーブルの位置がずれていると、ロジックボードにケーブルを再接続できません。

Ваш вклад лицензируется под свободной лицензией Creative Commons .