Перейти к основному содержанию

iPhone 8 Lightning Connector Assembly Replacement

Примечание: Вы редактируете необходимое руководство. Любые внесенные вами изменения повлияют на руководство, которое включает эту стадию.

Английский
Голландский

Перевод шага 19

Шаг 19
iPhone 8 Lightning Connector Assembly Replacement: шаг 0, изображение 1 из 3 iPhone 8 Lightning Connector Assembly Replacement: шаг 0, изображение 2 из 3 iPhone 8 Lightning Connector Assembly Replacement: шаг 0, изображение 3 из 3
  • A rubber gasket on the bottom of the Lightning connector protects your iPhone from liquid and dust intrusion. If you are installing a new Lightning connector assembly, you may need to carefully remove and transfer the gasket to the new part.

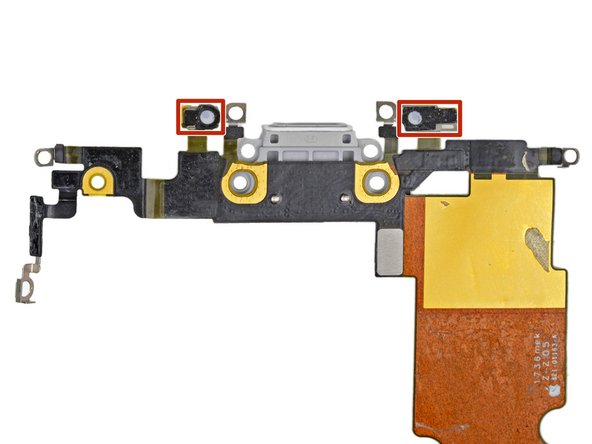
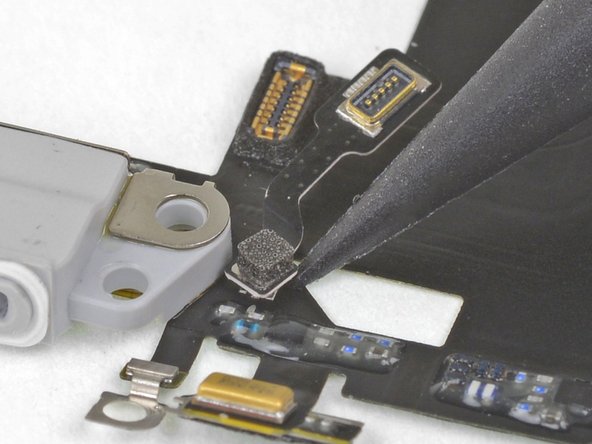
  • The small adhesive patch on the bottom of each microphone also protects your iPhone from liquid and dust intrusion. For best results, replace the two adhesive patches before installing your Lightning connector assembly.

  • Check to see if your new part comes with an antenna converter cable. If it doesn't, use the point of your spudger to pry up and transfer the cable from your old Lightning assembly to the new one.

Вставьте перевод здесь

Вставьте перевод здесь

Вставьте перевод здесь

Ваш вклад лицензируется под свободной лицензией Creative Commons .