Перейти к основному содержанию

iPad Mini CDMA LCD Austausch

Примечание: Вы редактируете необходимое руководство. Любые внесённые вами изменения влияют на все 42 руководства, которые включают этот шаг.

Английский
Немецкий
Шаг 9
iPad Mini CDMA LCD Assembly Replacement: шаг 0, изображение 1 из 3 iPad Mini CDMA LCD Assembly Replacement: шаг 0, изображение 2 из 3 iPad Mini CDMA LCD Assembly Replacement: шаг 0, изображение 3 из 3
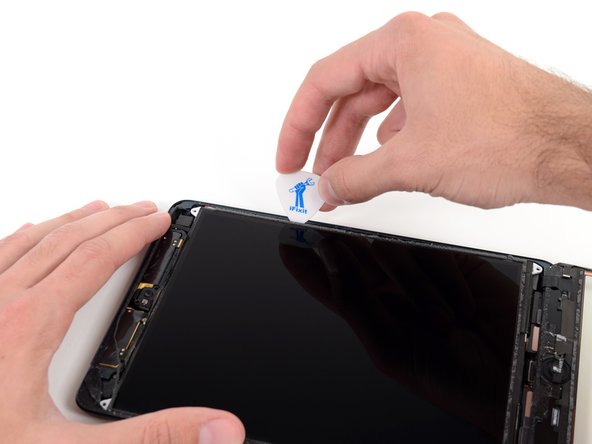
  • Now switch to the right side of the LCD, and pry with the guitar pick in several places along the side to shift the LCD back to the left.

  • Repeat this and the previous step a few times, until the LCD is easily moved left and right.

Gehe nun auf die rechte Seite des LCD und hebele mit dem Plektrum an verschiedenen Stellen entlang der Kante, um das LCD wieder nach links zu schieben.

Wiederhole diesen und den vorigen Schritt mehrmals, bis das LCD sich ganz leicht nach rechts und links bewegen lässt.

Ваш вклад лицензируется под свободной лицензией Creative Commons .