Примечание: Вы редактируете необходимое руководство. Любые внесенные вами изменения повлияют на руководство, которое включает эту стадию.
Перевод шага 7
Шаг 7


-
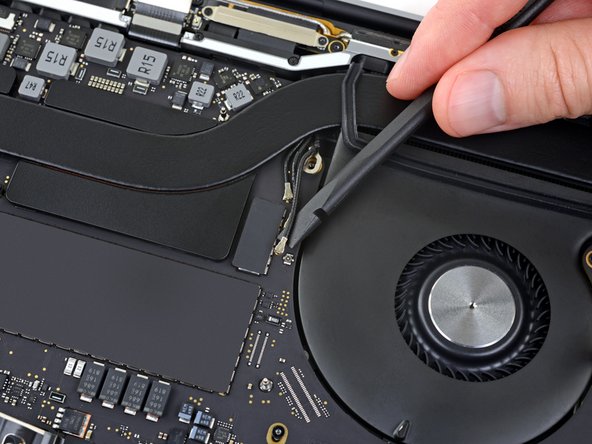
Disconnect all three antenna cables by prying each one straight up from its socket.
-
Slide your tweezers or the flat end of your spudger underneath each cable until it's near the socket, and then gently twist or pry up to disconnect it.
| [* black] Disconnect all three antenna cables by prying each one straight up from its socket. | |
| - | [* black] Slide your tweezers or the flat end of your spudger underneath each cable until it's near the socket, and then gently twist or pry up to disconnect it. |
| + | [* black] Slide your [product|IF145-020|tweezers] or the flat end of your spudger underneath each cable until it's near the socket, and then gently twist or pry up to disconnect it. |
| [* icon_reminder] To reconnect each cable, align the connector directly over its socket, and then press down so it snaps into place. |
Ваш вклад лицензируется под свободной лицензией Creative Commons .