Перейти к основному содержанию

Reemplazo del digitalizador y LCD del iPhone XR

Примечание: Вы редактируете необходимое руководство. Любые внесенные вами изменения повлияют на руководство, которое включает эту стадию.

Английский
Испанский

Перевод шага 1

Шаг 1
iPhone XR LCD and Digitizer Replacement, Unscrew the LCD shield plate: шаг 0, изображение 1 из 3 iPhone XR LCD and Digitizer Replacement, Unscrew the LCD shield plate: шаг 0, изображение 2 из 3 iPhone XR LCD and Digitizer Replacement, Unscrew the LCD shield plate: шаг 0, изображение 3 из 3
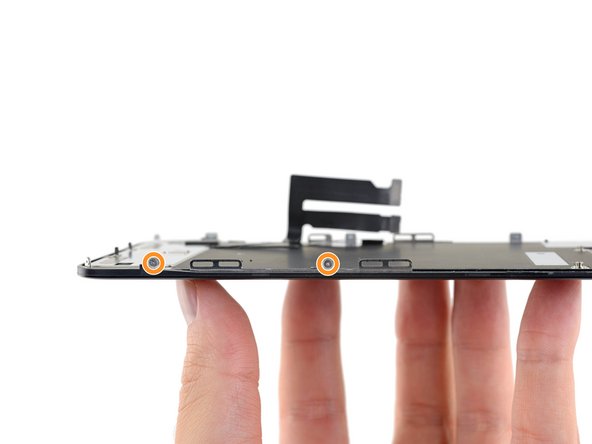
Unscrew the LCD shield plate
  • Use a Y000 driver to remove the 1.1 mm screws securing the LCD shield:

  • Three screws on the side nearest the display cables

  • Two more screws on the opposite side

  • Press your driver firmly into the screw while turning it. If needed, you can use your spudger to brace each screw from behind, in order to apply more pressure to the screws without bending the shield.

Usa un destornillador Y000 para remover los tornillos de 1.1 mm que sujetan el escudo LCD.

Tres tornillos en el lado más cerca de los cables de la pantalla.

Dos tornillos más en el lado opuesto.

Presiona tu destornillador firmemente en el tornillo mientras lo tuerces. Si es necesario, puedes usar tu spudger para apuntalar cada tornillo desde atrás y aplicar más presión a los tornillos sin doblar el escudo.

Ваш вклад лицензируется под свободной лицензией Creative Commons .