Перейти к основному содержанию

iPhone XRLCD 및 디지타이저 교체

Примечание: Вы редактируете необходимое руководство. Любые внесенные вами изменения повлияют на руководство, которое включает эту стадию.

Английский
Корейский

Перевод шага 1

Шаг 1
iPhone XR LCD and Digitizer Replacement, Unscrew the LCD shield plate: шаг 0, изображение 1 из 3 iPhone XR LCD and Digitizer Replacement, Unscrew the LCD shield plate: шаг 0, изображение 2 из 3 iPhone XR LCD and Digitizer Replacement, Unscrew the LCD shield plate: шаг 0, изображение 3 из 3
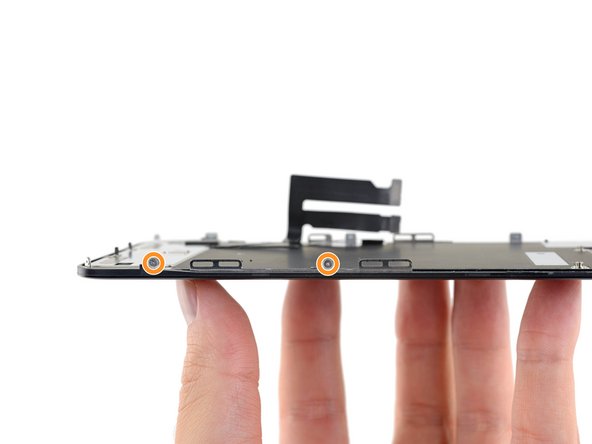
Unscrew the LCD shield plate
  • Use a Y000 driver to remove the 1.1 mm screws securing the LCD shield:

  • Three screws on the side nearest the display cables

  • Two more screws on the opposite side

  • Press your driver firmly into the screw while turning it. If needed, you can use your spudger to brace each screw from behind, in order to apply more pressure to the screws without bending the shield.

Y000 드라이버를 사용하여 LCD 실드를 고정하는 1.1mm 나사를 풀어주세요:

디스플레이 케이블과 가장 가까운 쪽에 있는 나사 세 개

반대편에 나사 두 개가

드라이버로 나사를 단단히 누르면서 돌리세요. 필요하다면 스퍼저를 사용하여 각 나사를 뒤에서 받쳐주면 실드가 구부러지지 않고 나사에 더 많은 힘을 가할 수 있습니다.

Ваш вклад лицензируется под свободной лицензией Creative Commons .