Примечание: Вы редактируете необходимое руководство. Любые внесенные вами изменения повлияют на руководство, которое включает эту стадию.
Перевод шага 12
Шаг 12

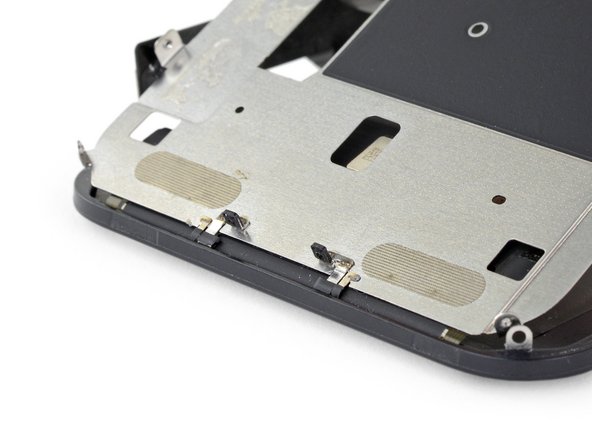
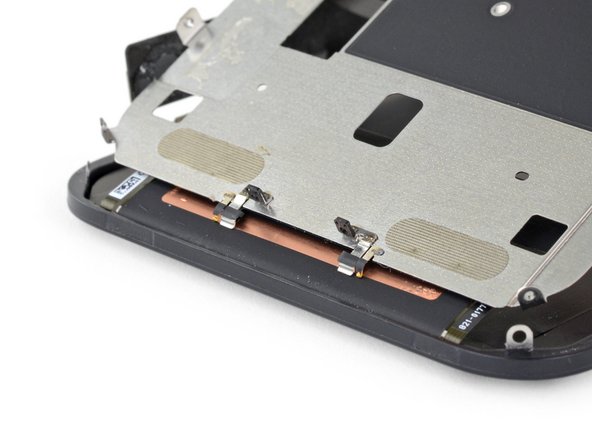


Check the EMI fingers
-
As you lift the LCD shield, note the metal prongs on the bottom edge.
Ваш вклад лицензируется под свободной лицензией Creative Commons .