Перейти к основному содержанию

Sostituzione SSD iMac 2011

Примечание: Вы редактируете необходимое руководство. Любые внесённые вами изменения влияют на все 2 руководства, которые включают этот шаг.

Английский
Итальянский

Перевод шага 9

Шаг 9
iMac 2011 SSD Replacement: шаг 0, изображение 1 из 3 iMac 2011 SSD Replacement: шаг 0, изображение 2 из 3 iMac 2011 SSD Replacement: шаг 0, изображение 3 из 3
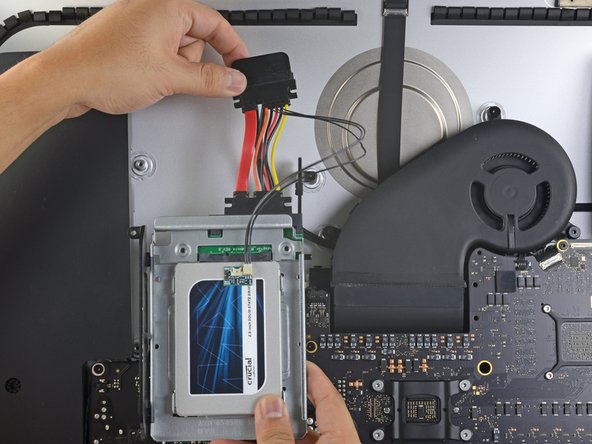
  • The images used in this step come from a 2017 iMac. Your cables may look slightly different, but the procedure remains the same.

  • Slide the SSD enclosure into the space previously occupied by the hard drive.

  • Route the SATA cables so that they will not interfere with any other components.

  • Try to keep the cables free from any sharp bends, and route them such that they are not pinched.

Le immagini utilizzate in questo passo riguardano un iMac 2017. I cavi possono essere un po' diversi nella tua macchina, ma la procedura è invariata.

Fai scorrere l'involucro dell'SSD nello spazio occupato in precedenza dall'hard drive.

Fai passare i cavi SATA in modo che non interferiscano con alcun altro componente.

Cerca di evitare brusche piegature dei cavi e disponili in modo che non restino pizzicati.

Ваш вклад лицензируется под свободной лицензией Creative Commons .