Перейти к основному содержанию

iMac 2011 SSD Replacement

Примечание: Вы редактируете необходимое руководство. Любые внесённые вами изменения влияют на все 2 руководства, которые включают этот шаг.

Английский
Голландский

Перевод шага 9

Шаг 9
iMac 2011 SSD Replacement: шаг 0, изображение 1 из 3 iMac 2011 SSD Replacement: шаг 0, изображение 2 из 3 iMac 2011 SSD Replacement: шаг 0, изображение 3 из 3
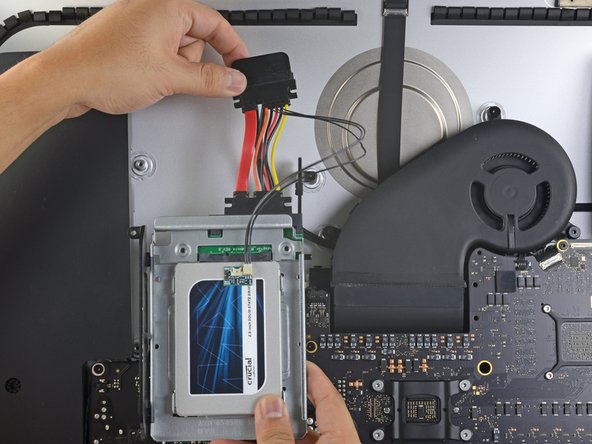
  • The images used in this step come from a 2017 iMac. Your cables may look slightly different, but the procedure remains the same.

  • Slide the SSD enclosure into the space previously occupied by the hard drive.

  • Route the SATA cables so that they will not interfere with any other components.

  • Try to keep the cables free from any sharp bends, and route them such that they are not pinched.

Вставьте перевод здесь

Вставьте перевод здесь

Вставьте перевод здесь

Вставьте перевод здесь

Ваш вклад лицензируется под свободной лицензией Creative Commons .