Примечание: Вы редактируете необходимое руководство. Любые внесенные вами изменения повлияют на руководство, которое включает эту стадию.
Перевод шага 20
Шаг 20


-
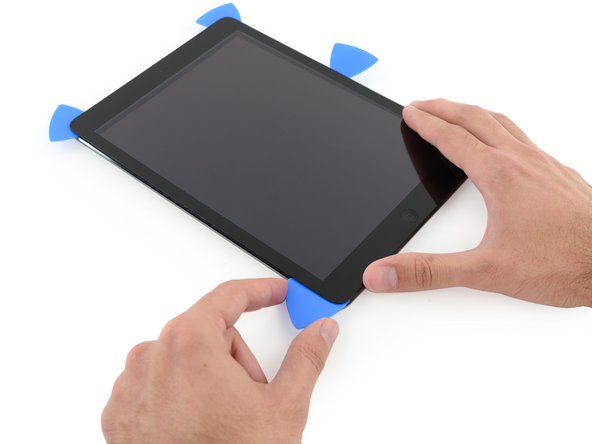
Slide the lower left pick to the lower left corner to cut the adhesive on that corner.
-
Leave the pick at the corner. Do not pry any farther, and do not remove the pick from the iPad.
-
The following steps will direct you where to pry to avoid damage to these components. Only apply heat and pry where directed.
Ваш вклад лицензируется под свободной лицензией Creative Commons .