Перейти к основному содержанию

iPad 9 Front Panel tauschen

Примечание: Вы редактируете необходимое руководство. Любые внесенные вами изменения повлияют на руководство, которое включает эту стадию.

Английский
Немецкий

Перевод шага 28

Шаг 28
iPad 9 Front Panel Replacement: шаг 0, изображение 1 из 2 iPad 9 Front Panel Replacement: шаг 0, изображение 2 из 2
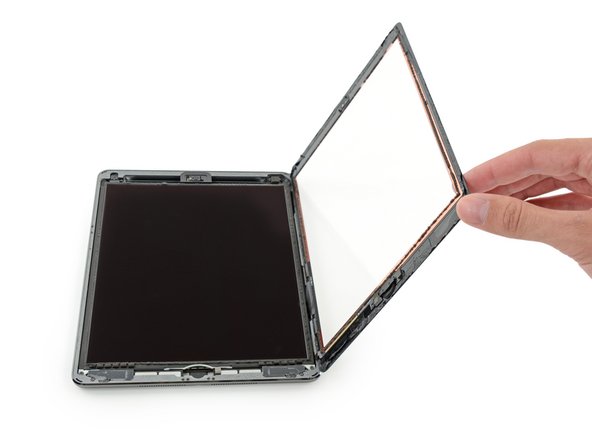
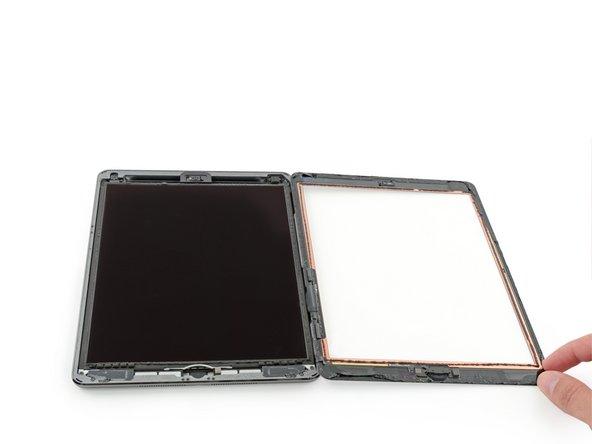
  • Once all of the adhesive has been separated, open the glass panel like a page in a book and rest it on your workspace.

  • During reassembly, clean the remains of the adhesive from the case (and the front glass if you are re-using it) with isopropyl alcohol, and replace the adhesive using our display adhesive application guide and pre-cut adhesive strips.

  • It's easy to pinch a flex cable between the front glass and the iPad's frame during reassembly. Be mindful of the flex cables and make sure they gently fold and tuck under the frame. If the folds in a flex cable are pressed completely flat, it may be damaged beyond repair.

Sobald sich der gesamte Klebstoff gelöst hat, kannst du die Glasscheibe wie eine Buchseite umklappen und auf deiner Arbeitsfläche ablegen.

Reinige beim Wiederzusammenbau die Klebereste vom Gehäuse (und vom Frontglas, wenn du es wieder verwendest) mit Isopropylalkohol und tausche den Displaykleber mit Hilfe unserer Anleitung zum Auftragen von Displaykleber und vorgeschnittenen Klebestreifen aus.

Beim Wiederzusammenbau kann ein Flachbandkabel leicht zwischen dem Frontglas und dem Rahmen des iPads eingeklemmt werden. Achte auf die Flachbandkabel und stelle sicher, dass sie behutsam gefaltet und unter den Rahmen geschoben werden. Wenn die Falten eines Flachbandkabels ganz flach gedrückt werden, kann es irreparabel beschädigt werden.

Ваш вклад лицензируется под свободной лицензией Creative Commons .