Примечание: Вы редактируете необходимое руководство. Любые внесённые вами изменения влияют на все 17 руководства, которые включают этот шаг.
Перевод шага 1
Шаг 1

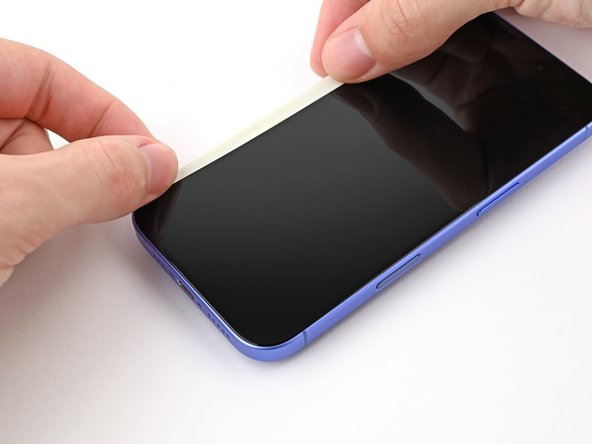


Secure the screen
-
Cut two strips of tape, apply them along the long edges of the phone, and fold them over the screen to secure it.
Ваш вклад лицензируется под свободной лицензией Creative Commons .