Введение
Follow these instructions to use an Anti-Clamp to open a device.
Выберете то, что вам нужно
-
-
-
If your device has cracked glass or a slippery surface, follow this guide to apply the included tape pad.
-
If your device can be opened from both its screen and back cover, follow this guide to apply the included tape strips.
 Спросите у FixBot
-
-
Инструмент, используемый на этом этапе:Clampy - Anti-Clamp$24.95
-
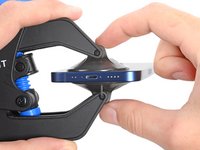
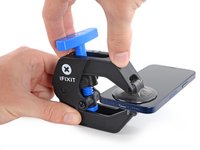
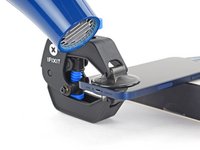
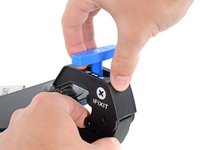
Pull the blue handle backward to disengage the arms of the Anti-Clamp.
-
-
-
Rotate the Anti-Clamp to the side so it doesn't obscure your starting edge. Refer to your original guide for which edge to start with.
-
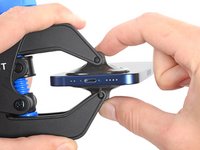
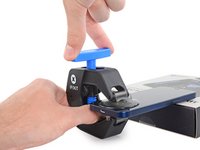
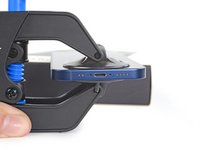
Center the suction cups over a smooth area of the device near the starting edge.
-
-
-
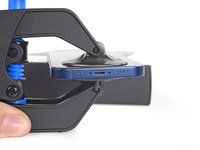
Squeeze the suction cups together to secure them to the device.
-
-
-
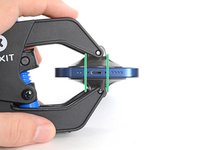
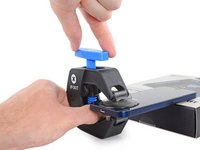
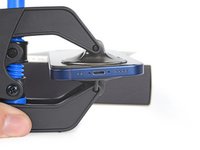
The suction cups need to be aligned with each other for the Anti-Clamp to work properly.
-
Improper alignment may cause the cups to separate prematurely. Pull the cups off the device using their pull tabs and re-center them.
-
-
-
-
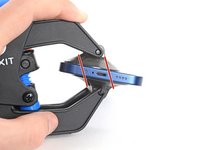
Place a support under your device so the Anti-Clamp stands upright without being held in place.
-
-
-
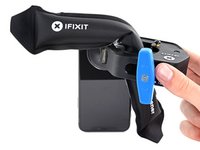
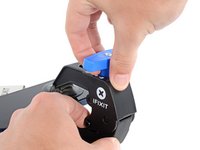
Twist the handle clockwise one full rotation (360 degrees) or until the cups begin to stretch.
-
-
-
For smaller devices, thread a heated iOpener through the arms of the Anti-Clamp to heat your device.
-
For larger devices, or iPhone models 12 and newer, use a hair dryer or a heat gun to soften the adhesive along your starting edge.
-
-
-
Wait one minute to give the adhesive a chance to release and present a gap.
-
If, after several rounds of heating, the device doesn't show any signs of opening, twist the knob one quarter-turn.
-
-
-
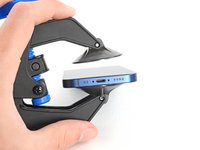
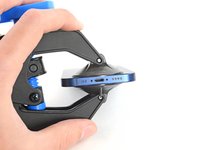
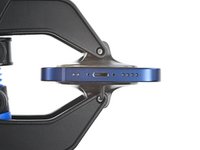
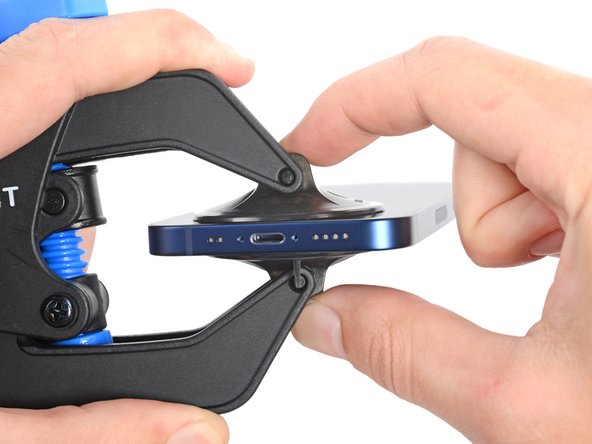
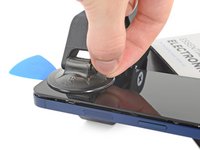
Insert an opening pick into the gap created by the Anti-Clamp.
-
-
-
Pull the blue handle backward to the unlock icon to disengage the arms.
-
Pull the suction cups off of the device using their pull-tabs.
-
Remove the Anti-Clamp and set your device on a flat surface.
-
-
-
Return to your original guide and continue disassembly, skipping any steps that open the device with a suction handle.
-
-


Отменить: Я не выполнил это руководство.
126 человек успешно провели ремонт по этому руководству.


11 Комментарии к руководству
Very clear step-by-step guide. The next time I do a battery replacement I intend to use one of these.
Engaging the Opening Mode the first time takes a bit of a push, don't be afraid, keep pushing until you hear a click. Seems to be easier to engage after the first time.
Hi Ed,
Thanks for the helpful feedback! I've implemented your note into the guide step.
Looks like an answer to a problem that I don't have right now but I plan to purchase one of these before I do any more battery replacements.
I used mine to open a Samsung Galaxy Tab A7 tablet. Very frustrating, seemed like you needed three hands to put it in place (though later I found a better procedure). The OEM case glue was quite powerful (used a heating pad to get the tablet Very hot). The Anti-Clamp had difficulty holding to the back of the case and kept losing its grip. I didn't try the packing tape trick, just now noticed it. I mainly used the top suction cup just by itself.
The replacement battery had a very long battery cable and didn't lay flat, which caused a bright spot on the display where the cable "kink" was. So time to remove the case again. This time I stuck each suction cup individually, screen side first, the case - firmly pressing each cup flat after placement. No need to "fight" the Anti-Clamp to get it in place, plus I think I got a better hold with the cups. The B-7000 glue I used was much easier to break loose than the OEM case glue.
To loosen the suction cups I slid an opening pick under the edge of the cup.