Перейти к основному содержанию

Quitar la pantalla del iPhone 16

Примечание: Вы редактируете необходимое руководство. Любые внесенные вами изменения повлияют на руководство, которое включает эту стадию.

Английский
Испанский
Шаг 9
iPhone 16 Screen Removal, Separate the right adhesive: шаг 0, изображение 1 из 3 iPhone 16 Screen Removal, Separate the right adhesive: шаг 0, изображение 2 из 3 iPhone 16 Screen Removal, Separate the right adhesive: шаг 0, изображение 3 из 3
Separate the right adhesive
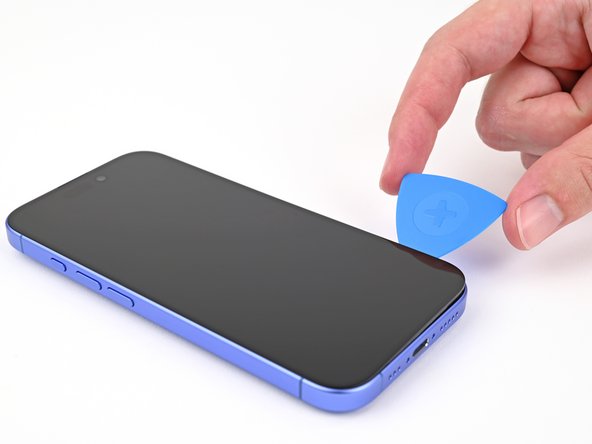
  • Don't insert your pick deeper than 3 mm to avoid damaging the spring contacts.

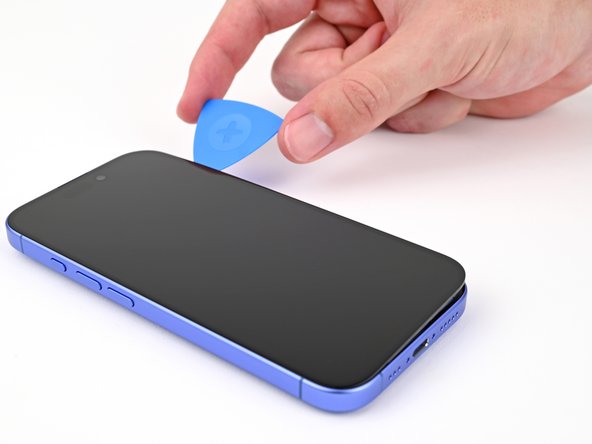
  • Slide your opening pick around the bottom right corner and up the right edge of the screen to separate the adhesive and release the metal clip.

  • You'll hear and feel the metal clip release as you pass it.

No introduzcas la púa más de 3 mm para evitar dañar los contactos de resorte.

Desliza la púa de apertura por la esquina inferior derecha y hacia arriba por el borde derecho de la pantalla para separar el adhesivo y liberar el clip de metal.

Escucharás y sentirás cómo se libera el clip de metal al pasarlo.

Ваш вклад лицензируется под свободной лицензией Creative Commons .