Примечание: Вы редактируете необходимое руководство. Любые внесенные вами изменения повлияют на руководство, которое включает эту стадию.
Перевод шага 3
Шаг 3

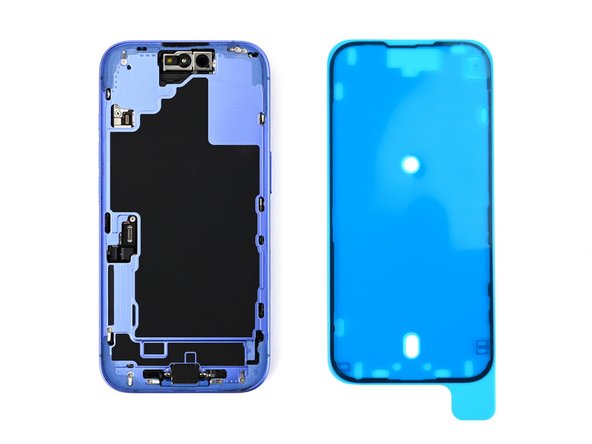


Orient the adhesive
-
Lay the adhesive next to the phone and use features like cutouts for spring contacts and the front‑facing camera to make sure the adhesive is oriented correctly.
Ваш вклад лицензируется под свободной лицензией Creative Commons .