Введение
This guide will show you how to successfully replace the gimbal assembly inside the DJI Mini 2 drone. If you need more detailed information on disassembling the gimbal camera to replace the camera cable or replace the gimbal housing, watch the video guide.
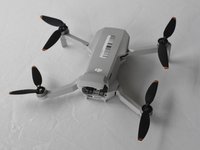
The Gimbal Camera is the camera that allows the drone to capture video and photos. It also can rotate in place to allow for multiple angles for the photos the drone can take. If the Gimbal Camera is broken or damaged this will prevent the drone from successfully capturing photos and videos.
This guide requires the use of ESD-safe tools.
If you have replaced the gimbal assembly, you will need to calibrate your DJI Mini 2 drone, but for gimbal calibration, you will need to use additional software.
How to calibrate the gimbal camera watch this video tutorial https://youtu.be/mu03HWXplM4
Выберете то, что вам нужно
Видео обзор
-
-
Face the DJI Mini 2 away from you so that you are looking at the charging ports.
-
Use your finger to open up the back panel.
-
-
-
Pinch the locking mechanism on the battery to release the lock.
-
Pull the battery straight out of the compartment.
-
-
-
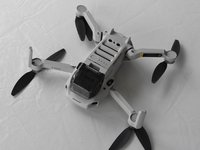
Unfold the wings of the drone.
-
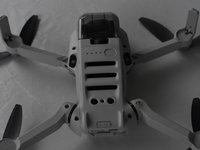
Place the drone upside down on a flat surface.
-
-
-
Flip the drone back over.
-
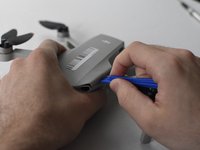
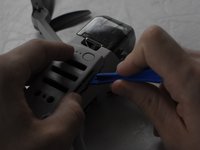
Use a combination of the opening tool and your fingers to pry open the top panel of the drone along the seams.
-
-
-
-
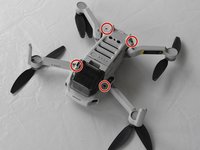
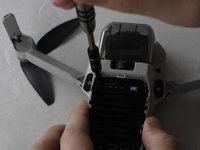
Remove the two 5 mm J000 screws located in the battery hatch and near the ports on the back of the drone.
-
-
-
Flip the drone over again.
-
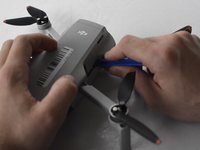
Pry off the bottom panel of the drone using the opening tools and your fingers.
-
-
Инструмент, используемый на этом этапе:Tweezers$4.99
-
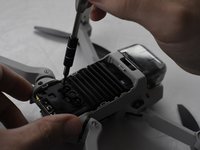
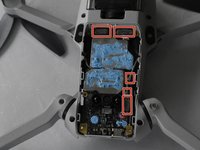
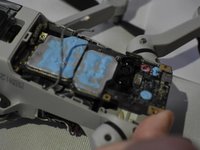
Using ESD Safe Tweezers Blunt Nose, remove the 5 cables attached to the main board.
-
-
-
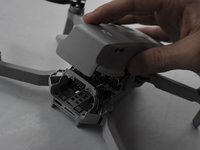
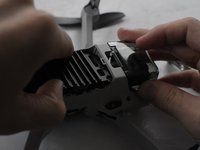
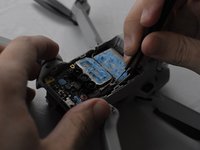
Use the ESD Safe Tweezers Blunt Nose and your fingers to pull off the main board from the drone carriage.
-
-
-
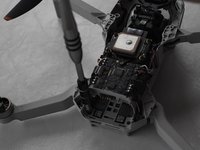
Pull the cable that was once attached to the mainboard and attaches to the camera through the main body.
-
-
Инструмент, используемый на этом этапе:Tweezers$4.99
-
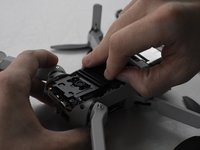
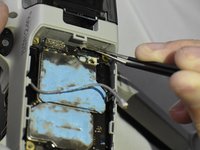
Use the tweezers to pull the four rubber camera holsters off of the body.
-
-
-
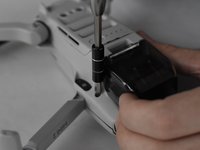
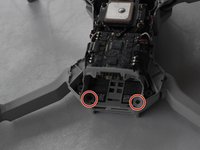
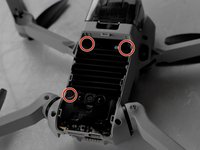
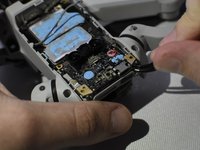
Using the J000 screwdriver, remove the two remaining 3 mm screws connecting the camera to the body.
-
Remove the camera.
-


To reassemble your device, follow these instructions in reverse order.
To reassemble your device, follow these instructions in reverse order.
Отменить: Я не выполнил это руководство.
5 человек успешно провели ремонт по этому руководству.

Команду

UMass Dartmouth, Team F-1, Gurgel Spring 2022 Участник UMass Dartmouth, Team F-1, Gurgel Spring 2022
UMASSD-GURGEL-S22SFG1
2 членов
Автор 15 руководств
7 Комментариев
this guide is missing so many steps its ridiculous
Hi Ben, thank you for the constructive criticism, but this is what happens when you make “creating a guide” a class requirement for a grade rather then hire professionals. I personally had no idea what I was doing writing this and just wanted to get my grade. So unfortunately, this guide will not be updated.
Check out the video guide
Arty -
Thank you very much for your tutorial. I successfully managed to replace my broken camera assembly. Maybe you should mention how to insert gimbal back (not as easy as it seems). With the official part, you have to use pliers to pull the little rubber parts. And even with an official part, you will always have a warning message about calibration. We can’t do anything for this except sending the drone to dji. Even if the calibration is fine and the drone perfectly working, there is this anti self repair « protection »… Only a certified DJI technician/shop can remove the error.
Thanks for the warning about anti self-repair! Was debating replacing it myself to save using up a strike for more serious damage. I didn't see anything about that voiding the warranty though...