Введение
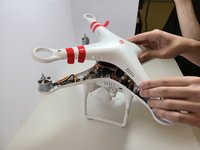
This guide demonstrates how to remove the motors from the DJI Phantom 2 Vision. Tools needed to complete the motor removal are a hex driver and a screwdriver. When completing the disassembly make sure to clean any residue that may be surrounding the screws before beginning, as doing this will ensure no over or under-tightening of screws may occur. Also, make sure to verify the size of the screws if you plan on replacing them, they are 9mm and 6mm hex heads and one 9mm Philips head.
Note: The drone we worked on already had the propellers removed. However, you will need to remove the propellers before Step 4. Refer to the DJI Phantom 2 Vision+ Propellers Removal for detailed instructions, as the process is identical.
Выберете то, что вам нужно
-
-
The battery is located on the backside of the drone. You will see a large rectangular indent protruding outward.
-
-
-
Remove the battery from the compartment by pinching the top and bottom pressure points near the center and pulling the battery towards you.
-
-
-
-
Remove the 4 hex screws(9mm) using a #2 Allen head bit, under the motor on each arm of the drone, then the 2 hex screws (6mm) next to those previous 4.
-
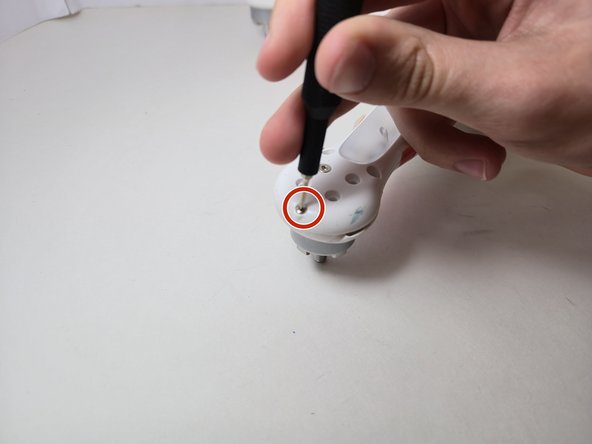
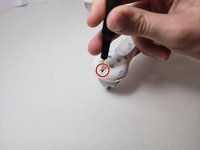
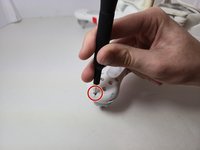
Remove the final hex screw(9mm) using #2 located next to the landing gear legs, then use a screwdriver to remove the 1 Philips head screw(9mm) on each arm using a 00 Philips Bit head.
-
-
-
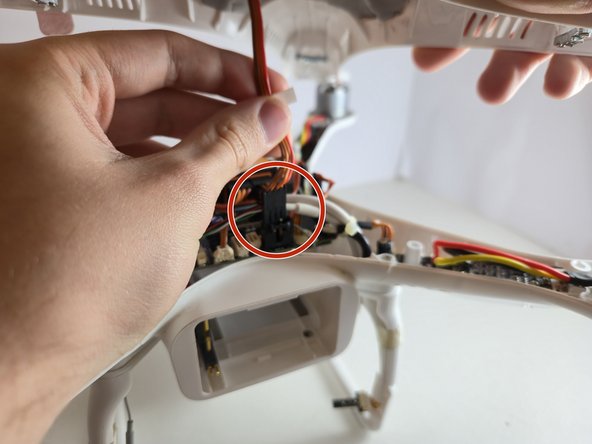
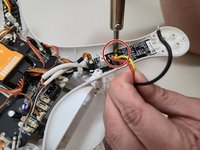
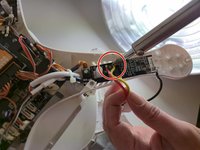
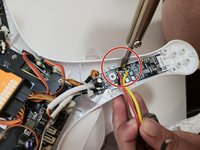
Use a soldering iron to remove the solder wire from the old motor off of the board.
-


To reassemble your device, follow these instructions in reverse order.
To reassemble your device, follow these instructions in reverse order.

Команду

Austin Community College, Team 7-1, Watkins Fall 2024 Участник Austin Community College, Team 7-1, Watkins Fall 2024
AUSTINCC-WATKINS-F24S7G1
4 членов
Автор 5 руководств