Введение
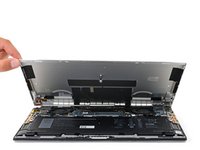
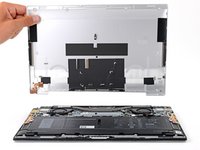
Use this guide to replace the lower case on your Dell XPS 13 9310.
Before you perform this repair, be sure to completely power off and unplug your laptop. Make sure the laptop is not in standby, sleep, or hibernation mode.
Выберете то, что вам нужно
-
-
Use a T5 Torx screwdriver to remove the eight 3.3 mm screws securing the case.
-
-
-
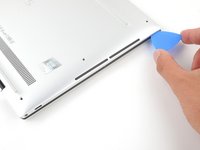
Insert an opening pick between the lower case and the chassis on the front right edge.
-
-
-
-
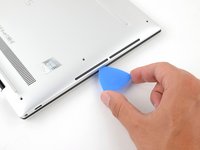
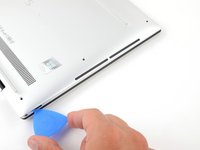
Slide the pick along the front edge to release the clips securing the lower case.
-
-
-
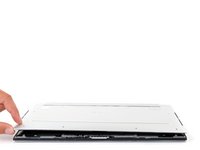
Continue sliding the opening pick along the perimeter of the lower case to release the remaining clips.
-
To reassemble your device, follow these instructions in reverse order.
Take your e-waste to an R2 or e-stewards certified recycler.
Repair didn't go as planned? Try some basic troubleshooting, or ask our Dell XPS answers community for help.
To reassemble your device, follow these instructions in reverse order.
Take your e-waste to an R2 or e-stewards certified recycler.
Repair didn't go as planned? Try some basic troubleshooting, or ask our Dell XPS answers community for help.
Отменить: Я не выполнил это руководство.
4 человек успешно провели ремонт по этому руководству.


