Введение
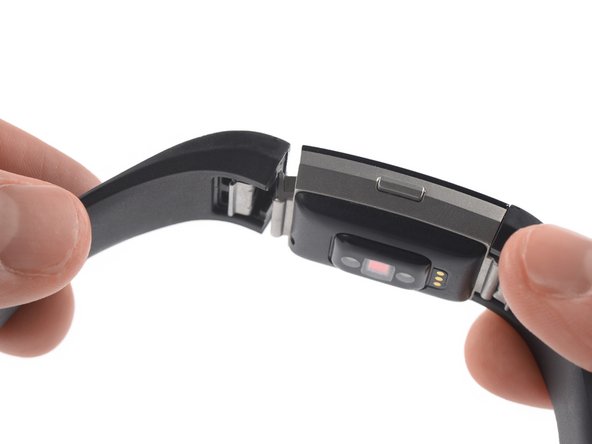
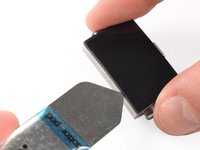
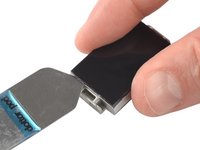
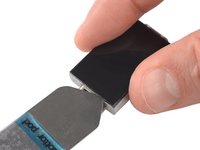
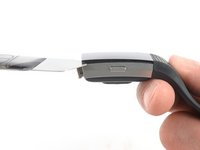
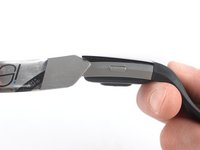
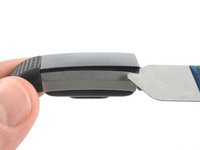
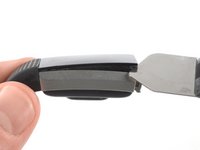
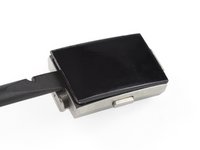
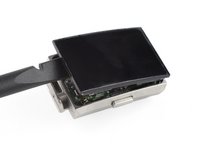
Use this guide to replace a worn-out or dead battery in your Fitbit Charge 2.
If your battery is swollen, take appropriate precautions. For your safety, discharge your battery below 25% before disassembling your Fitbit Charge 2. This reduces the risk of a dangerous thermal event if the battery is accidentally damaged during the repair.
You’ll need replacement adhesive to reattach components when reassembling the device.
Выберете то, что вам нужно
-
-
Before starting, take your Fitbit Charge 2 off the charger and power it down.
-
Remove the watch band on both sides.
-
-
-
Heat an iOpener and apply it to the touch screen for two minutes.
-
-
Инструмент, используемый на этом этапе:iSesamo Opening Tool$9.99
-
Insert an iSesamo into the gap between the touch screen and the watch assembly on the top left corner.
-
Slide the iSesamo along the left edge to the bottom left corner.
-
-
-
Slide the iSesamo around the bottom left corner.
-
Slide it along the edge to the bottom right corner.
-
-
-
Slide the iSesamo around the bottom right corner.
-
Keep sliding it along the right edge to the top right corner.
-
-
-
Slide the iSesamo around the top right corner.
-
Slide it along the top edge to the top left corner.
-
-
-
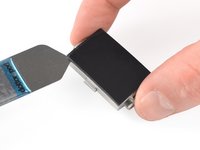
Place the iSesamo under the top left corner.
-
Pry up the touch screen assembly by twisting the iSesamo sideways to create a gap and unhinge the plastic clips which are holding the screen in place.
-
-
-
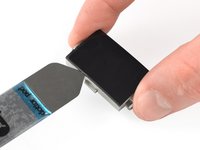
Place the iSesamo under the top right corner.
-
Pry up the touch screen assembly by twisting the iSesamo sideways to create a gap.
-
-
-
-
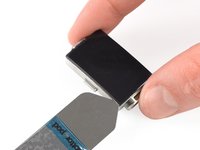
Insert a spudger into the gap on the top edge of your Fitbit Charge 2.
-
Use the spudger to pry up the touch screen assembly.
-
-
Инструмент, используемый на этом этапе:Tweezers$4.99
-
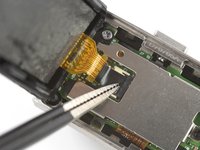
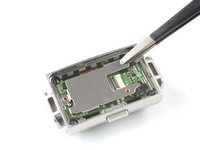
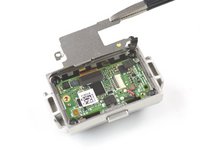
Use a pair of blunt nosed tweezers to remove the black sticker which covering the touch screen connector.
-
-
-
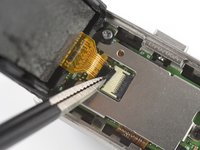
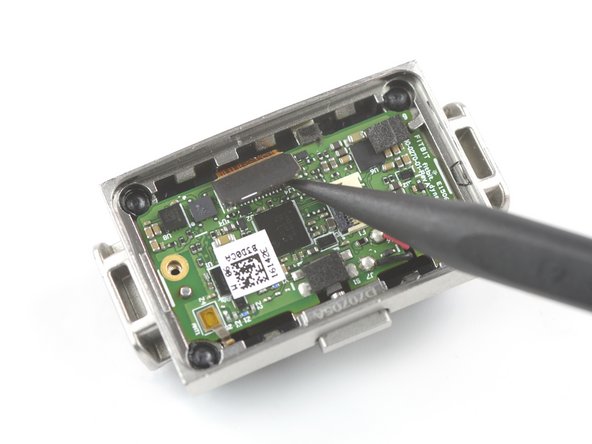
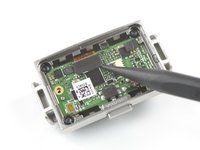
Use the pointed end of a spudger to open the ZIF connector by pushing up the black flap.
This step was a little confusing for me as I thought the "gray flap" was the part directly under the black sticker that we were told to lift in the previous step. Making this more confusing is the order of the photographs. To me things follow an orderly procession from left to right; by that standard, the "gray flap" was already "pushed up" in the first photo and you can't push it up anyway. It is also BLACK not gray! Anyway, I know it is my fault for not scrutinizing the photos better before I undertook the task of changing my battery. I broke the gray part of the connector and it just crumbled away. I have a small electronic microscope and it looks like I got the ribbon under the tabs correctly, but the display screen will not come on. I can feel the device vibrate when I put it on the charger and the app on my phone looks like it is working properly. I have prior experience with these type of connectors but my old eyes can't focus as well as they used to. Any suggestions for what I can do now? chazasmith@gmail.com
Dear Chuck Smith,
you're completely right. The photos in this step were in wrong order. I changed the order and the color to black for easier understanding. I'm very sorry the flap of your connector broke off.
The only suggestion I can give is to push the ribbon cable as far into the connector as possible and test if you're able to turn on the display (do this before resealing). If you're able to bring the cable in the right position and the display turns on, you can try to tape it to the connector with kapton tape or a similar strong tape (like it was before with the black tape). Try to tape the cable tight to the connector. Otherwise there might be some play for it to move and loose connection.
-
-
-
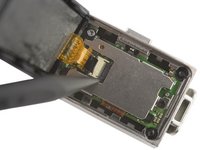
Pull the touch screen flex cable straight out its socket.
-
Remove the touch screen assembly.
-
-
-
Remove the two Phillips screws securing the motherboard cover:
-
One 2.5 mm screw
-
One 2.8 mm screw
-
-
Инструмент, используемый на этом этапе:Tweezers$4.99
-
Use a pair of blunt nose tweezers to remove the motherboard shield.
-
-
-
Use the pointed end of a spudger to pry up and disconnect the heart rate monitor sensor flex cable.
-
-
-
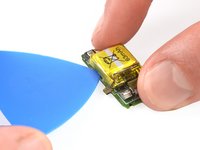
Use an opening pick to pry up and remove the motherboard which is holding the battery.
-
-
-
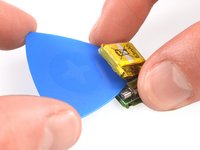
Slide an opening pick underneath the battery to cut the adhesive.
-
-
-
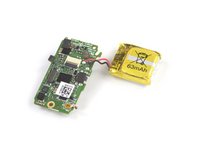
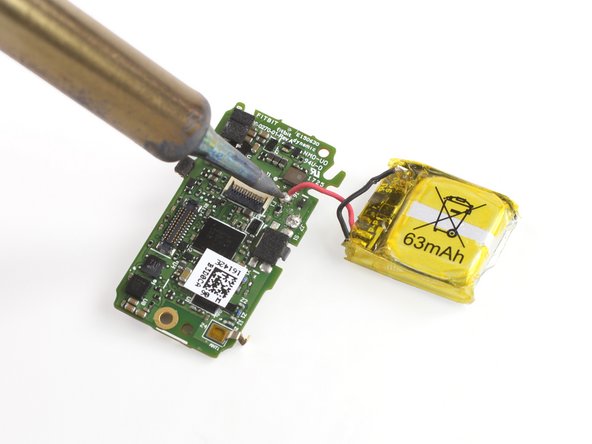
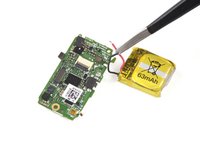
The next steps require desoldering the two battery cables from the motherboard.
-
-
-
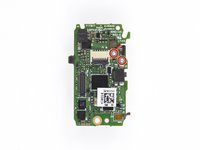
Use a soldering iron to desolder the second battery cable from the motherboard.
-
Secure the new battery with pre-cut adhesive or double-sided adhesive tape. In order to position it correctly, apply the new adhesive into the device at the places where the old adhesive was located, not directly onto the battery. Press the new battery firmly into place.
To reassemble your device, follow these instructions in reverse order.
For optimal performance, calibrate your newly installed battery: Charge it to 100% and keep charging it for at least 2 more hours. Then use your device until it shuts off due to low battery. Finally, charge it uninterrupted to 100%.
Take your e-waste to an R2 or e-Stewards certified recycler.
Repair didn’t go as planned? Try some basic troubleshooting, or ask our Answers community for help.
Отменить: Я не выполнил это руководство.
9 человек успешно провели ремонт по этому руководству.
4Комментарии к руководству
Nice, thank you!
Thank you very much.
