Введение
The Flipper Zero is a versatile multi-tool device that is widely used for hardware hacking, electronics prototyping, and security testing. One of its key features is its display, which allows users to interact with the device and view information. However, if the display on your Flipper Zero becomes damaged or stops working, it may be necessary to replace it.
Replacing the display on a Flipper Zero is a bit more involved than replacing some other components, as it requires desoldering the old display from the device's circuit board. However, with the right tools and some basic knowledge, it's a task that can be accomplished even by those with limited experience in electronics repair.
In this guide, we'll take you through the steps involved in replacing the display on your Flipper Zero, including how to desolder the old display. By following these steps, you can restore the functionality of your Flipper Zero and continue to use it for all your hardware hacking, electronics prototyping, and security testing needs. So, let's get started!
Выберете то, что вам нужно
-
-
Go to Main Menu > Settings > Power.
-
Select Power OFF.
-
Confirm by pressing the Right-button.
 Спросите у FixBot
-
-
-
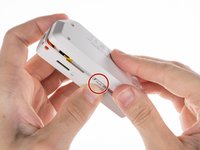
Eject the microSD card by pressing it with your fingernail.
-
-
Инструмент, используемый на этом этапе:Phillips #0 Screwdriver$5.49
-
Use a PH0 screwdriver to unscrew the four long screws holding the back cover.
-
-
-
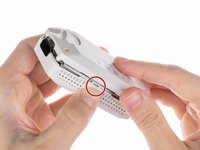
Press the middle of the top cover on both sides, one by one, to release the latches that hold the back cover in place.
-
Once the latches are released, you can remove the bottom cover.
-
-
-
Инструмент, используемый на этом этапе:Phillips #0 Screwdriver$5.49
-
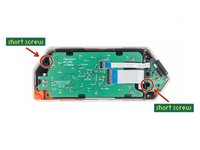
Use a PH0 screwdriver to unscrew the two short screws that are holding the chassis and top cover together.
-
Once the screws are removed, separate the chassis from the top cover.
-
-
Инструмент, используемый на этом этапе:Spudger$3.99
-
Disconnect the battery by carefully prying the connector with a Spudger and pulling it out.
-
-
Инструмент, используемый на этом этапе:iFixit Opening Picks (Set of 6)$4.95
-
Disconnect the large ribbon cable from the board. Use a plastic pick to lift the latch up to open the lock and carefully pull it out of the connector.
-
-
-
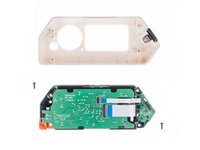
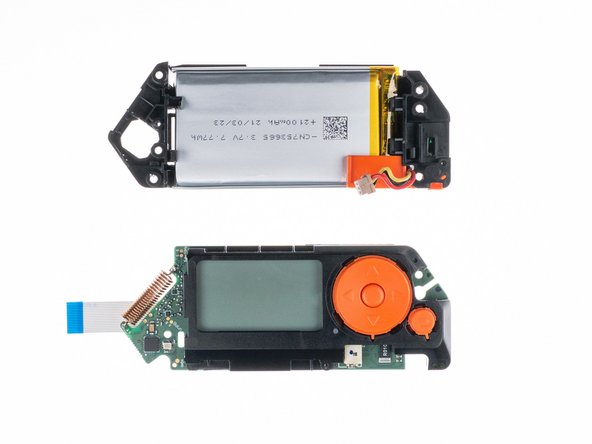
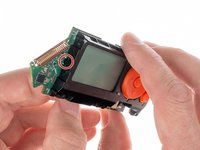
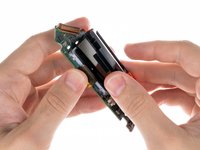
To release the battery chassis, lightly rock it back and forth while pulling the two parts apart.
-
-
Инструмент, используемый на этом этапе:Phillips #0 Screwdriver$5.49
-
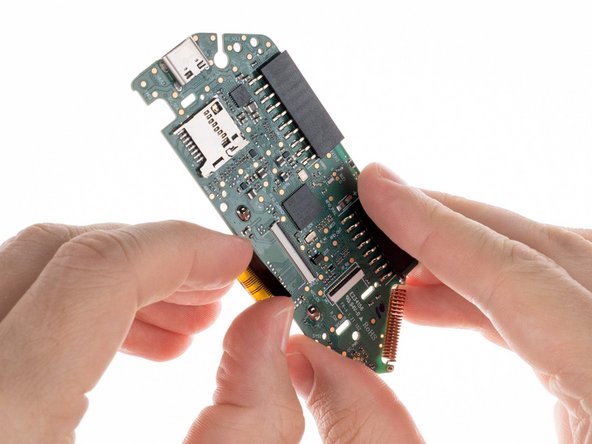
Unscrew the two short screws holding the button chassis using a PH0 screwdriver.
-
-
-
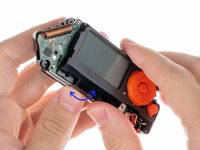
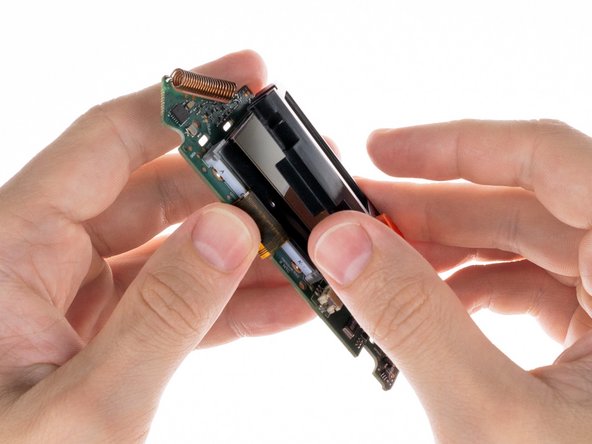
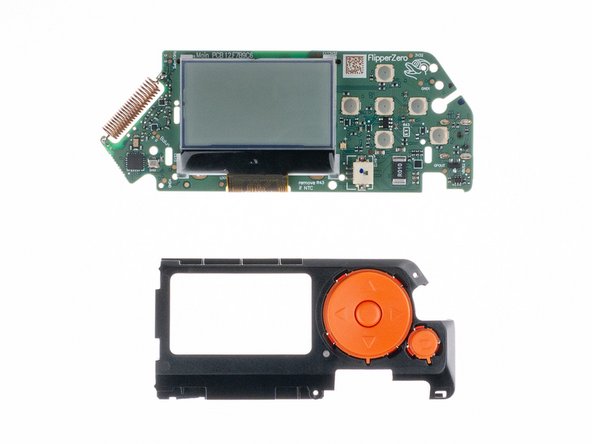
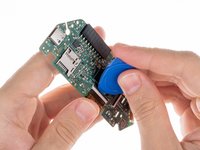
To seperate the button chassis and the board, press the latch on the side shown below and pull the chassis away from the board.
-
-
Инструмент, используемый на этом этапе:iFixit Opening Picks (Set of 6)$4.95
-
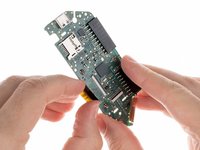
Disconnect the screen ribbon cable from the board. Use a plastic pick to lift the latch up to open the lock and carefully pull it out of the connector.
-
-
-
To remove the screen you need to desolder two contacts.
-


To reassemble your device, follow these instructions in reverse order.
Take your e-waste to an R2 or e-Stewards certified recycler.
Отменить: Я не выполнил это руководство.
16 человек успешно провели ремонт по этому руководству.

14 Комментарии к руководству
Everything worked fine following this guide. Thank you for the help. In my case was just the glass that was broken, so at the end, i didnt needed to desolder. Just removed the glass with the Plastic pick and worked perfectly. Thank you again for the help.
Where did you find a replacement glass?
The company behind FZ is not selling screen replacement (they promise they will do it in the future) but for now... So i don't what to think about this guide
Where can you get an LCD replacement (backlit)?
Checked with Flipper Zero Support and they said there's no replacement screens available. Found one on AliExpress and ordered it so I'll post here in about a month once the display has arrived and I have time to try the replacement, then report back and link the part if successful.