Эта версия возможно содержит некорректные исправления. Переключить на последнюю проверенную версию.
Выберете то, что вам нужно
-
Этот шаг не переведен. Помогите перевести
-
Take note of the two seams on the phone:
-
Screen seam: This seam separates the screen from the rest of the phone. This is where you should pry.
-
Frame seam: This is where the plastic frame meets the back cover. It is held in place by screws. Do not pry at this seam.
-
Before you begin prying, note the following areas on the screen:
-
Screen flex cable: Do not pry deeper than instructed, or you risk damaging this cable.
-
Adhesive perimeter: Prying beyond the narrow perimeter without angling the pick will damage the display panel.
-
-
Этот шаг не переведен. Помогите перевести
-
Heat an iOpener and apply it to the right edge of the display for a minute.
-
-
Этот шаг не переведен. Помогите перевести
-
Place a suction cup near the right edge of the screen.
-
Pull on the suction cup with strong steady force.
-
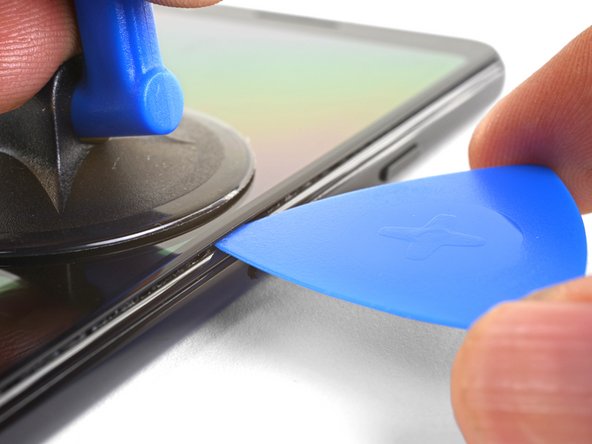
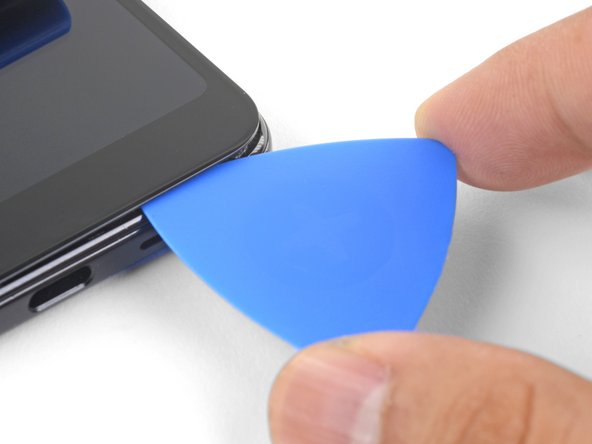
Insert the pick into the gap, no more than 1 mm.
-
-
Этот шаг не переведен. Помогите перевести
-
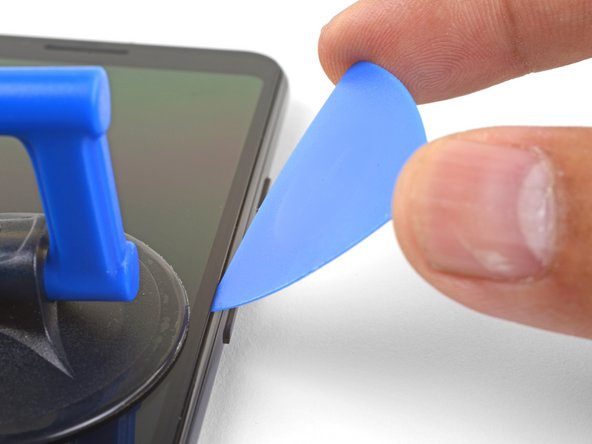
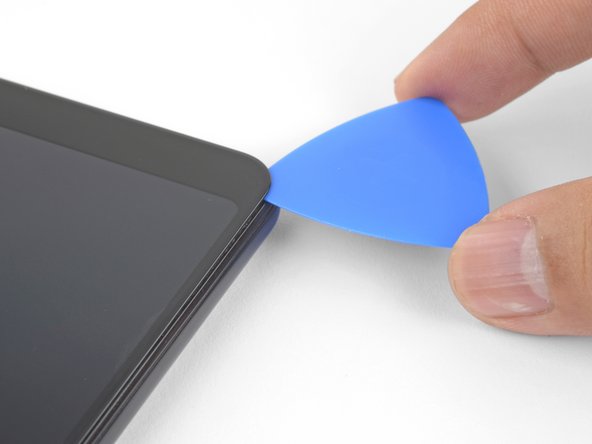
With the pick 1 mm in the gap, pivot the pick upwards to a steep angle.
-
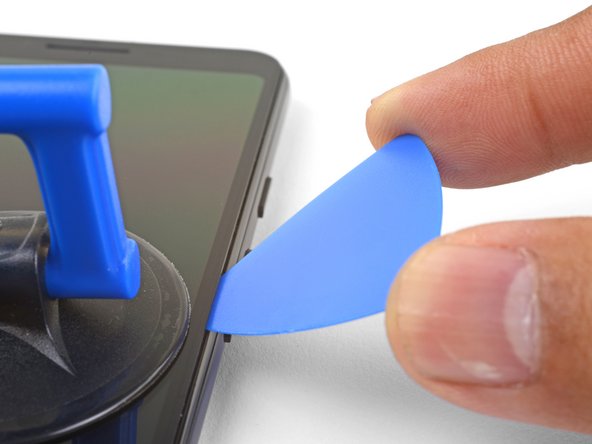
At this angle, carefully push the pick into the gap about 1/4" (6 mm). The pick should slide in below the OLED panel.
-
-
Этот шаг не переведен. Помогите перевести
-
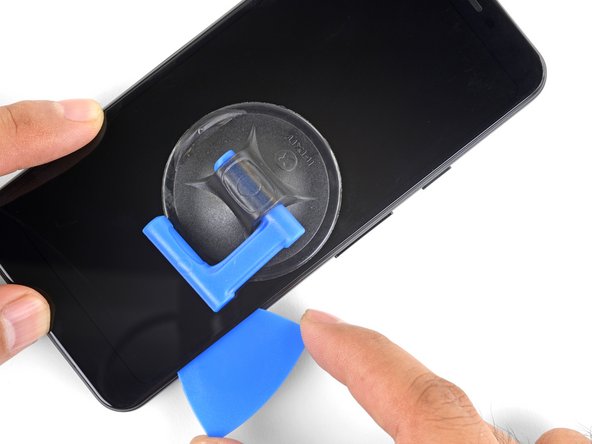
Slide the pick along the right edge, slicing through the adhesive.
-
Leave a pick in place to prevent the adhesive from resealing.
-
-
-
Этот шаг не переведен. Помогите перевести
-
Slide the pick around the bottom right corner to slice through the adhesive.
-
Continue slicing along the bottom edge of the phone and around the left corner.
-
-
Этот шаг не переведен. Помогите перевести
-
Slice through the left edge of the phone, making sure to properly angle the pick below the OLED panel and insert it in no more than 1/4" (6 mm).
-
To angle the pick below the OLED panel, insert the point of the pick no more than 1 mm in, angle the pick upwards, and then slowly push the pick in 1/4".
-
-
Этот шаг не переведен. Помогите перевести
-
Slice along the top edge while keeping the pick no more than 5/16" (8 mm) in.
-
-
Этот шаг не переведен. Помогите перевести
-
With all of the edges cut, carefully hinge open the right edge of the screen.
-
Use an opening pick to carefully cut through any remaining adhesive.
-
-
Этот шаг не переведен. Помогите перевести
-
With all of the adhesives cut, flip the attached screen glass side down and rest it on top of the phone. The screen flex cable should be loosely arched.
-
-
Этот шаг не переведен. Помогите перевести
-
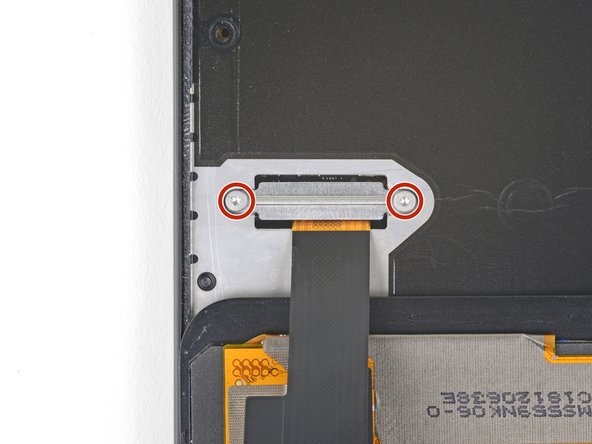
Carefully peel the black tape covering the screen connector bracket.
-
Remove the two 4.4 mm long T3 screws securing the screen connector bracket.
-
Remove the screen connector bracket.
-
-
Этот шаг не переведен. Помогите перевести
-
Use the point of a spudger to pry up and disconnect the screen flex cable.
-
-
Этот шаг не переведен. Помогите перевести
-
Remove the screen.
-
Carefully compare your replacement screen with your original part. You may need to transfer additional components (such as the speaker mesh) to the new part.
-
Follow this guide if you are using custom-cut adhesives.
-
If you are using double-sided tape such as Tesa tape, follow this guide.
-


Отменить: Я не выполнил это руководство.
76 участников успешно повторили данное руководство.


49 Комментариев
Any word on the replacement screens?
We should have replacement screens in stock in the next month or two! Thanks for your patience.
I’ve cracked not only my LCD screen, but also the frame seam (shown with orange line in step 1 above). Will you be posting a guide to replace this also, or could you incorporate into this guide? Also interested if this will be available as a spare? Thanks.
Hi Mark,
I’m sorry to hear that! The frame seam is part of the plastic midframe—you would need to replace the midframe to replace the cracked seam. Instructions on how to do so can be found in this guide.
Because the Pixel 3a is a relatively new phone, replacement parts are harder to find for it. You can always buy a broken phone and transfer the part over, or use some adhesive to hold the cracked frame seam in place.