Введение
This repair guide was authored by the iFixit staff and hasn’t been endorsed by Google. Learn more about our repair guides here.
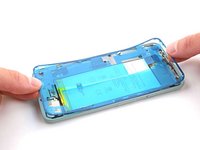
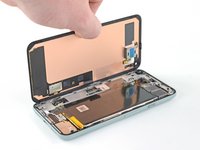
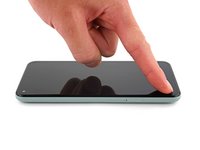
Follow this guide to correctly apply screen adhesive to your Google Pixel 5 after a repair.
Before you begin, you should have already removed your Pixel’s screen and set it aside. Detailed instructions for this can be found here.
Выберете то, что вам нужно
-
Инструмент, используемый на этом этапе:Tweezers$4.99
-
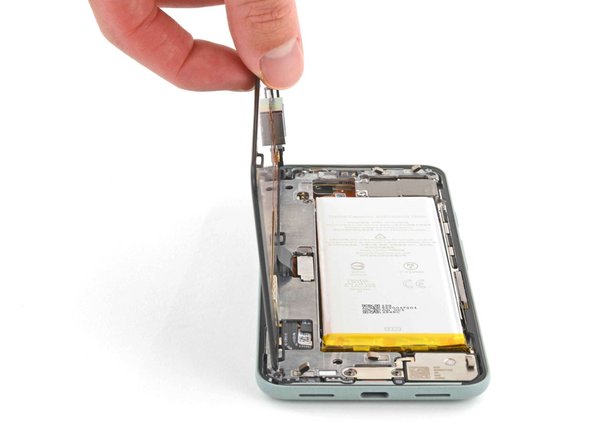
Peel off as much adhesive as you can with a pair of tweezers.
-
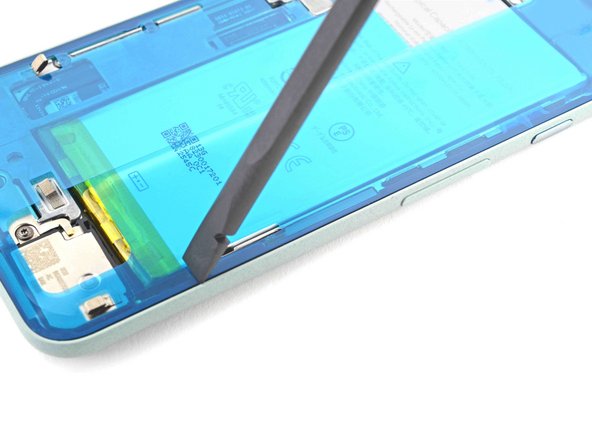
Use a spudger to scrape away any lingering adhesive.
-
For best results, clean the area underneath the removed adhesive with 90% or greater isopropyl alcohol to prep the surface for the new adhesive.
-
-
-
Repeat the previous step for the screen adhesive.
-
-
-
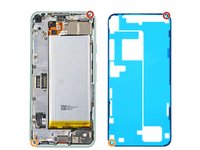
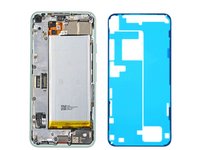
Use the holes in the top right and bottom left corners of the frame to correctly align the adhesive:
-
The top right hole is circular
-
The bottom left hole is oblong
-
-
-
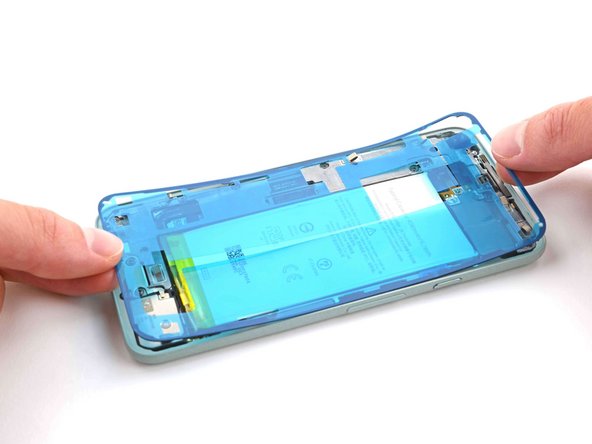
Peel away the clear plastic lining to expose the frame side of the adhesive.
-
-
-
-
Use the flat end of a spudger or your fingernail to press down on the adhesive.
-
Slide along the perimeter to secure the adhesive to the frame.
-
-
-
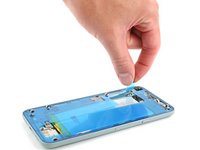
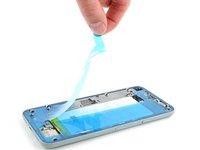
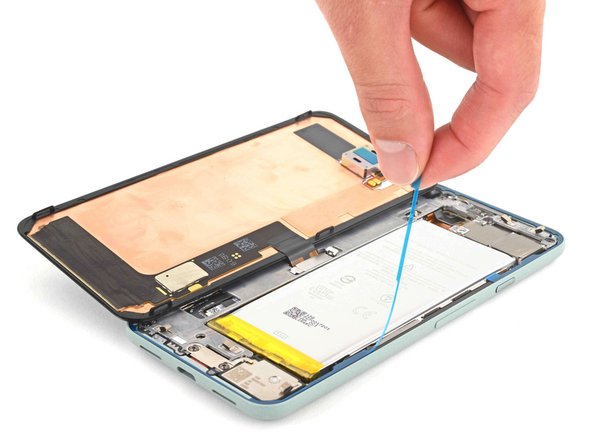
Use your fingers to grasp the blue plastic lining near the center and peel it away from the phone.
-
-
-
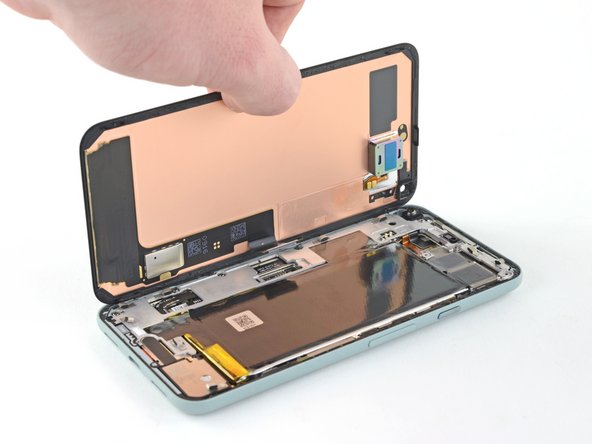
Follow the screen replacement guide in reverse order and connect the screen to your Pixel.
-
-
-
Peel away the blue plastic lining to expose the perimeter adhesive.
-
-
-
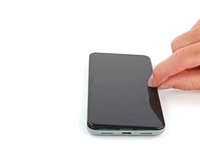
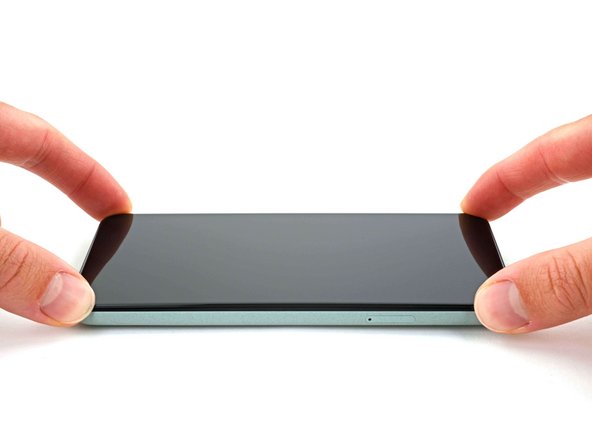
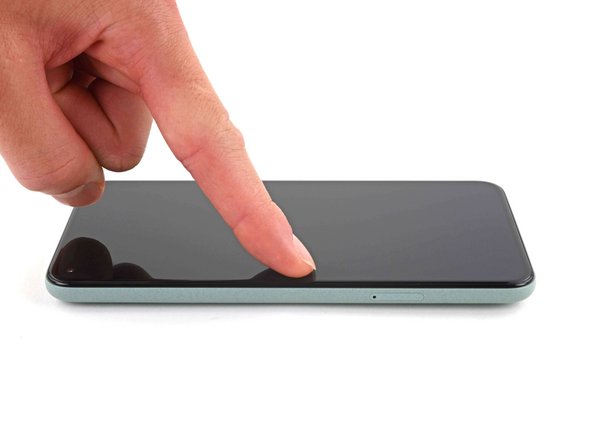
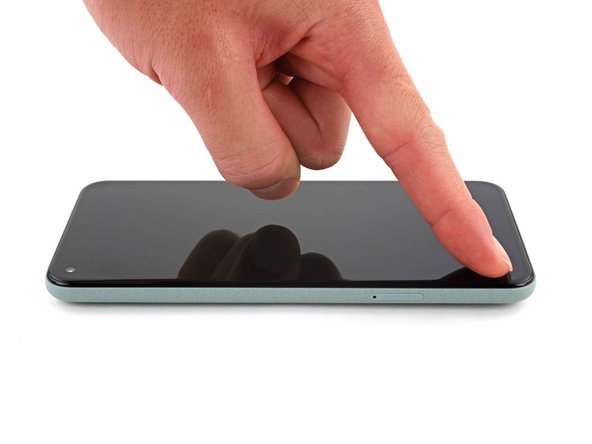
Press down the corners of the screen to secure them to the frame.
-
-
-
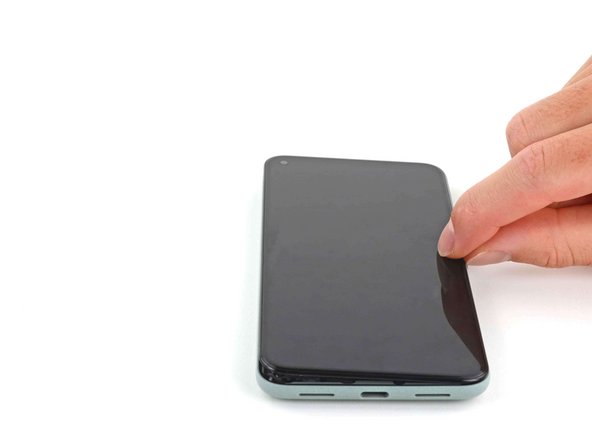
Press down on the edges of the screen.
-
Slide along the perimeter to secure it to the frame.
-
Repair didn’t go as planned? Try some basic troubleshooting, or ask our Pixel 5 Answers community for help.
Отменить: Я не выполнил это руководство.
30 человек успешно провели ремонт по этому руководству.


