Введение
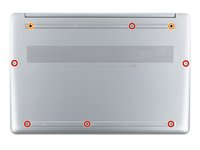
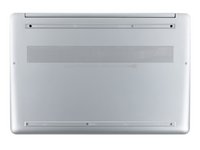
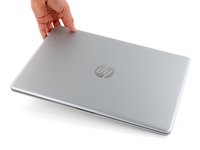
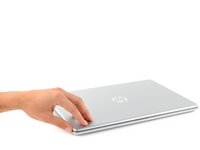
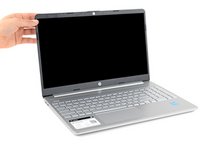
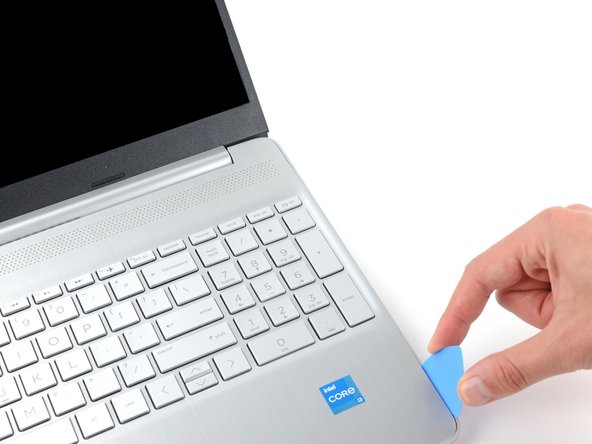
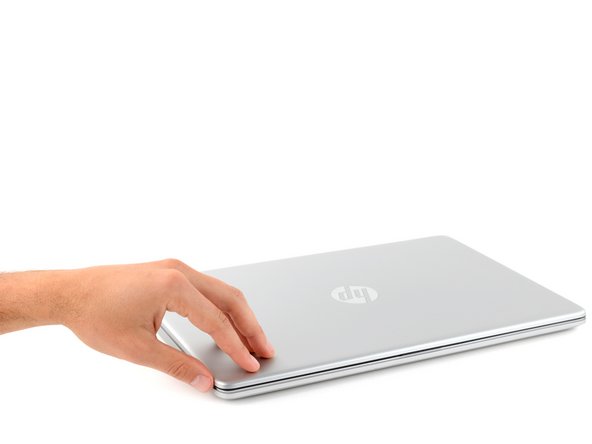
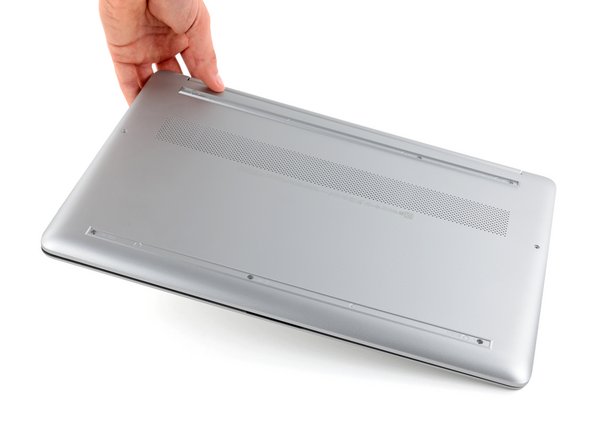
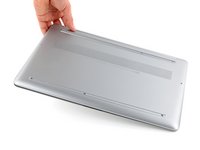
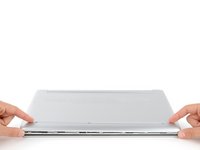
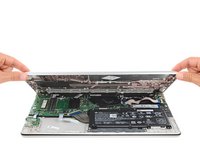
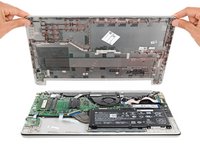
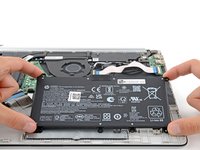
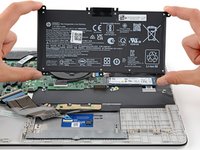
Use this guide to clean or replace the fan in your HP 15 Laptop PC.
Note: This procedure was written using a model 15-dy2702dx HP 15 Laptop PC, but is fully compatible with any HP 15 Laptop PC whose model number starts with 15-dy or 15-ef.
Still under warranty? Contact HP to learn your warranty status, receive a repair under warranty if eligible, or for further warranty information.
This procedure requires removing the battery to disconnect it. Use care to avoid bending, twisting, or puncturing it—a charged lithium-ion battery can be very dangerous if accidentally punctured. If your battery looks puffy or swollen, take extra precautions.
Выберете то, что вам нужно
-
-
Fully shut down your laptop and unplug all cables.
-
-
-
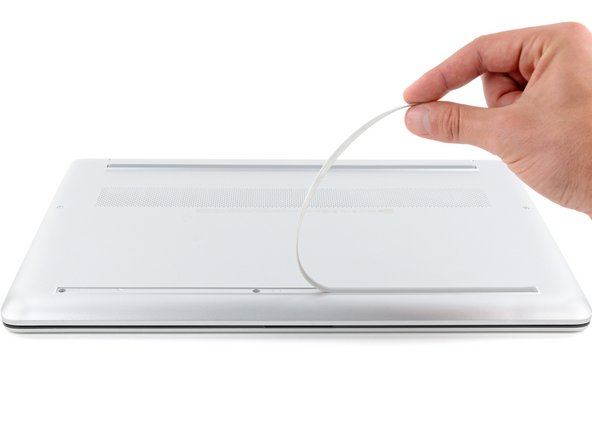
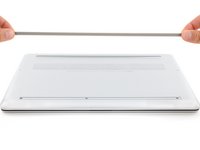
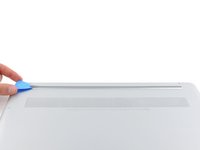
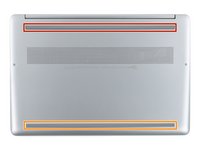
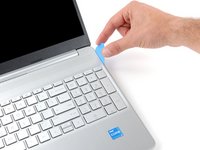
Use an opening pick to peel up an end of the front rubber foot until you can grip it with your fingers.
-
-
-
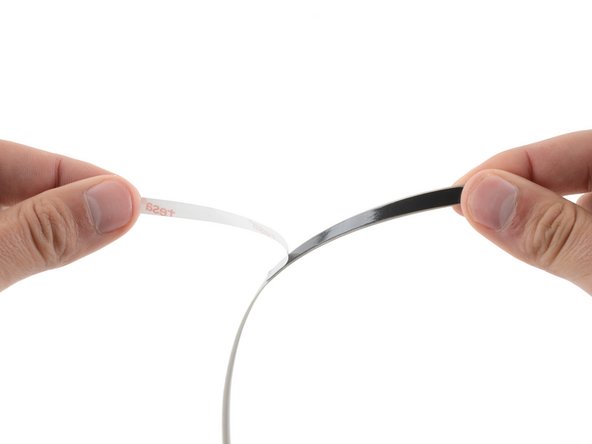
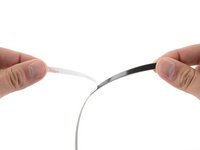
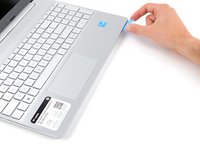
Peel the front foot away from the back cover and remove it.
-
-
-
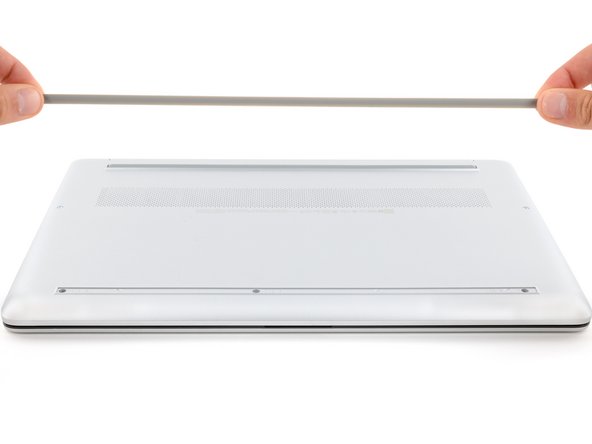
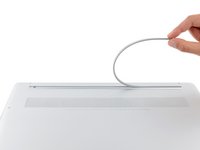
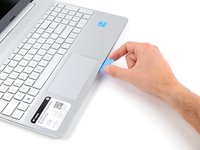
Use an opening pick to peel up an end of the rear rubber foot until you can grip it with your fingers.
-
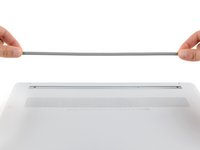
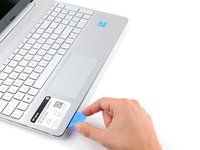
Peel the rear foot away from the back cover and remove it.
-
-
Инструмент, используемый на этом этапе:Tesa 61395 Tape$5.99
-
The rear foot is thicker, with a deeper recess.
-
The front foot is thinner, with a shallower recess.
-
If you're reusing the rubber feet, the leftover adhesive should be tacky enough to reuse.
-
If the leftover adhesive isn't sticky enough or your replacement feet didn't come with adhesive, you can use double-sided tape such as Tesa Tape to secure the feet.
-
To install a foot, remove its adhesive liner, lay the foot into its matching recess, and press down firmly along the entire length of the foot to secure it.
-
-
-
Use a Phillips screwdriver to remove the eight screws securing the back cover:
-
Six 6.5 mm-long silver screws
-
Two 6.7 mm-long black screws
-
-
-
-
Insert the flat side of an opening pick into the seam between the top left edge of the back cover and the frame.
-
Slide the opening pick down to the bottom left corner to release the clips on the left edge.
-
-
-
Insert the flat side of an opening pick into the seam between the top right edge of the back cover and the frame.
-
Slide the opening pick down to the bottom right corner to release the clips on the right edge.
-
-
-
Insert the flat side of an opening pick between the bottom right corner of the back cover and frame.
-
Slide the opening pick to the bottom left corner to release the remaining clips.
-
-
-
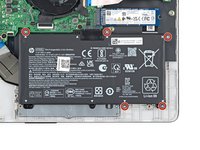
Use a Phillips screwdriver to remove the five 3.7 mm-long screws securing the battery.
-
-
-
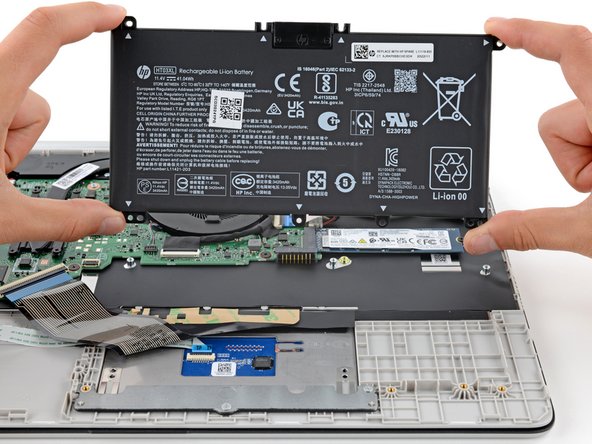
Gently lift the upper edge of the battery to disconnect its socket from the motherboard.
-
Remove the battery.
-
-
-
Use the flat end of a spudger to gently pry the fan cable connector straight up from the motherboard to disconnect it.
-
-
Инструмент, используемый на этом этапе:Tweezers$4.99
-
Use a Phillips screwdriver to remove the three 3.6 mm-long screws securing the fan.
-
Compare your new replacement part to the original part—you may need to transfer remaining components or remove adhesive backings from the new part before you install it.
To reassemble your device, follow these instructions in reverse order.
Take your e-waste to an R2 or e-Stewards certified recycler. Depending on your region, used HP devices and parts can be returned for reuse or recycling through the HP Planet Partners program.
Repair didn’t go as planned? Try some basic troubleshooting, or ask our Answers community for help.
Отменить: Я не выполнил это руководство.
2 человек успешно провели ремонт по этому руководству.


